Pop-Up Displays

Set up an eye-catching backwall quickly with portable pop-up display systems.

All Pop-Up Displays

Discover our complete collection of professional pop-up displays displays

Pop-up displays · Straight or curved

Two backwall shapes.
Different ways to use your booth.

Milin’s pop-up fabric displays use an expanding frame with a printed textile graphic. Both models pack down between events; the choice is how the open wall fits your space and presents the artwork. Start with the straight and curved shapes, then compare their finished dimensions.

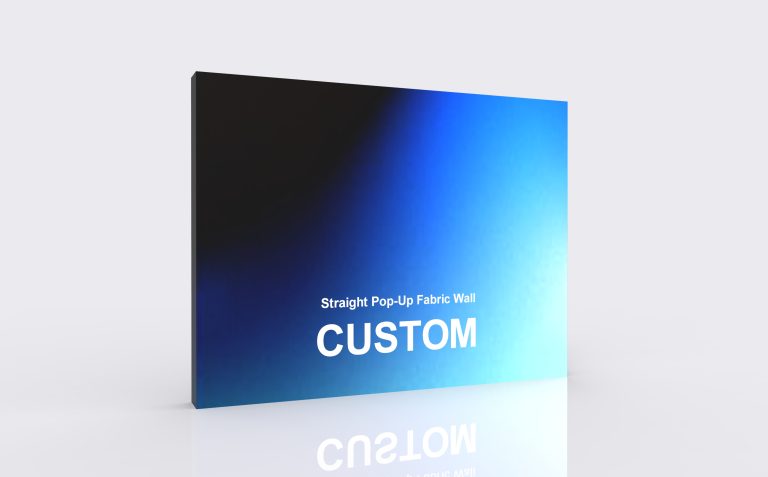
Straight pop-up fabric wall with a flat rectangular printed graphic

Straight presentation

Keep the artwork on one plane.

A straight pop-up wall suits a row of product photographs, aligned text or a repeated-logo backdrop. It sits naturally along the rear of an inline booth, with the support footprint included in the plan.

For interviews and group photographs, compose the artwork around the camera crop. Keep the main brand mark above the people and furniture that will stand in front.

See the straight pop-up wall
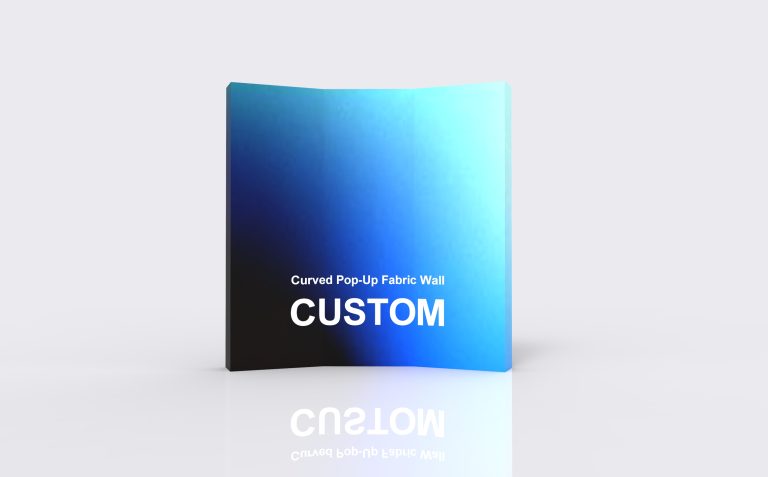
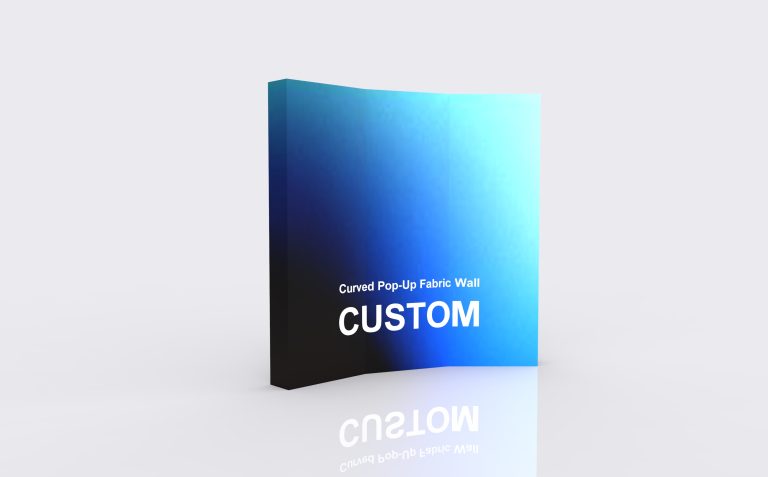
Curved pop-up fabric wall with the printed surface following an arc

Curved presentation

Bring the graphic around the activity.

A curved pop-up wall frames a presenter, photo area or promotional counter. The centre faces the main audience while the ends turn inward, changing how the outer artwork is seen.

Reserve the centre for the headline or principal image. Use the ends for supporting visuals, and allow for the full curve when planning the space in front.

See the curved pop-up wall

Compare finished dimensions

A grid label is not a measurement.

The same catalog grid label produces different dimensions on the two shapes. Use width and height to shortlist a model, then add the assembled depth and supports to your floor plan.

Catalog reference sizes · width × height in centimetres
Frame gridStraightCurved
3 × 3227 × 227210 × 226
3 × 4302 × 227280 × 226
3 × 5377 × 227Not listed

These are catalog references. The live selectors use “4 × 3 grid” and “Curved 4 × 3 grid”. Match the quoted configuration to its assembled measurements and graphic template; the order of the grid numbers alone does not establish a match.

Behind the printed face

An expanding frame.
A graphic matched to its connections.

The frame opens into a lattice; the fabric fastens at the connection points with hook-and-loop attachments. The straight and curved versions have different geometry. Keep the frame identification and attachment layout with the artwork records, especially if the display will be used for several campaigns.

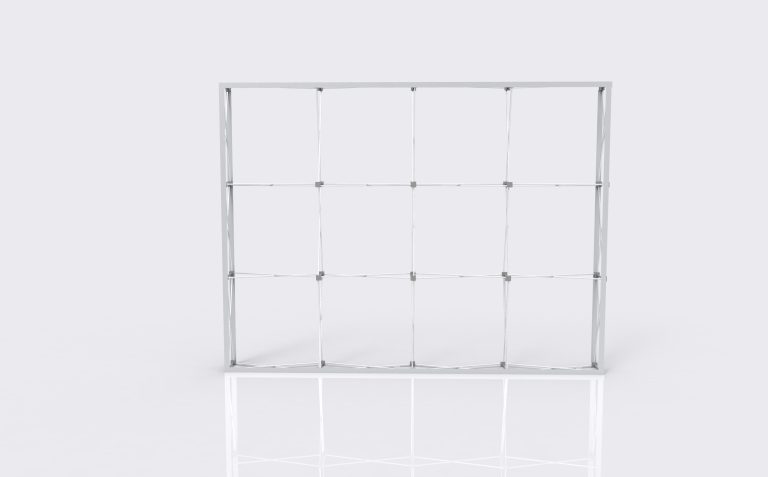
Expanded straight pop-up frame showing the grid and diagonal bracing
Straight pop-up frame · the flat presentation comes from this frame geometry.
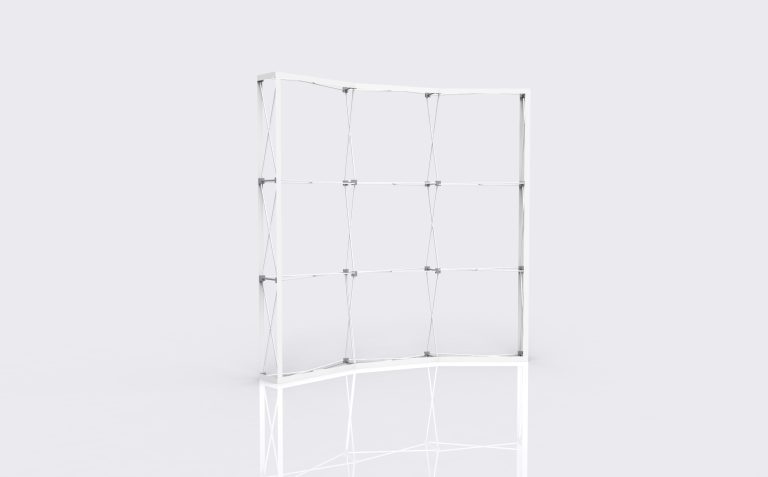
Expanded curved pop-up frame showing the arc and bracing
Curved pop-up frame · the graphic must follow the arc and its fastening positions.
Frame tubing
12 × 12 mm square tube
0.8 mm wall thickness
Frame connections
Nylon connectors
Printed surface
260 g warp-knitted fabric
Full-colour dye-sublimation

Before the doors open

Plan the first setup before the first event.

Allow a trial assembly when the kit arrives. The checks below help catch a layout or graphic-fit issue before the display is needed on site; use the supplied instructions for the exact frame assembly.

  1. Clear the full working footprint.Unpack on a clean, level area with space to open and position the frame. Put the wall in place before moving the counter or other furniture into its working position.
  2. Open and secure the frame as instructed.Check the connections before attaching the graphic. If the frame resists opening or closing, stop and check for an engaged fitting or trapped material instead of forcing it.
  3. Fit the matching printed graphic.Align the artwork and attachment points. Check the outer edges and lower corners, then step back to view the whole face from the aisle or camera position.
  4. Rehearse the pack-down.Follow the frame’s release sequence and graphic-handling instructions. Keep the printed surface away from dirty floors and hard fittings, and pack it dry before storage.

Next campaign

Replace the message, with the correct pattern.

For a new graphic, send the original order reference, open-frame dimensions and photographs of the fastening points. Identify the straight or curved shape and the required edge coverage.

Even a graphic advertised at the same width can have different attachment spacing. Keep the approved template rather than asking a printer to resize a photograph of the old display.

Between events

Choose the packing for the journey.

Both product selectors list an Oxford Fabric Carry Bag and a Flight Case. Compare the packed dimensions and weight of the complete selected kit against your vehicle, storage space or carrier requirements.

Include lights and other selected accessories in that check. A carrying bag is not evidence that the kit meets airline baggage limits, and a case name alone does not define its capacity.

Pop-up display questions

The details to settle before ordering.

Does a 3 × 3 pop-up display measure three metres square?

No. The numbers describe the frame grid. The catalog lists the straight 3 × 3 at 227 × 227 cm and the curved 3 × 3 at 210 × 226 cm. Neither measurement includes a statement of the full front-to-back footprint; request that separately for your layout.

Can one pop-up frame switch between straight and curved?

Treat these as separate frame shapes. The two models have different geometry and graphic patterns; bending or rearranging the supplied frame is not an approved conversion. If you need both presentations, have the hardware and print requirements quoted for each.

Are these backlit displays?

These two products are fabric pop-up walls, not internally illuminated lightboxes. Spotlight is listed as an optional add-on in their selectors. An external light directed at a graphic is a different setup from a lightbox with lighting behind the fabric.

Can the printed fabric stay on during packing?

Follow the handling instructions supplied with the selected frame and graphic. Hook-and-loop attachment by itself does not establish that the fabric should remain fitted when the frame closes. Avoid trapping the printed textile in moving connections and confirm the recommended packing method for repeat use.

How long does setup take, and how many people are needed?

That depends on the selected size, accessories, available working space and the team’s familiarity with the frame. The expanding mechanism reduces separate frame-part assembly, but it does not establish a fixed setup time or a one-person handling requirement. Ask for the relevant assembly guidance and rehearse the complete kit before the event.

What should be listed on a complete-kit quotation?

Identify the frame shape and finished dimensions, printed graphic coverage, transport case and any spotlight, shelf or repair-kit selection. Distinguish a new display from a replacement-graphic order. Add the shipping destination and required arrival date so freight and production can be considered together.

滚动至顶部