One kit. Every city.
Roadshow Display Solutions
Same display. Different cities. Product launches, pop-ups, dealer events, shopping centres, multi-city tours — the frame stays the same while you change the fabric graphics and rearrange the layout for each venue.
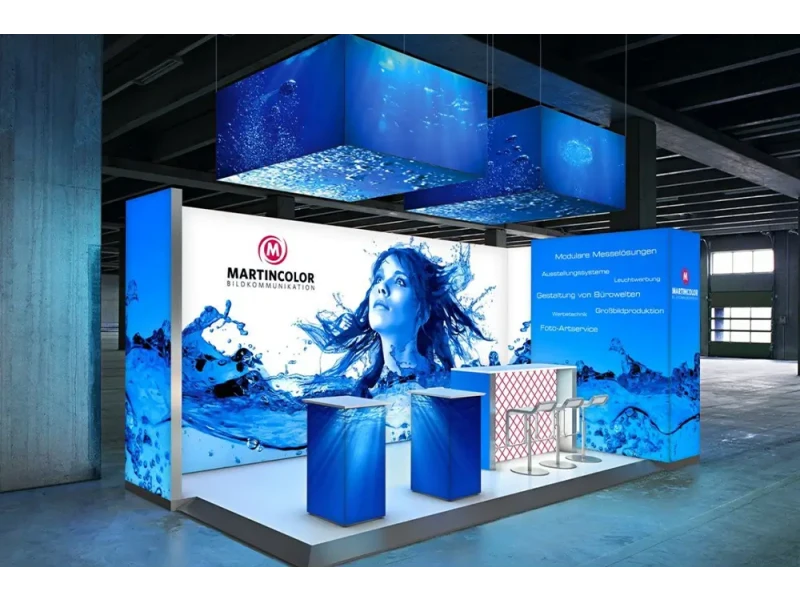
Built to travel with you
One display system for the whole roadshow.
Your display needs to ship easily, set up without drama, handle real use and pack down again. So we plan the frame, graphics, accessories and packing as one complete set — from day one.
Share your event plan
Tell us the event dates, cities, available space, products and delivery locations.
Choose the right parts
Choose backwalls, lightboxes, counters, arches, shelves, pillars and hanging signs based on what you need.
Set up at each stop
Use labelled parts and a clear layout so your team can rebuild the display at each venue.
Pack and update
Pack the frame for the next stop and change compatible fabric graphics when your products or message change.
Start with the basics, add as you go
Build the display around your space and products.
Maybe all you need is a backwall and a counter. Or maybe you need the full setup — lightbox, shelves, arches, hanging signs. Either way, the same parts can be rearranged for different venues without starting from scratch.
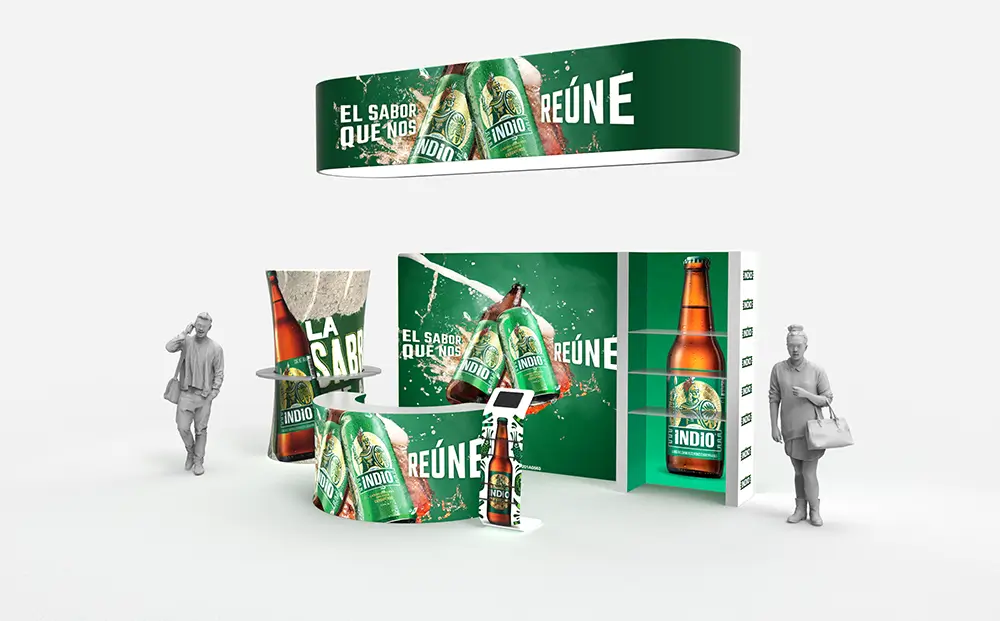
SEG lightbox display systems
Lit walls, towers, counters, shelves — layer them into one system that makes your products and graphics impossible to miss.
See SEG lightbox displaysFabric backwalls
Choose a straight, curved, L-shaped or 3D backwall with graphics on one or both sides.
See fabric backwallsDisplay arches
Use a fabric or lighted arch to mark an entrance, check-in area or product zone.
See display archesDisplay counters
Give staff a useful place for conversations, brochures, product demos and small equipment.
See booth and counter optionsProduct shelves
Add steel shelves, lighted panels or display units so products are easy to see and reach.
See product shelvesHanging signs
Use round, square, wave or custom hanging signs when the venue allows overhead rigging.
See hanging signs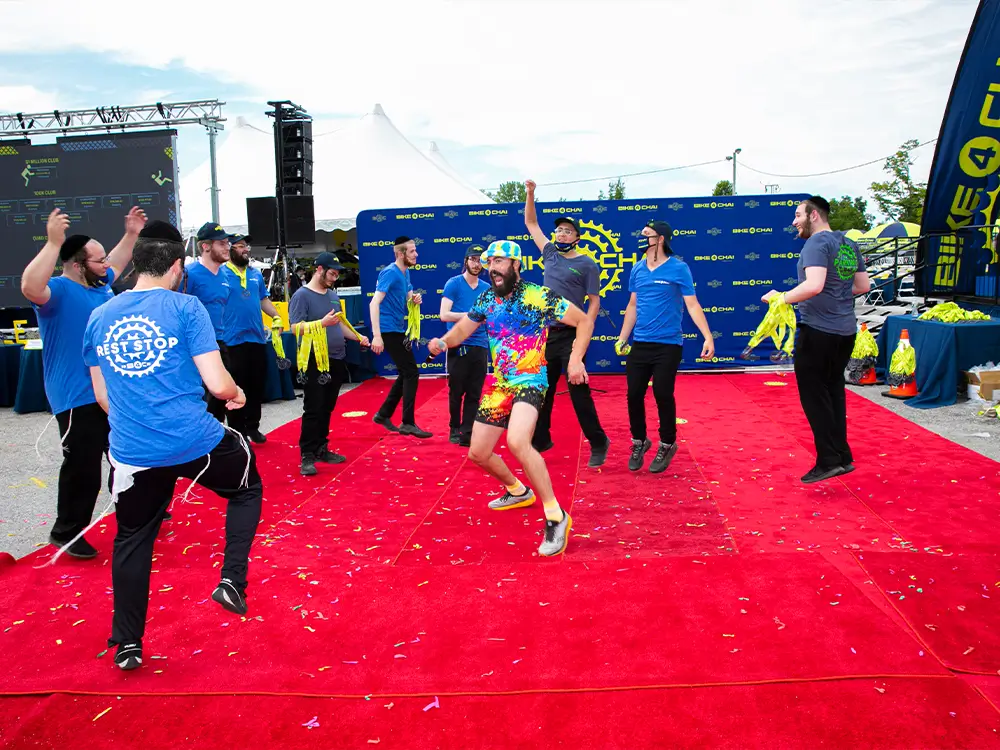
Built to be packed up and used again
Parts that are easier to carry, set up and use again.
Depending on the product, frame sections can be linked, labelled and packed in carry bags. When the graphics need to change, you swap the fabric — not the entire display.
Labels make it easier to match the right parts during setup.
Choose standard sizes or ask about custom sizes for your space.
These items are available with selected fabric-frame products.
We can confirm the frame, graphics and documents needed for your delivery country.
Think about what actually happens at each stop
Design the kit around what happens at each stop.
A shopping-centre activation needs open sightlines. A dealer launch needs breathing room around the product. A hotel roadshow might give you a two-hour loading window. So plan the visitor journey, the staff workflow and the venue limits — not just the booth width.
Make the message clear from several walking directions.
Keep the layout visually open so passing visitors can understand the offer without first entering a formal booth.
- Use double-sided graphics or freestanding towers for cross-traffic.
- Place the counter where staff can greet visitors without blocking the aisle.
- Plan concealed space for brochures, samples and daily-use items.
Keep attention on the vehicle or hero product.
The display should frame the launch, explain key features and support registration without competing with the main product.
- Protect clear sightlines and circulation around the hero product.
- Add a registration or specification counter away from the main viewing angle.
- Prepare replaceable regional graphics for dealer names, offers or models.
Prepare for short access windows and changing room layouts.
Hotel foyers and meeting rooms often require a compact kit that can move through service access and be ready before guests arrive.
- Confirm lift, doorway, loading-bay and setup-time limits in advance.
- Use modules that can form a foyer welcome point or a stage-side backdrop.
- Mark power, screen and cable positions before artwork is approved.
Build around the demonstration sequence.
Technical roadshows need more than a branded wall. The layout should help staff present, store, reset and discuss the product repeatedly.
- Define the demo surface, viewer position and staff working side.
- Plan shelves and storage for samples, tools, cables and replacement items.
- Leave a quieter edge for technical questions and sales conversations.
How much room do you actually have?
Start with the parts you need, then add more for a larger venue.
Nail down what the visitor is supposed to do first, then pick your footprint. A compact stop might just need check-in and good conversation space. A bigger launch can split into welcome, demo, product display and a meeting area.
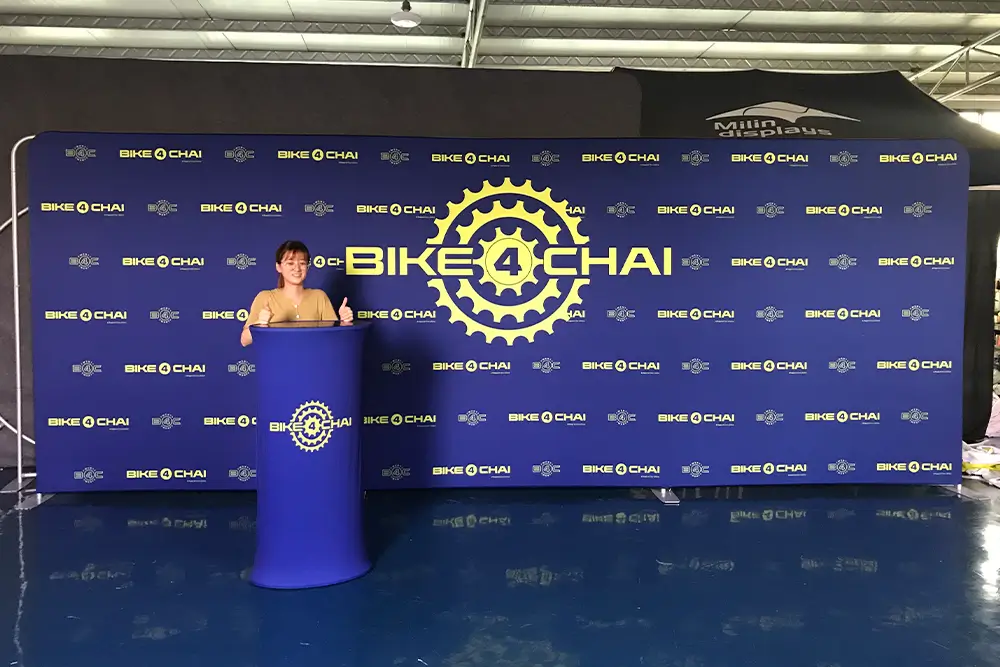
Backwall and counter
A focused setup for dealer visits, hotel meeting rooms and local promotions where staff need a clear backdrop, a greeting point and room for one-to-one conversations.
- One printed fabric backwall
- One counter for greeting, registration or samples
Lightbox wall and product area
A practical choice for a product demonstration or retail activation where visitors need space to stop, view the main message and handle selected products.
- Backlit wall for the main message
- Shelves, demo surface and staff counter
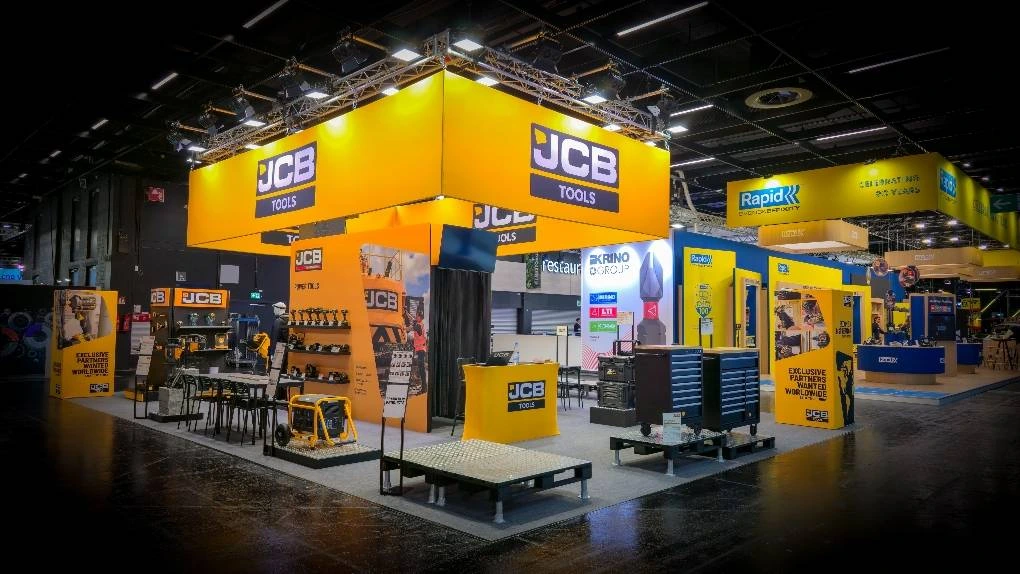
Full booth with several display areas
Use this type of setup when a major launch needs separate visitor functions, such as check-in, several product stories, live demonstrations and private discussions.
- Separate welcome, product, demo and meeting areas
- Towers or overhead signs for visibility
Before anything gets built
Send the basic event details before production.
Where and when will the display be used? What should visitors do? How will staff work the space? And how does the kit move between stops? Answer those and we can suggest a setup that works on event day — not just in a rendering.
Share dates, locations and access windows
Send the cities, venue types, floor sizes, loading times, doorway or lift limits and number of stops.
Map the visitor and staff journey
Explain check-in, product viewing, demonstrations, conversations, storage and the action visitors should take next.
Check technical and venue details
Confirm frame sizes, power points, lighting, screens, ceiling limits, graphic positions and any venue-specific rules.
Confirm the stop-by-stop packing plan
Agree how cases, parts and graphics are labelled, which items change by city, and the order for setup and repacking.
More to explore before you decide
See more options for your roadshow display.
These pages walk through transport and setup, how to swap SEG graphics between events and what a complete modular display set looks like in practice.
Guide
How to plan a multi-city display
Learn what to check before shipping, setting up and using a display at several events.
Open the guide
Article
How to replace SEG fabric graphics
See how to change the printed fabric while keeping the same frame.
Open the article
Display example
See a complete modular display set
See how towers, counters and hanging signs can be used together.
Open the exampleOne team, one process
Work with one supplier for the frame and graphics.
We handle display design, printing and manufacturing. Our company profile lists ISO 9001, CE, RoHS, fire-retardant certificates and design patents. Ask which ones apply to your product and the country it’s shipping to.
Quality management
ISO 9001 is listed in our company profile — something you’re welcome to check.
Product certificates
CE, RoHS and fire-retardant certificates are listed in the profile. We’ll tell you which ones matter for your product.
One production team
Talk design, printing, frame production and quality checks through one contact — not three different suppliers.
Worldwide delivery planning
Give us the delivery country and event date so we can check the logistics before production kicks off.
What comes up most often
Can I use the same display at several events?
Yes. Compatible aluminum frames can be used again. Change the SEG or tension fabric graphics when your message changes.
What can be included in a roadshow display set?
It can include lightboxes, fabric backwalls, arches, counters, shelves, pillars and hanging signs. The final set depends on your venue and products.
Can I change the layout for different venues?
Yes, if the selected parts are compatible. The final layout depends on the system and sizes you choose.
Can Milin show the layout before production?
Yes. A drawing or rendering can help you check the sizes, graphic positions and how the parts fit together.
How should the display change for different event types?
Plan around the visitor journey and venue conditions. A mall pop-up may need open sightlines, a dealer launch may need space around the product, and a hotel event may need compact modules for a short setup window.
What details should I send for a quote?
Send the event dates, cities, available space, products, parts you need, artwork status and delivery address.
Tell us about your event schedule
Ask for a roadshow display quote.
Send your dates, cities, venue types, available space, loading windows, products, visitor actions and delivery address. We’ll look at the whole route and suggest a display set you can actually reuse at each stop.