MILIN / CURVED POP-UP SYSTEM
Curved Pop-Up
Fabric Wall
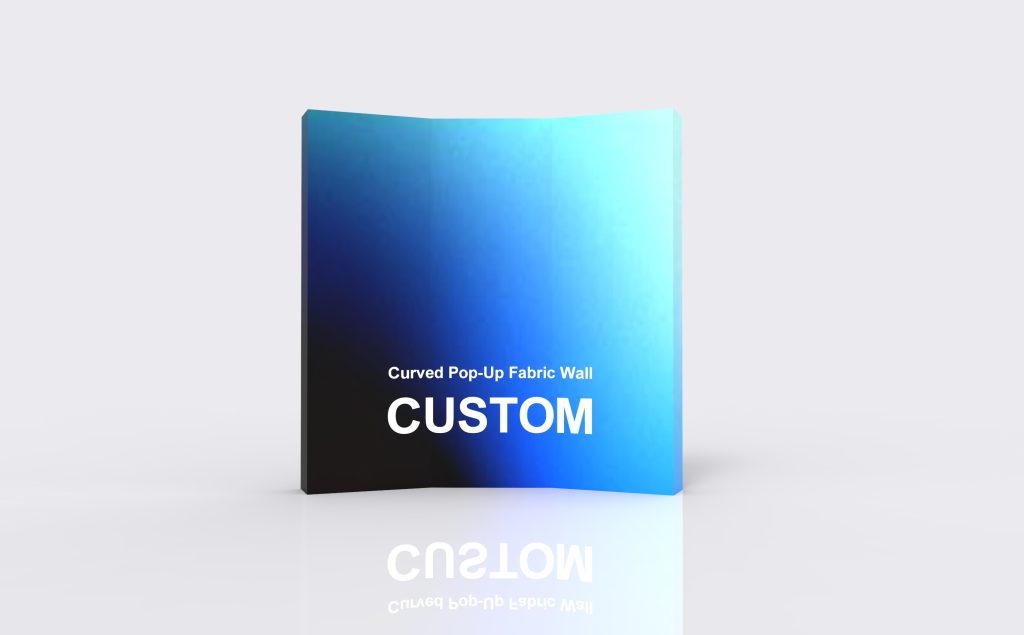
A continuous graphic.
A curved presentation.
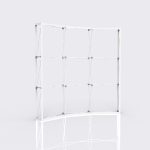
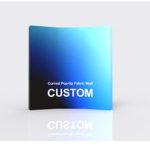
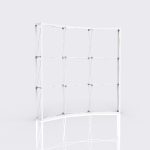
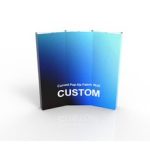
A curved collapsible frame gives this pop-up wall an arc-shaped presentation surface. The printed textile follows the curve rather than forming a straight wall.
01 / PLAN THE FOOTPRINT
Width is only
half the fit.
The catalog lists two widths, both 226 cm high. Check the complete arc depth and support footprint before placing a counter or planning visitor access.
The purchase area currently lists Curved 4 × 3 grid. Confirm the assembled dimensions for the quoted configuration; catalog sizes below are not additional live purchase options.
W 210 × H 226 cm.
W 280 × H 226 cm.
Confirm the maximum front-to-back depth
Include the arc, projecting ends and supports in your floor plan. The curved shape does not automatically leave more usable booth space.
Build the layout around the curve
Measure the arc as well as the width
Request the maximum front-to-back depth, including the projecting ends and supports. Mark this footprint on the booth plan before positioning a reception counter; the space inside the curve is not all available for people or furniture.
Keep the main message central
Put the headline, logo and principal image near the main viewing position. Text and faces close to the ends are seen at an angle, so check their appearance from the aisle or camera position before approving the graphic.
Use the curved model’s print template
Match both the frame grid and curved shape. The fabric must follow the arc and reach the correct fastening points. A straight pop-up file resized to the same visible width is not a reliable replacement template.
Allow for unpacking and positioning
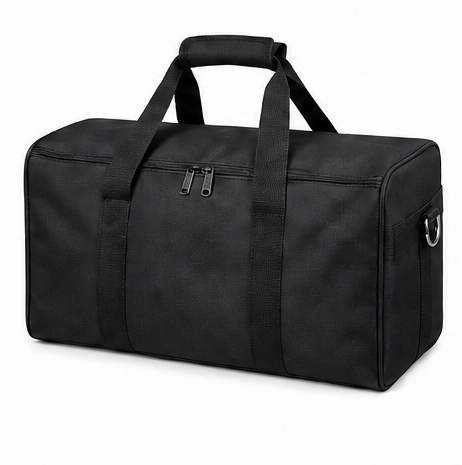
The frame set is specified with an Oxford-fabric carry bag. Ask for the full packed dimensions and assembly instructions for your chosen kit. Set out the frame in its intended position before bringing the counter into the space.
Artwork & print
Preview the graphic around the curve
Start with one dominant image and a short headline. Keep small information away from the side returns and check the composition from more than one approach. For a photo backdrop, preview where a person will stand and how the curved edges appear in frame. See the curved-versus-straight planning guide.
Specifications & configuration
| Product format | Tension-fabric backdrop |
|---|---|
| Display type | Collapsible pop-up fabric wall |
| Graphic | Custom full-color textile graphic |
| Attachment | Graphic attaches at the frame connection points with hook-and-loop fasteners |
| Shape | Curved |
| Order type | Made to order |
| 3 × 3 frame | W 210 × H 226 cm. |
| 3 × 4 frame | W 280 × H 226 cm. |
| Frame tubing | 12 × 12 mm square tube; 0.8 mm wall thickness; nylon connectors. |
| Graphic material | 260 g warp-knitted fabric with full-color dye-sublimation printing. |
Configure the kit for your event
Frame configuration
Curved 4 × 3 grid is the current selection in the purchase area. Confirm final width, height and total depth on the quotation.
Transport case
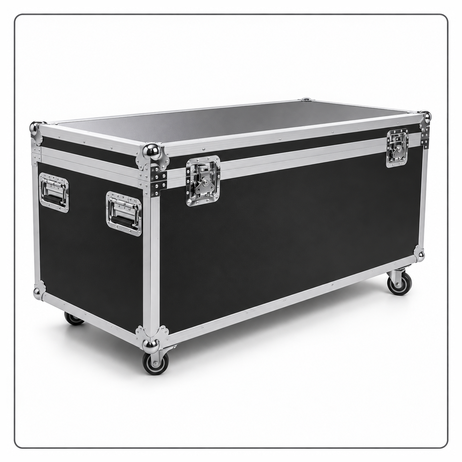
Oxford Fabric Carry Bag is the default case. Flight Case is the alternative listed in the selector. Ask for packed measurements and weight.
Selected add-ons
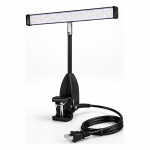
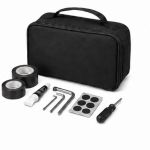
Spotlight, Repair Kit and Shelf are available as selectable additions. Optional accessories and shipping are quoted separately.
Catalog references and quote confirmation
The catalog identifies White Back and Soft Bag, with Frame Only, Replacement Fabric Graphic, LED Display Lights (2 pack) and Convertible Podium Case listed separately. These are not extra options in the current purchase selector. Confirm availability, compatibility and the complete supply list on your quotation.
Applications
Presenter backdrop
Position the central graphic behind the speaker and keep the outer sections visually simple. Confirm that lighting and furniture fit in front of the curved footprint.
Event photo area
Place the main logo within the intended camera crop. Check whether groups standing in the space will hide the headline or extend beyond the usable graphic area.
Curved reception setting
Use the wall behind a staffed promotional counter where its arc suits the layout. Keep doors, storage access and the route into the booth clear of its ends.
Planning & ordering
Order essentials
Identify the curved 3 × 3 or 3 × 4 model and include the available width and depth. Share the main viewing direction and furniture positions so the artwork and floor plan can be reviewed together.
- 210 × 226 cm or 280 × 226 cm listed frame size
- Full arc depth and support footprint
- Presenter, camera or counter position
Quotation checklist
- Curved frame identification and matching graphic template
- Required print coverage and rear appearance
- Carry bag, optional lights and other selected accessories
- Packed measurements, quantity and delivery date
Questions & answers
What sizes are listed for the curved wall?
The 3 × 3 version is listed at 210 cm wide by 226 cm high. The 3 × 4 version is 280 cm wide by 226 cm high. Confirm the maximum depth separately.
Does the curved version use less booth space?
It has a different footprint. Its listed width may be narrower than the comparable straight frame, but the arc adds depth. Compare complete top-down drawings with your furniture included.
Where should the main logo go?
Place it near the central viewing area and check how people, counters and the camera crop will affect visibility. Small text near the ends may be difficult to read from an oblique angle.
Can the curved frame become a straight wall?
Do not assume conversion is supported. Ask for model-specific confirmation of the required hardware and graphic; the straight and curved listings have different dimensions.
Can I order only a replacement curved graphic?
Replacement fabric graphics are listed in the catalog. Confirm availability for your frame and supply its exact curved grid, dimensions and original template or frame identification so the fastening positions can be checked.