A lightbox can show a grid when the regular layout of its lights remains visible through the graphic instead of blending into an even illuminated surface. The light spacing, distance to the graphic, and diffusion need to work together. A similar-looking grid can also come from fabric weave, printed artwork, or a camera artifact, so the pattern alone does not prove that the LEDs or print are faulty.
The quickest way to narrow it down is to compare the lit and unlit face, then check whether the grid is visible to your eyes or only in photos. A grid that appears only when lit is a reason to investigate the lighting and graphic together. A pattern that remains visible unlit points toward the material or artwork. These are clues, not a model-specific diagnosis.
Match the Grid to the Likely Cause
Start with the closest match below. Check only what is visible from a safe position; do not open the frame to compare the pattern with its lights.
| What you see | Possible explanation | Safe first check |
|---|---|---|
| A repeating net of bright and dark areas across the lit face | The lighting layout is not sufficiently blended by the graphic and diffusion arrangement | Compare lit and unlit views; check the ordered graphic and optical layers against the model documentation |
| Regular rows or columns rather than a complete net | Lighting distribution or an internal layer may be showing through | Send a full-face photo to the supplier; do not assume that one bright line has the same cause as a full grid |
| A fine woven texture visible with the light on and off | The fabric structure or a pattern in the artwork | Compare the same area with the artwork file under room light |
| A grid most noticeable in pale artwork areas | The artwork may be revealing an underlying lighting or material pattern | Photograph pale and dark areas together; visibility in pale areas alone does not prove a printing fault |
| A pattern visible in photos but not to your eyes | Camera sampling or interaction with the light source | Repeat the photo from a different distance and angle before requesting replacement parts |
| A grid first noticed after replacing the graphic | A change in material, printing, fit, or layer arrangement | Compare old and new order specifications before approving another print |
Why the Grid Appears
The Light and Graphic Are Not Working Together
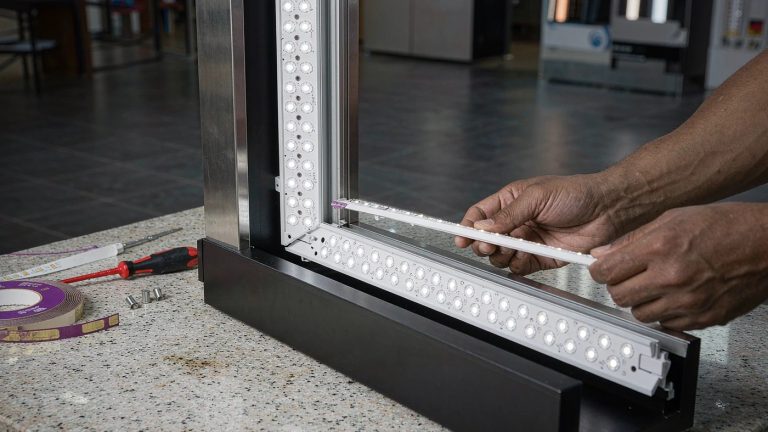
When separate lights are not sufficiently blended at the graphic surface, their repeating arrangement can remain visible. The frame depth, light layout, graphic transmission, and any specified diffusion layers all matter. There is no single depth or spacing value that can diagnose every lightbox.
A replacement graphic can expose a pattern that was less noticeable before, even if the lights have not changed. That makes the new graphic worth investigating, but it does not rule out the frame or lighting arrangement. A fabric made for a non-lit tension fabric display should not be assumed suitable for backlighting just because it fits.
For LED lightbox displays, check the model’s specified graphic and optical layers rather than assuming a separate diffuser is missing. Fabric weight or thickness alone does not establish backlit suitability. Ask the supplier to confirm the complete arrangement before ordering a different material or deeper frame.
The Fabric or Artwork Has a Repeating Texture
A woven fabric or printed geometric pattern can resemble a lighting grid. If the same pattern remains visible with the lightbox switched off, compare its position and shape with the artwork file and the visible weave. Persistence when unlit supports a material or artwork investigation; it is not proof of defective printing.
Creases, seams, and displaced layers can create lines or shadows rather than a uniform grid. A loose silicone edge can change the graphic’s position, but the direction and effect depend on the construction. Do not assume that slack fabric always moves farther from the lamps or always makes the pattern darker.
Fit and Viewing Conditions Change Its Visibility
Judge the display from the distance at which visitors will see it, whether that is a pop-up shop aisle or an exhibition walkway. Record that distance and the room lighting. A close-up is useful for examining texture, but it should not be the only view used to judge the finished display.
For a joined backwall display, compare neighbouring sections under similar viewing conditions and approved brightness settings. Daylight, reflections, and camera exposure can change how obvious a pattern looks. They do not, by themselves, identify which component is responsible.
Document the Pattern Before Replacing Anything
Take a Comparable On and Off Pair
If the display is safe to operate, choose a standing position and keep the framing consistent. Take a full-face photo with the lightbox on and another with it off, leaving the room lighting unchanged. Add a close-up of the grid. Note whether you can see it with your own eyes in each state.
Keep camera settings consistent where practical, but make sure both photos show usable detail. If the unlit shot is too dark, take an additional properly exposed photo and label it. An invisible pattern in an underexposed image is not evidence that it disappeared. Compare pattern position and shape, not just the apparent brightness of the two photos.
Use a Replacement Scenario to Interpret the Evidence
Consider an illustrative situation, not a reported customer case: a replacement graphic on the same custom booth lightbox shows a grid, while an earlier photo of the old graphic looks even. Before blaming the replacement, check whether the photos were taken from comparable distances with similar room light and camera settings. Then compare the graphic specifications and fitting instructions.
If the difference remains under comparable conditions, the replacement material, print, or fit deserves review. If only the photographs differ, investigate the camera setup first. This comparison helps frame the supplier’s investigation; it cannot establish the cause without the model details.
Separate Camera Artifacts From a Visible Grid
A camera can record a moiré-like pattern when a fine repeating texture interacts with its sampling. Banding related to the light source and camera timing is a separate possibility. These effects should not be treated as the same fault or as proof of a defective lightbox.
If the pattern is camera-only, photograph the same area from another distance and angle, noting any setting changes. A pattern that changes markedly or disappears is a reason to investigate capture conditions. Keep the original files rather than relying only on compressed screenshots.
Keep Checks Within Safe Limits
Before touching the graphic, switch off the display, allow it to cool, and follow the manufacturer’s instructions. Owner-level handling is appropriate only where the manual permits it and the display is stable and safely reachable. Do not open drivers, move wiring, bypass controls, or add optical layers as an improvised fix. In US workplaces, OSHA requires listed or labeled equipment to be installed and used in accordance with instructions included in its listing or labeling. [1]
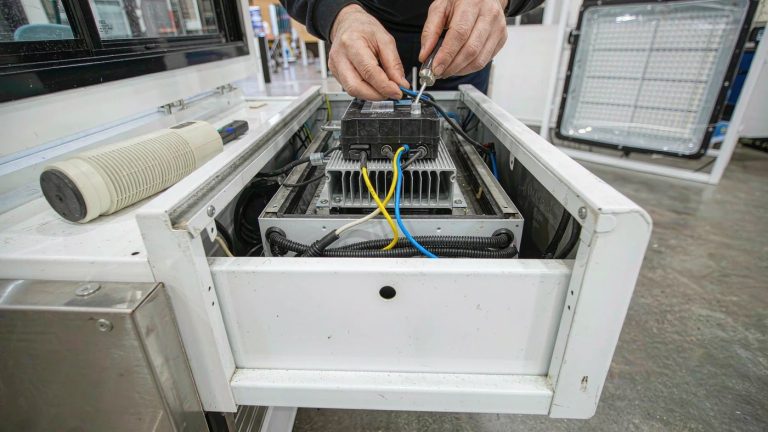
Electrical inspection and internal repairs belong with qualified personnel following applicable local rules. For work on or near exposed electrical parts in US workplaces, OSHA sets deenergization and verification requirements, including qualified-person testing before equipment is considered deenergized for that work. Switching a display off is not a substitute for those procedures. [2]
For overhead light-box units and hanging displays, keep your own observations at floor level and arrange qualified access. The same applies if inspection requires moving a large wall-mounted backwall frame.
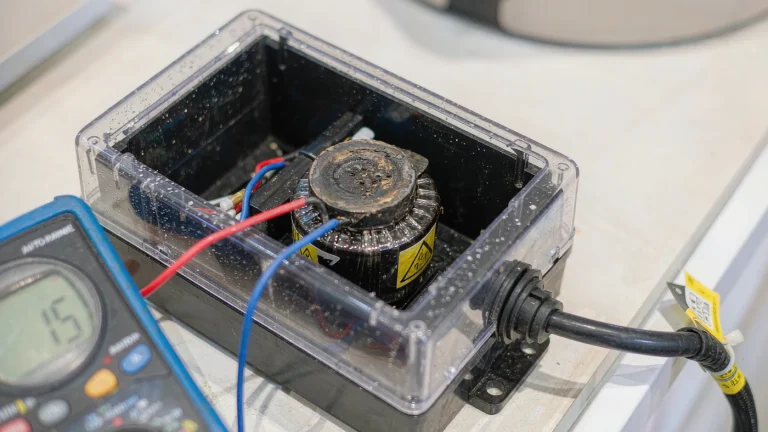
Stop using the display if you notice burning smells, scorching, melted parts, damaged wiring, breaker trips, or new buzzing or flickering. Disconnect power only if safe and arrange qualified inspection before reuse. Do not repeatedly reset a tripping breaker or cover damage with a new graphic.
What to Send the Supplier
Send the evidence below in one message. Use existing order records and visible labels; do not open electrical compartments to collect information.
| Record | What to include |
|---|---|
| Frame and graphic specification | Model, order reference, ordered size, graphic material, and any documented diffuser or layer arrangement |
| When the pattern appeared | Whether it followed a graphic change, relocation, refitting, or adjustment to approved controls |
| Photo set | Lit and unlit full-face photos plus a close-up, with any exposure differences identified |
| Viewing conditions | Standing distance, room light, daylight, and approved brightness setting |
| Eye-versus-camera observation | Whether the grid is visible directly, in photos only, or both |
Ask whether the supplied graphic and optical layers match the model, whether the fit needs review, and whether a technician should inspect the lighting. If a reprint is proposed, agree on the material and how an illuminated sample or proof will be assessed before approving the full replacement.
Questions About Lightbox Grid Patterns
Will Turning Up the Brightness Hide the Grid?
Do not treat brightness as a repair. Changing it may alter the pattern’s visibility without correcting the underlying mismatch, and the result depends on the display and viewing conditions. Use only approved controls within the manufacturer’s range. Record any change in appearance for the supplier.
Does a Grid Mean the Printing Is Faulty?
No. A grid that remains visible unlit and corresponds to the artwork or weave warrants a material or print review. One that appears only when lit calls for a review of the graphic and lighting together. Neither observation alone proves that the printer or LEDs are at fault.
Should I Add a Diffuser or Replace the Frame?
Not without model-specific approval. An extra layer can affect light output, colour, fit, and thermal behaviour. Replacing the frame may also leave a material or camera problem untouched. Confirm the intended build and the likely cause before buying parts.
Need help narrowing down the grid? Share your model or order reference, photo set, and viewing conditions with Milin Displays to request a review of the graphic and lightbox combination.