Short answer: Confirm the driver itself is at fault, copy every rating from its label, order the exact supplier-approved match, have a qualified person fit it with the power isolated and proved dead, then verify the display the way it will actually be used. To put numbers on it, this article uses one hypothetical case throughout, a 24 V constant-voltage section at 72 W total. That case needs a supplier-approved 24 V driver rated for at least 72 W of connected load, with the same dimming protocol and input range as the original. Burning smells, scorching, damaged cable, or a breaker that keeps tripping mean stop. Keep the display off and bring in qualified help instead of retrying it.
To replace a display lightbox driver in a fabric-faced LED frame, follow the order you actually work in: confirm the driver is at fault, copy the label, order an exact match, have it fitted, then verify. This covers frames like the LED lightbox displays range.
What a lightbox driver does
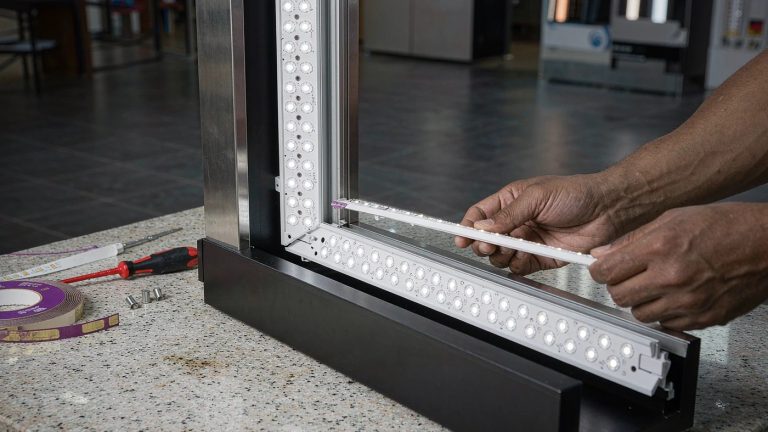
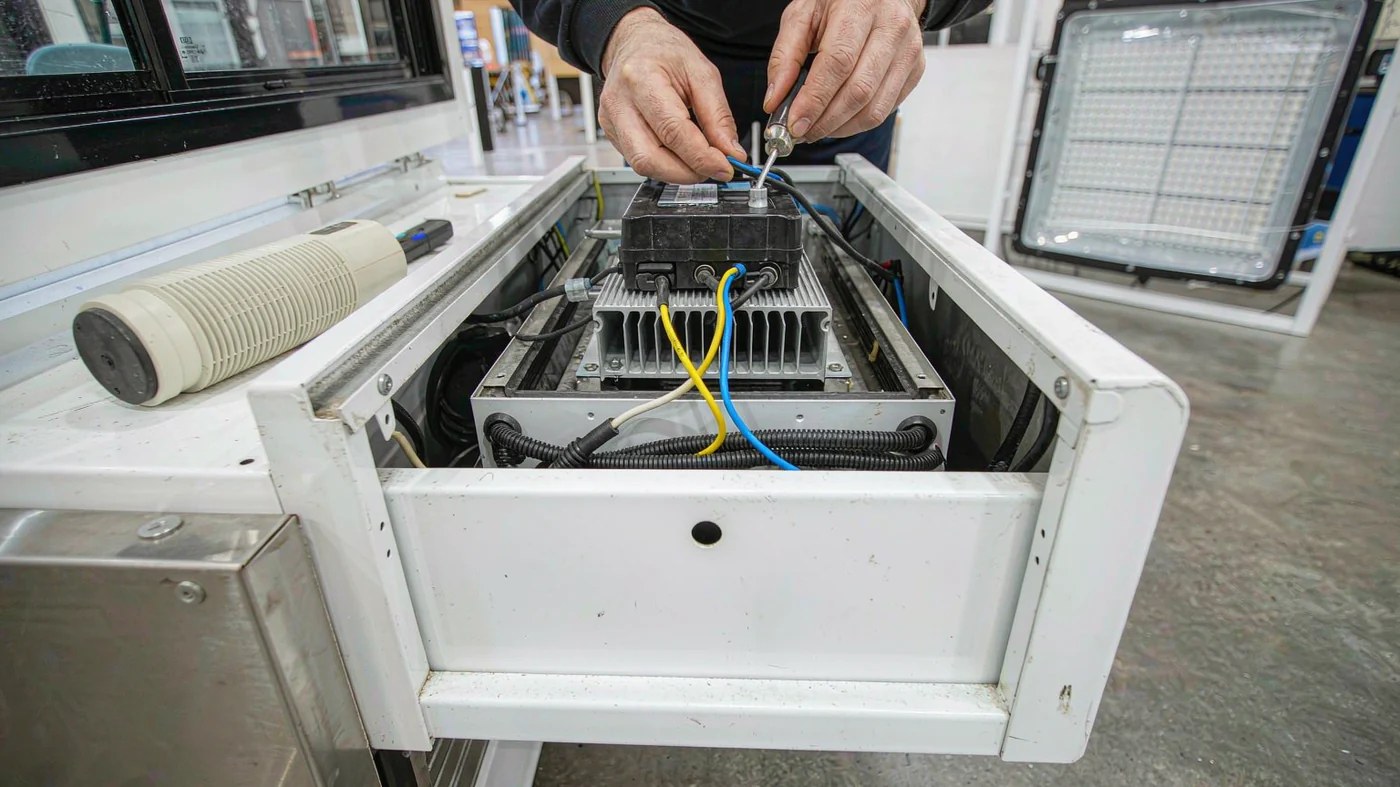
For a replacement, you first need to find that box. Most frames hide a separate box inside or behind the frame. The manual marks the exact spot for your model. AC goes in on one side, low-voltage DC comes out on the other toward the strips or modules.
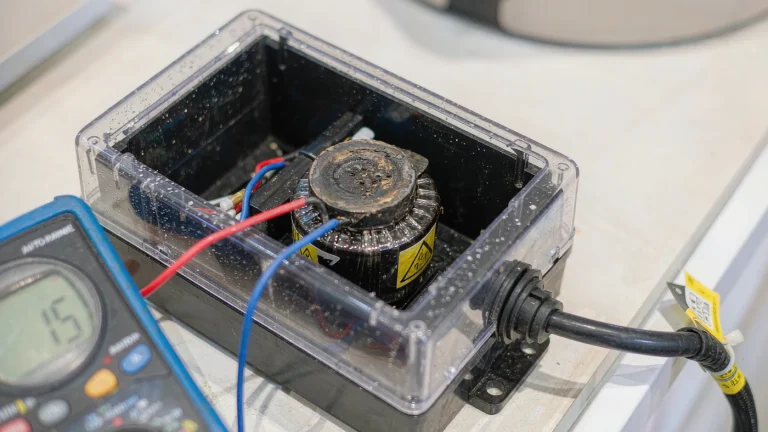
That protection decides whether a replacement makes sense at all. Built-in protection can cut or limit output on overload, overheating, or a wiring fault. A dark face therefore points in several directions. The driver may have shut itself down to protect the circuit. Wall power, a loose plug, a dimmer setting, or the LEDs themselves can also cause it, and none of those is fixed by a new driver.
When replacement is the right fix
Signs that point toward the driver
- The full face stays dark or flickers after wall power, switches, timers, and dimmer settings all check out.
- The fault follows the same frame once the graphic, room light, and control settings are ruled out.
- A qualified check finds correct AC reaching the driver but no correct DC leaving it, with the connected load verified within the manual’s approved range and the wiring intact.
- The driver box itself looks heat-damaged or discolored, or it gives off a burnt smell, with no visible frame or cable damage elsewhere.
Signs that point somewhere else
- Only one section or edge is dark. That section’s feed, plugs, and LED modules deserve a check before anyone orders a whole driver.
- The problem moves with the graphic under different light. Cleaning, reseating, or replacing the graphic path comes first.
- The breaker trips, cables feel hot, or burning can be smelled. That is an electrical safety call. Leave the unit off.
- The display just moved, changed layout, or plugged into a different venue supply. Layout, input voltage selection where applicable, and venue power need a check first.
Before you order a replacement, LEDs, driver, or a loose connection can look alike. This routine sorts them out: How do I test a lightbox before replacing LEDs. Run through it before spending money on the wrong part.
Safety roles for owners and technicians
For this replacement, owners handle the disconnected-power jobs: photographing labels, writing down model numbers, noting when and how the fault showed up, checking outer cables for visible damage without opening anything, and calling the supplier or venue electrician.
Everything past that point belongs to qualified personnel under local rules and the product instructions. That includes opening the driver compartment, isolating the circuit and proving it dead, handling conductors, changing driver type or ratings, and re-energizing plus testing the display. In covered U.S. workplaces, listed or labeled equipment must be installed and used according to the instructions included in its listing or labeling [1]. OSHA’s electrical work-practice rules generally require exposed live parts to be de-energized before work, subject to specified exceptions, and restrict work on equipment that has not been de-energized to qualified persons [2].
Replacing a driver in high-mounted frames or units above stores built with retail promotion displays or above a floor set with trade show booth systems needs safe access, falling-object control, and venue approval. Working from unstable furniture or above visitors to reach a driver is out.
Identify your driver before ordering
Frame size will not pick the part. The label will. Switch the display off and unplug it, then find the driver label through the access point the supplier documents, and photograph it. Leave covers on and wiring alone. A clearer photo is never worth probing around conductors.
In practice, that label photo decides how fast the order moves. Labels often sit at an angle behind a small opening, and direct flash washes out the print. What helps is two or three angled shots without flash, close enough to read each line, plus one wider shot showing where the driver sits in the frame. When the print is partly rubbed off, photograph what remains and note which lines are unreadable instead of guessing.
Copy these fields exactly
- Brand, model number, and revision.
- Input ratings: AC voltage range, frequency, and input current.
- Output ratings: constant-voltage (for example, 12 V DC or 24 V DC) or constant-current (for example, 700 mA), plus rated power.
- Dimming and control method, if any: 0-10 V, DALI, push-dim, or non-dimmable.
- Wiring diagram reference and connector types shown on the label.
- Listing or certification marks and the exact model suffix. Units with the same look can carry different outputs.
- Environmental ratings plus the manual’s mounting and ventilation requirements.
Write the lightbox model down too, with the count and type of LED sections fed and a few photos of the wiring layout. An unreadable label ends the DIY part here. Ask the supplier to identify the driver from those photos and the display serial, using the ordering advice under the matching table, rather than guessing by looks.
How to match a replacement driver
When you order the replacement, wattage by itself misleads.
| Must match | Why it matters | What to check |
|---|---|---|
| Output type | Constant-voltage and constant-current drivers do not swap | Label shows fixed DC volts or fixed DC current |
| Output voltage or current | Wrong output dims, overdrives, or harms LEDs | Exact volts for constant-voltage; exact milliamps and voltage window for constant-current |
| Rated power (supplier-approved capacity) | A small driver runs hot and may shut down | Capacity approved for your connected LED load per the manual. The margin, if any, is set by the manual, not by a fixed percentage |
| Input voltage and frequency | Venue supplies vary by region and building | Label range covers the venue supply |
| Dimming compatibility | The wrong dimmer flickers or blocks startup | Same protocol, and dimmer model approved by the supplier |
| Physical size and connections | A driver that will not fit invites unsafe fixes | Mounting, terminals, and lead lengths suit the frame without extending or splicing |
| Listing and manual approval | Venues check this for safety compliance | Same or supplier-authorized equivalent, installed per instructions |
Order against output type and listing first; two standards back that priority. UL Solutions lists UL 8750 as the Standard for Light Emitting Diode (LED) Equipment for Use in Lighting Products [3]. IEC 61347-2-13:2024 specifies safety requirements for electronic controlgear for LED light sources for use on DC supplies up to 1500 V or on AC supplies up to 1000 V at 50 Hz or 60 Hz [4].
When the exact model is unavailable or any label line is unclear, order through the display supplier with the label photos and the display serial number in hand. That avoids a third-party unit that fits the frame but differs in protection behavior or dimming logic.
Worked example with stated assumptions
Size your order with this example. The numbers below are illustrative only. Values from your own label and manual take their place in a real order.
- One separately fed LED section in this example holds 6 modules at 12 W each: 6 × 12 W = 72 W connected load.
- The replacement keeps the same output type this load assumes, 24 V constant-voltage, and it carries supplier approval for at least that 72 W connected load, with the same dimming protocol and input range as the original.
- Each separately fed 72 W section needs its own driver sized for that 72 W section load. Do not share one driver across two sections unless the manual explicitly approves that layout.
The same sum applies to any frame: module count times watts per module, per separately fed section. Send that result with the label and wiring photos.
How the replacement runs
What you prepare in advance
- Diagnosis gets a second pair of eyes from the supplier or a qualified technician, so the right part gets ordered once.
- The exact replacement driver, the manual for the display model, and the venue’s electrical access rules are on hand before work starts.
- Work lands outside public hours where possible, with a safe ladder or lift arranged for high-mounted frames, including overhead light-box hanging signs.
- Dated photos of the fault, the driver label, and the wiring layout go into the maintenance record.
Hands-on handling matters as much as the part itself. Keep the fabric graphic clean and set aside face-in on a clean surface while the frame is open, keep small fixings together in a tray, and keep the old driver, packaging, and receipt until the post-replacement checks pass. The swap replaces the driver as a complete unit; the old unit is not opened or repaired on site.
What the qualified person handles on site
- The supply gets switched off and isolated, proved dead with proper equipment, and locked against reconnection.
- Only the supplier-documented compartment opens, and the driver comes out per the wiring diagram.
- The matched replacement fits without changed terminals, drilled entries, or bypassed protection devices.
- Ventilation gaps, cable condition, strain relief, and pinch-free routing past the frame all get checked.
- Power returns last, with even brightness, correct color, stable startup, and quiet, cool running confirmed before the compartment closes.
A new driver acting just like the old one points elsewhere, load, wiring, dimmer, or venue supply, and calls for diagnosis rather than another swap.
Mistakes that ruin a replacement
- Mixing constant-voltage with constant-current types, or choosing by looks alone.
- Extra LED sections overload a replacement never approved for them, or one driver gets split across frames outside its spec.
- Blocked vents, fabric wrapped around the unit, or contact with heat-sensitive material traps heat.
- Scorched plugs, nicked cable, or loose terminal blocks carry over from the failed install.
- An unapproved dimmer or timer lands between driver and LEDs.
- Repeated breaker resets or power cycling force a faulty display back on.
Fix that underlying trouble before any new driver goes in.
When a replacement is not enough
A straight swap fits when the rest of the display is sound, the exact or supplier-authorized driver is available, and the manual still backs that setup. Frames used as backwall displays, graphic system, and LEDs should all be healthy otherwise. Where any leg is missing, the supplier can advise whether deeper repair or a new display costs less in the end.
If your frame sits in the LED lightbox displays range, the supplier’s project team can confirm which driver and graphic combo it needs through the contact form for display projects.
Quick answers before you order
Can I use a higher-wattage driver to make the lightbox brighter?
No. LEDs and the approved driver output set brightness. A bigger or wrong-type driver adds no safe brightness and can harm the LEDs. The order matches the specified output type, voltage or current, and approved capacity.
Can I temporarily run the lightbox without its driver?
No. LEDs built for driver output never go straight to wall power, a random adapter, or the other output type. The right replacement arrives first, then it gets fitted properly.
How long should I test after replacement?
Run the display the way it will actually be used. Warm-up, dimming scenes where used, and repeated on-off cycles all belong in the test. Brightness, color, and temperature should stay stable across consecutive runs. Flicker, shutdown, humming, or hot spots go straight to the supplier. That unit stays out of service meanwhile.
What records should I keep?
The display file holds the fault date, label photos, replacement model and serial, who did the work, and test results. Warranty or repeat-fault talks then start from documented facts.
Bottom line
The job comes down to confirm, match, and verify. Confirm the driver is the fault, match output type, voltage or current, capacity, dimming, and listing exactly from the label, have a qualified person make the swap with the power isolated, and confirm even light, stable color, and cool running before the display returns to service.
If your lightbox driver needs replacement, send your display model, driver label photos, and fault description to the Milin Displays team.
Contact the display project team