Your lightbox can look dim in daylight because bright surroundings and light reflected off the graphic reduce the contrast of its backlit image. The LEDs may still be working normally. If the image becomes clear again when you close the blinds without changing the lightbox setting, ambient light is contributing to the problem. If it remains dim, patchy, or unstable in darker conditions, check the settings and graphic, then ask the supplier about possible hardware faults.
This guide covers indoor fabric lightboxes used in exhibition displays and retail spaces, including installations near windows. It does not set a universal daylight brightness requirement.
Why a Working Lightbox Can Look Washed Out
You see both light transmitted through the printed fabric and room light reflected from its face. Strong daylight can make dark printed areas look lighter, reducing the difference between light and dark parts of the image. Your eyes also adapt to bright surroundings, so a display beside a sunlit window can look less striking than the same display in a shaded hall.
Luminance, expressed in candela per square metre (cd/m²), and illuminance, expressed in lux (lx), are different photometric quantities. NIST describes their relationship under a defined measurement geometry; they are not interchangeable readings.[1] A lux reading at the graphic describes incident light, not the luminance of the backlit image. Do not use it alone to declare the lightbox underpowered.
Daylight Washout or a Fault?
Compare the display from the same visitor position with its output setting unchanged. Closing blinds provides a quicker comparison than waiting until evening and helps avoid changing the unit’s running time between observations. If automatic brightness control is fitted, record its mode: an unchanged remote setting does not necessarily mean unchanged output.
| What you observe | What to check next |
|---|---|
| The whole image looks clearer when blinds close or reflections are reduced. | Daylight, glare, and surrounding brightness are contributing. Review placement before replacing components. |
| A dark band or corner remains in darker conditions. | Document the affected area and ask the supplier to assess the graphic and lighting system. |
| The image flickers, switches off, or changes brightness unexpectedly. | Check accessible control settings. Leave electrical diagnosis to qualified personnel. |
| The change began after a replacement graphic or a move. | Check the fabric reference, installation position, and intended control settings. |
Improvement in shade is evidence of an ambient-light contribution, not proof that every component is fault-free. Daylight washout and a hardware or graphic problem can coexist.
What Makes Daylight Washout Worse?
Position, Reflections, and Viewing Direction
A backwall display facing glass doors or a hanging sign beneath a rooflight needs to be assessed from its actual viewing position. Reflections in shop glazing can obscure the image even when the lightbox itself is evenly lit. For a window display, inspect it from the pavement rather than approving it only from inside the shop.
Consider this checking scenario: a lightbox looks flat beside a window. Leave its controls unchanged, close the nearby blind, and view it again from the marked spot. If lettering becomes clearer, record that observation before changing anything else. This is a repeatable comparison you can perform, not a reported customer test or a guarantee of the result.
Artwork, Fabric, and White Tone
Low-contrast artwork, fine lettering, and subtle gradients can become difficult to read in bright conditions. A frontlit print or an unapproved replacement fabric may also look different when illuminated from behind. Compare replacements with the approved backlit sample under matching viewing conditions.
White tone is a separate issue from light output. The U.S. Department of Energy gives general lighting examples of 2,700 K for warm, 3,000 K for soft, 3,500 K for neutral, and 4,100 K for cool light, and notes that a change from 2,700 K to 4,100 K is noticeable.[2] These are examples, not recommended lightbox specifications. A cooler-looking replacement is not, by itself, evidence of higher output or better daylight readability.
Surface Condition and Control Settings
Inspect accessible surfaces for dust, smears, damage, or visible fading. If your particular product has a protective film, check the maker’s removal instructions rather than assuming every fabric lightbox has one. A stored offcut can provide a rough comparison for discoloration, but differences in storage and lighting prevent it from being a definitive test.
Check the dimmer, timer, remote scene, and any automatic sensor mode. With joined frames, the section set to a lower output may appear dimmer than its neighbor. Confirm the intended settings for each unit before blaming the LEDs.
When the Lightbox Itself Needs Attention
Persistent dark sections, flicker, unexpected shutdowns, or a sudden change warrant supplier assessment. Record both clock time and time since switch-on: a symptom associated with warming up may otherwise be mistaken for a daylight-only problem. Do not infer the failed component from appearance alone.
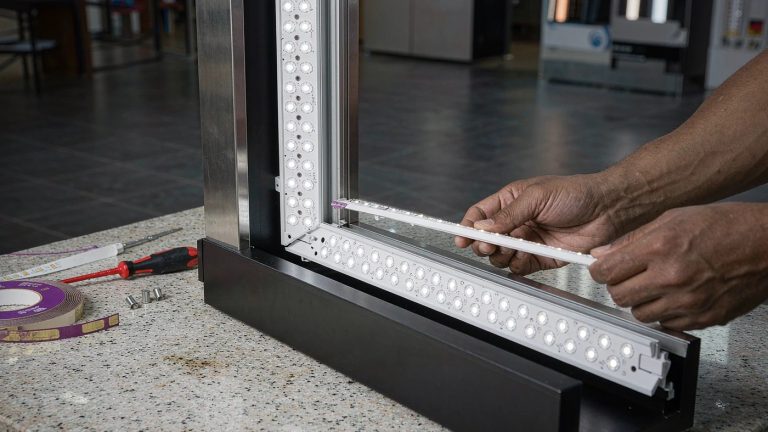
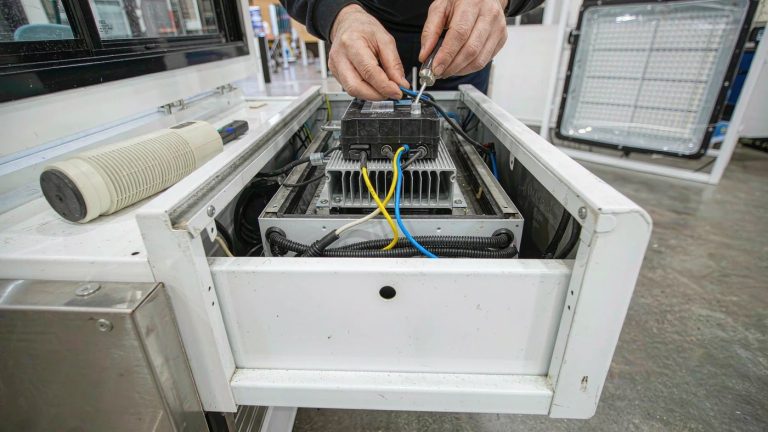
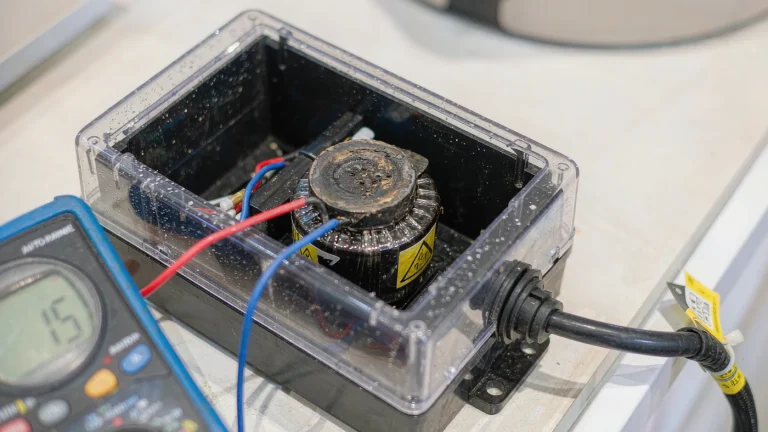
Keep user checks external and follow the maker’s instructions. Do not open electrical compartments, rewire drivers, or substitute LED parts. In U.S. workplaces covered by OSHA, 29 CFR 1910.333(c)(2) restricts work on circuit parts or equipment that have not been deenergized under the required procedures to qualified persons.[3] Electrical work elsewhere must follow applicable local rules. If there is a burning smell, damaged wiring, unusual overheating, or repeated protection trips, stop using the display and seek qualified help; do not keep resetting protection.
LED output can decrease with service. DOE describes useful life in terms of operating hours until output reaches 70% of its initial level and gives a general expectation of 30,000–50,000 hours or longer for good-quality white LED products. It also notes that electronics can fail before the LEDs.[4] These figures are not a warranty or a lifespan prediction for your complete lightbox, driver, or graphic.
A Practical Daylight Check
- Mark the visitor position and keep the viewing angle and distance consistent.
- Record the output setting and automatic-control mode before comparing bright and shaded conditions.
- Reduce one source of glare at a time, using accessible blinds or normal spotlight controls. Do not climb, cover ventilation, or improvise overhead shades.
- Note whether the whole image improves or a particular band or corner remains dark.
- Record the model, graphic reference, recent changes, weather, and time since switch-on. Take comparison photos from the same spot.
Phone photos are supporting records, not brightness measurements: automatic exposure can change between shots. Where practical, keep exposure settings consistent and tell the supplier how the images were taken.
ISO 3664:2025 addresses viewing conditions for reflective and transmissive media, including the critical evaluation of backlighted signs.[5] The cited public scope does not establish a pass/fail brightness value for this installation. Approve a backlit graphic while illuminated under agreed conditions, not solely from an unlit print.
If the Supplier Requests Measurements
Agree the instrument, test graphic, viewing geometry, control setting, and ambient conditions first. A luminance comparison between two areas requires an appropriate luminance instrument and comparable printed areas; arbitrary phone or lux-meter readings are not a substitute.
For arithmetic only, assume two readings of 100 cd/m² and 35 cd/m² on a uniform test graphic, taken with the same luminance meter under fixed conditions. The second is 35 ÷ 100 × 100 = 35% of the first. These assumed numbers are not field results, acceptance limits, or evidence of a particular fault. A spatial ratio alone cannot determine whether daylight, the print, or the lighting system caused the difference.
Practical Fixes for Daylight Washout
If the controlled comparison shows that ambient light contributes, first consider a shaded position, adjusted viewing direction, or reduced reflections. Blinds and re-aimed accent lighting may help, subject to the venue’s rules. Have qualified installers handle moving fixed or suspended displays and any work at height.
For a replacement LED lightbox, ask to see the complete illuminated graphic in comparable daylight. Frame depth, edge-lit versus backlit construction, and LED wattage alone do not establish readability at your site. Confirm the intended viewing distance and have the fabric and print process specified for backlit use.
Use clearer text contrast and sufficient letter weight rather than relying on pale gradients. Approve the actual lit proof. Clean only as the maker directs, with power disconnected where its instructions require it; never spray liquid into seams or electrical parts. Do not alter drivers, wiring, or ventilation to chase more brightness.
What to Send the Supplier
Send the comparison notes and photos, model and graphic references, control settings, approximate service age, and any recent move or reprint. Ask whether the complete system is appropriate for the intended daylight position and what safe inspection or replacement they recommend.
Planning a lightbox for a bright window or entrance?
Share the installation position, window direction, viewing distance, and comparison notes with Milin Displays.
A lightbox that looks better when nearby daylight is reduced needs a placement and contrast review. One that remains patchy or unstable also needs a settings, graphic, or hardware assessment. Use the comparison to choose the next step, not to declare the frame good or bad from one daytime view.