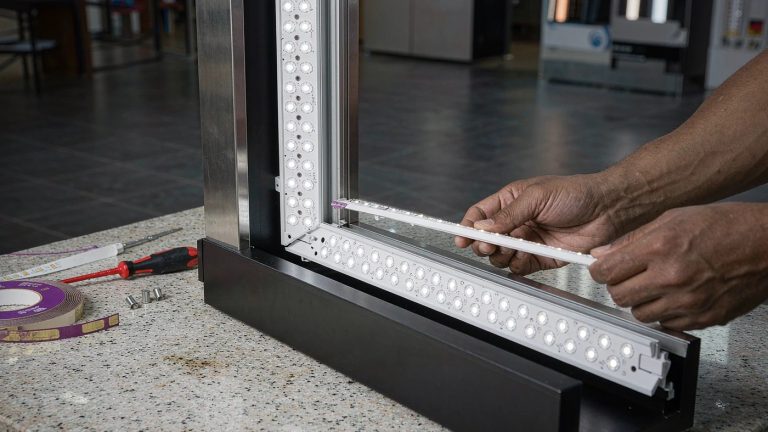
Your lightbox graphic may show seams because a panel join, edge stitching, hem, or zipper interrupts the otherwise uniform fabric. Added layers at a join can transmit backlight differently and make a line visible, particularly against pale artwork. Uneven seating or tension can make the line more noticeable. But a straight line is not proof of a seam: a crease, artwork feature, or lighting band can look similar.
The deciding check is whether the visible line matches a physical join on the back of the graphic. Refitting may improve its appearance, but it cannot remove a manufactured join. Before ordering another print, establish whether the problem is the join itself, the fit, or a line unrelated to sewing.
Which Part of the Graphic Is Showing?
Some wide backwall graphics use joined panels. Others have only perimeter stitching. Check the approved construction rather than assuming every large graphic must have a seam across its face.
| Possible source | Visible clue | What to confirm |
|---|---|---|
| Panel join | A line across the printed face | A sewn or bonded join matching that location on the back |
| Perimeter stitching | A narrow dark rim just inside the frame | The stitch row beside the silicone strip on a silicone edge graphic (SEG), and whether the edge is seated as specified |
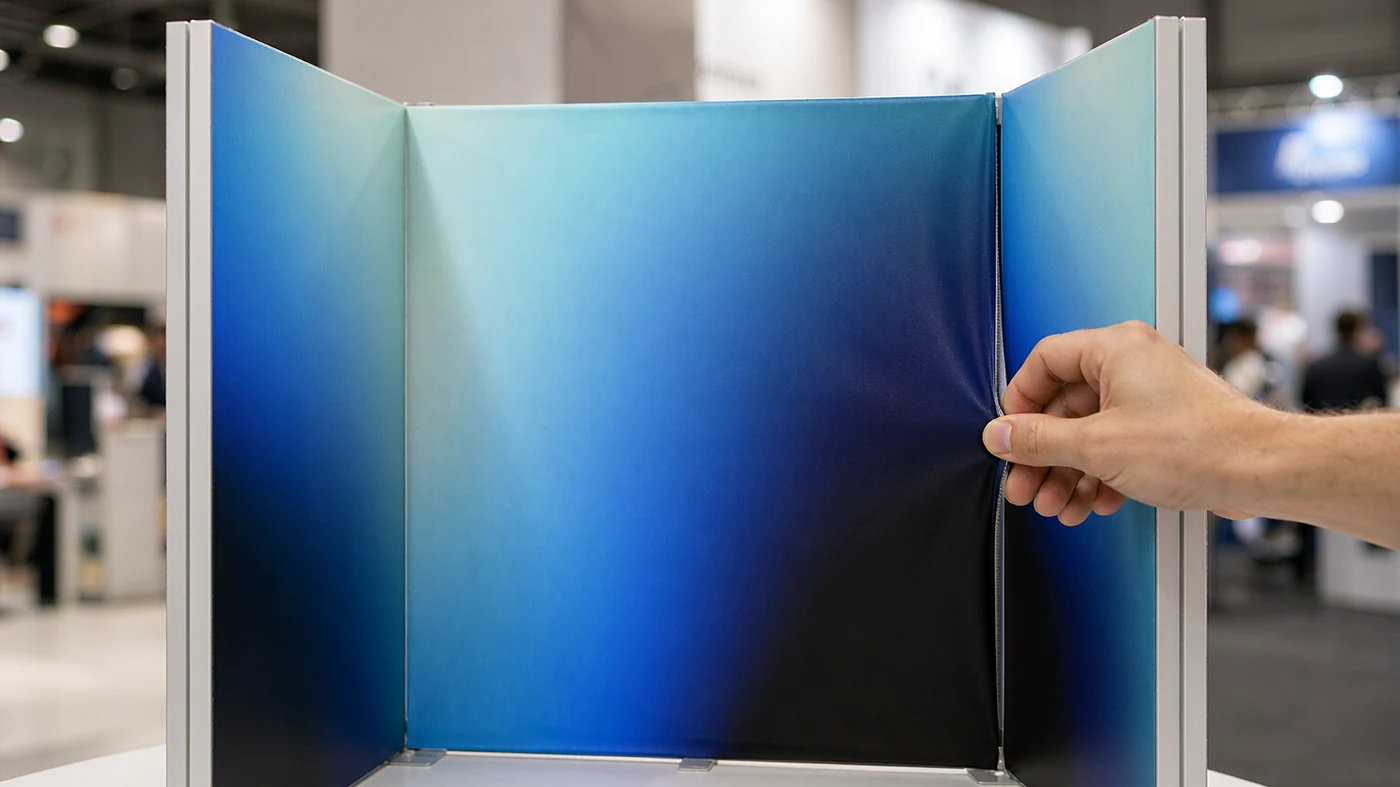
| Hem or zipper | A band near an edge or around a shaped cover | A fold, zipper tape, or closure in the same location |
| Crease or slack fold | A ridge or wavy line that may change after refitting | A fold without a corresponding sewn or bonded join; a persistent crease may remain after refitting |
| Lighting band | Repeated bands across the face rather than one confirmed join | No matching fabric join; ask the supplier to review the light layout of the LED lightbox display |
| Artwork feature | A line matching an edge, stripe, or transition in the design | The same feature in the approved print file |
Cover construction matters on shaped displays too. If a lighted display uses the wraparound construction found on towers or arches, inspect its approved closure and join positions rather than treating it as a flat SEG face.
Check the Graphic Without Opening Electrical Parts
- Disconnect power and let the unit cool before removing or refitting fabric. Follow the manufacturer’s instructions; do not cut stitching, trim silicone, or move internal parts.
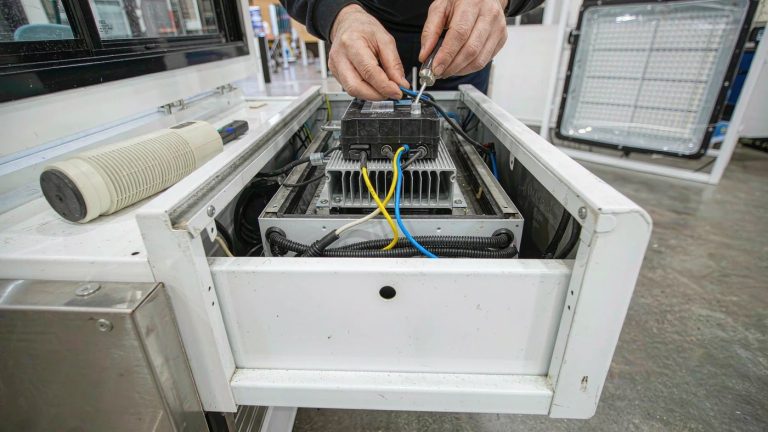
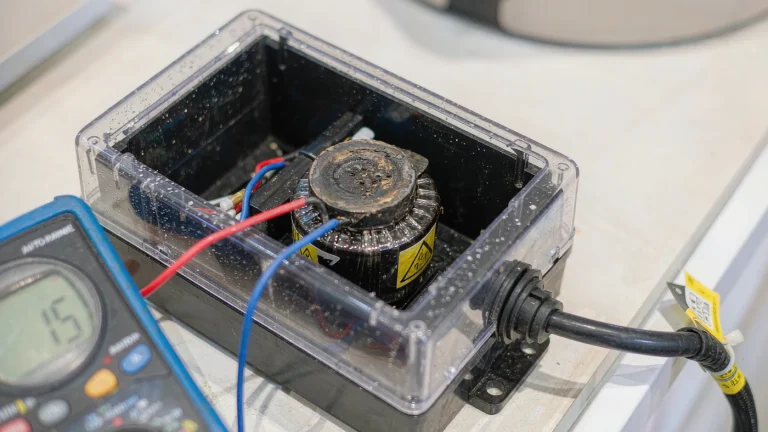
- Leave drivers, wiring, and LED components to qualified personnel working under applicable local rules. Electrical work presents shock and fire hazards. [1]
- Stop using the unit if you notice burning smells, scorch marks, melted insulation, repeated breaker trips, or abnormal flicker. Seek qualified electrical inspection rather than continuing a graphic test.
- For high-mounted displays or hanging signs, arrange qualified installers and suitable access and fall-protection measures. A fabric inspection is not a reason to improvise overhead access. [2]
How to Tell a Seam From a Lookalike
Compare the Same Line With the Lights On and Off
Before disconnecting power, photograph the entire face and the line at normal viewing distance. Then compare the same area unlit, using side light to look for a ridge, stitching, staining, or damage. A line that becomes faint or disappears when unlit can still be a seam: backlighting may be what makes the join conspicuous. This comparison records the symptom; it does not identify the cause by itself.
Match the Front Line to the Back
If removal is permitted, lay the graphic on a clean, flat surface and match the line to its position on the back. Look for stitching, an overlap, a hem, or zipper tape. Check the perimeter separately from the middle of the print. If no join matches, investigate a crease, the artwork, or the lighting instead of calling it a sewing defect.
Check the Approved Artwork
Compare the mark with the full-size approved file. A matching design edge supports an artwork explanation, but a join can also coincide with that edge. Use the file and the back-side inspection together. A line crossing a face or logo deserves supplier review; its location alone does not prove which part needs replacing.
Refit Once and Record What Changes
Where the manufacturer permits it, reseat the graphic using its specified sequence. Do not pull one side harder to force the line away. A manufactured join remains at the same location within the print even if its appearance changes. Slack folds may improve, while a storage crease may persist. No change after refitting does not, by itself, prove a factory seam.
For a useful comparison, keep the camera position, framing, exposure, room lighting, and lightbox setting consistent. Record whether the line moved relative to the artwork, softened, or stayed the same. These photographs help document a complaint; they are not a calibrated brightness measurement.
Agree on Measurement Before Quoting a Percentage
If a supplier requests readings, agree on the instrument, measurement area, viewing geometry, lightbox setting, and ambient lighting first. Illuminance is expressed in lux; luminance is expressed in candela per square metre (cd/m²). They are different quantities, not interchangeable readings of surface brightness. [3]
Do not treat the ratio of two handheld lux readings as a certified seam-visibility result. Acceptance should follow an agreed method and the requirements for the specific graphic and frame, not an unsupported universal percentage.
What the Inspection Result Means
The following are diagnostic scenarios, not reports of a particular installation or customer test. Use them to separate observations from conclusions.
| What you find | What it supports | Next step |
|---|---|---|
| A line crosses pale artwork, a join matches it on the back, and refitting leaves it in the same place within the print | The manufactured join contributes to the visible line | Ask the supplier to review the join construction and location before approving a remake; the same construction may reproduce the same problem |
| A dark rim near the frame becomes less noticeable after correct reseating | Seating or tension contributed to visibility | Confirm the edge is fully seated and the graphic matches the frame specification; do not trim the edge |
| A ridge remains, but there is no corresponding join | A crease remains a possibility even if refitting did not help | Request material-specific recovery or replacement advice; do not apply heat, solvents, or aggressive rubbing without approval |
| Repeated bands remain, with no matching joins or artwork features | A supplier review of lighting and diffusion is warranted, not an automatic print remake | Send the full-face photographs and frame model; leave internal inspection to qualified personnel |
Also note stains, tape residue, pulled threads, or pinholes near the line. These can complicate the appearance and should be documented separately rather than attributed automatically to the seam.
Does a Visible Seam Mean the Graphic Is Defective?
A specified panel join is not automatically a manufacturing defect, and a visible seam is not automatically acceptable. Compare the finished graphic with the approved join map, artwork, material specification, and agreed viewing conditions. A seam through a critical face, logo, or product name is a reason to review placement, especially if the approved layout kept that area clear.
For a supplier review, send the frame model and size, graphic specification, artwork version, approved join layout if available, lit and unlit photographs, when the line first appeared, and the result of the permitted refit. State whether it is visible at normal visitor distance or only in a close-up. This gives the supplier a specific problem to assess instead of a request to make the print “seamless.”
Prevent the Same Line on the Replacement
- Ask whether the proposed graphic requires a panel join. If it does, agree on its location on the actual artwork before printing.
- Keep joins clear of faces, logos, product names, and fine text where the construction allows. Do not assume a new print will relocate the join without a revised layout.
- Agree on a lit approval using the intended fabric, artwork, frame, brightness setting, and viewing distance. Check pale areas as well as saturated artwork.
- Confirm the finished size, perimeter construction, and fit requirements for the particular frame.
- Pack and store tension-fabric graphics according to the maker’s instructions. Keep them clean and dry, and avoid unapproved folding or heat treatment.
A back-side join matching the line is stronger evidence than a straight line alone. Confirm that match, check the fit and artwork, and agree on the correction before ordering a replacement.
Need to discuss a visible join before replacing the graphic? Include your frame details, approved artwork, and lit and unlit photographs with your enquiry.
Discuss Your Lightbox Graphic