Tension fabric displays · Shape & configuration
Choose the shape your message needs.
A straight wall gives a campaign one broad surface. A curve frames the presentation. A three-dimensional wall finishes the side view, while a modular set gives different messages their own panels. Compare those differences before choosing the width of your tension fabric display.
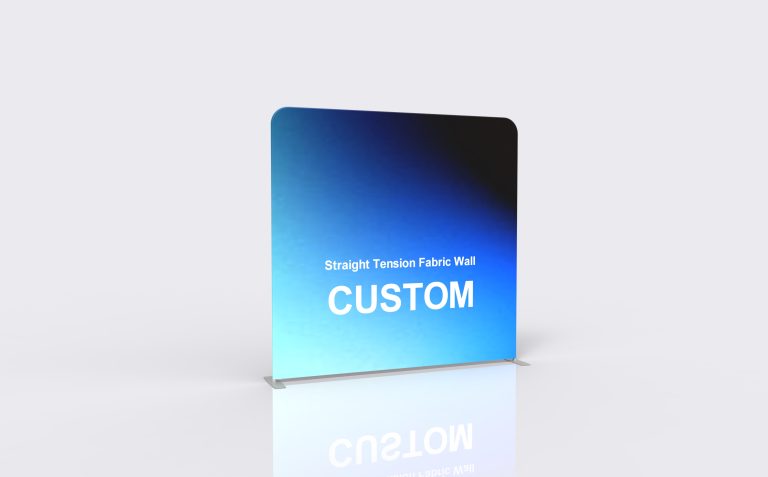
One face · One clear message
Straight walls for a full-width graphic
Use a straight tension fabric wall behind a reception counter, interview position or demonstration. Its rectangular face suits a large product image, a sponsor layout or one headline that needs to read across the booth.
Put the counter and any screen on the artwork proof before placing text. The lowest part of the print may be hidden once the booth is furnished. Include the support feet in the floor plan, even when the frame itself looks shallow.
Explore the straight wallWhat changes beyond the front view
Curved and 3D walls use space differently.
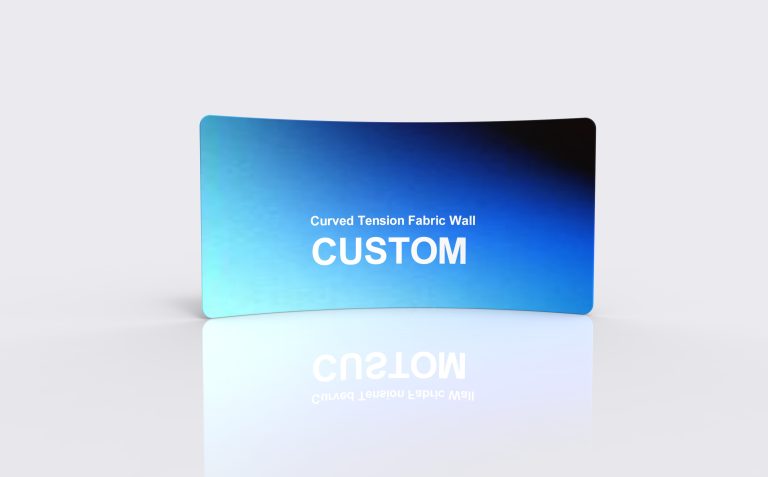
An arc around the presentation
A curved wall brings the ends of the graphic around the presentation area. Keep the main message near the centre; text at the far ends turns away from a straight-on viewer. Check the wall’s assembled depth before placing a demonstration table in front.
Compare the outside width and curve depth, not only the length of the fabric. Those measurements determine whether the display leaves enough space for staff and visitors.
View the curved wall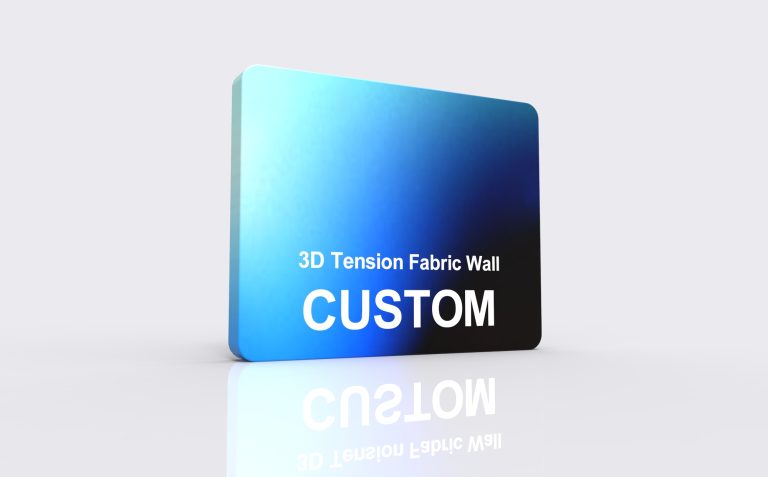
A finished side as well as a front
A 3D wall adds depth to the frame. This makes the side surface part of the design when visitors approach along an aisle. Carry a background colour or supporting image around the return rather than placing essential text across a corner.
The linked 3D Tension Fabric Wall currently lists a 40 cm depth for its 10 ft, 15 ft and 20 ft online configurations. That is a specification for this model, not for every 3D shape in the collection.
Compare the 3D wall sizesMore than one graphic surface
Give each modular panel a job.
A modular arrangement can separate a brand message, a product story and a demonstration area. It also introduces panel joins, height changes and overlaps. Treat the assembled layout as one composition, then prepare a separate print file for each face.
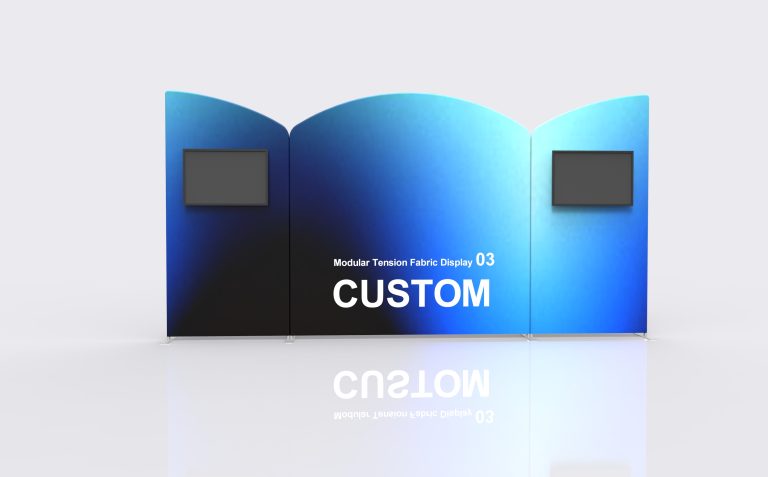
Plan the complete view first
Use the largest visible area for the main message and the other panels for supporting content. Leave clear space wherever a screen, shelf or counter will cover the graphic. A panel that works alone may become partly hidden in the combined layout.
Display 03 is one example of shaped panels used together. Its outlines require their own templates. Reusing the same rectangular artwork file across every panel would change cropping and text placement.
See the Display 03 arrangementA practical shortlist
Find the right format for your booth.
Straight fabric wall
Consider it forA full-width campaign image, interview backdrop or rear wall behind a counter.
Deciding detailAvailable wall width, support-foot footprint and furniture hiding the lower graphic.
Curved fabric wall
Consider it forA presentation or photo area framed by an arcing graphic.
Deciding detailAssembled curve depth and how the far ends read from the main viewing position.
3D fabric wall
Consider it forA display with an exposed side that needs to look finished from the aisle.
Deciding detailActual depth and artwork coverage across the front, return and any visible rear.
Modular panel set
Consider it forSeveral product messages or a backdrop arranged around demonstration equipment.
Deciding detailPanel order, joins, accessory positions and which parts work in another layout.
Frame first. Artwork second.
A print that fits the frame—and the view.
The linked straight, curved and 3D product pages specify full-colour printing on 260 g stretch warp-knitted fabric. The artwork still needs the exact frame’s pattern: shared fabric material does not make the covers interchangeable.
- Use the selected model’s template.Match its size, contour, seam positions and fastening method. Keep logos and small text within the supplied safe area; do not stretch an older print file to a new frame.
- Approve the assembled composition.Show furniture, screens and adjacent panels on the proof. For curved and shaped walls, review the design from the intended visitor or camera position.
- Keep a replacement record.Save the approved artwork, frame model, finished dimensions and order reference. When reordering a cover, include photos of the frame and the original graphic fitting.
Before choosing a configuration
Tension fabric display questions
Is a tension fabric wall the same as a pop-up wall?
They can both carry printed fabric, but the frame and graphic fittings can differ. The straight and curved tension fabric products linked here use round aluminium tubes; Milin’s pop-up walls use an expanding frame. A cover made for one system should not be ordered for the other.
Do I need single-sided or double-sided printing?
Choose based on the finished location. A wall positioned against a booth boundary may only need a front-facing message. If visitors can see the reverse, specify what that face should show. Double-sided printing does not make a flat frame three-dimensional; print coverage and frame shape are separate choices.
Can a shelf or screen be added to any fabric wall?
No single fitting should be assumed to work across the collection. Select a model with the appropriate support arrangement and provide the equipment dimensions, weight and mounting pattern. Accessories pictured with a display do not establish their inclusion or load capacity. Check those items in the selected configuration.
Can I rearrange a modular display for a smaller booth?
Only where the chosen panels and connections support that arrangement. Decide which sections you want to reuse and have the smaller layout checked before ordering. Moving a panel may expose its reverse or break a continuous image, so the graphic plan needs to work in both layouts.
Will a replacement graphic fit an existing frame?
It needs to match more than the advertised width. Shape, height, depth, joins and graphic fastening all affect fit. Provide the original order reference and frame photographs. A similar-looking frame from another supplier is not enough to establish compatibility.
How should I compare the quoted configurations?
Use the same finished size and print coverage, then compare the frame, printed cover, supports, chosen accessories and packing item by item. Keep freight separate if it is quoted separately. A frame-only price and a complete printed display are different purchase options.