For a 10×10 inline booth with one open side, put the backwall at the rear, a low counter near one front corner, and product displays along the opposite side. Keep a continuous route from the aisle to the display. For demonstrations, face the equipment toward an audience area inside the booth. For a corner booth, keep tall fixtures against the closed boundaries and leave entry space on both aisle-facing sides.
A 10 × 10 ft booth has 100 sq ft of floor space: 3.048 × 3.048 m, or about 9.29 m². Calculations below round the booth width to 3.05 m where stated. Furniture sizes are planning examples, not specifications for the pictured products.
Top-down concept with a backwall across the rear, a product display along the left side, and a counter set back from the front right corner. The front opens to the aisle, with space inside for visitors to approach the counter and display. This is a placement concept, not a dimensioned installation drawing. 10 ft / 3.048 m 10 ft / 3.048 m BACKWALL PRODUCT DISPLAY COUNTER Browse and talk Visitor position FRONT AISLE
Backwalls Along the Rear Boundary
Check the show’s rules before choosing wall height. The manual may apply different limits to the rear and front portions of an inline booth. An open corner does not automatically remove neighboring-exhibit sightline restrictions.
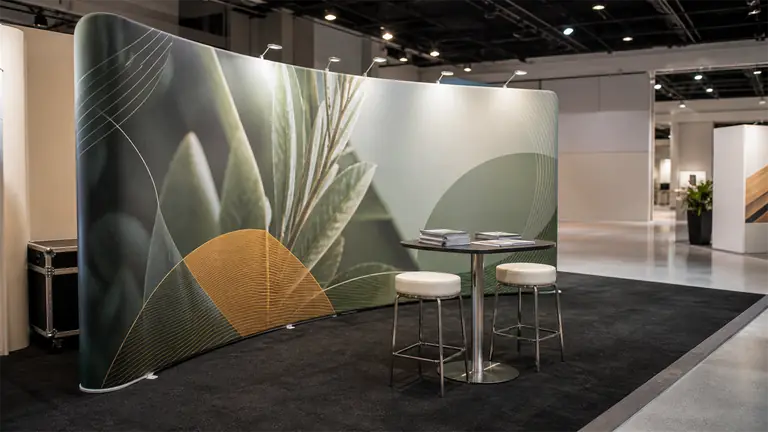
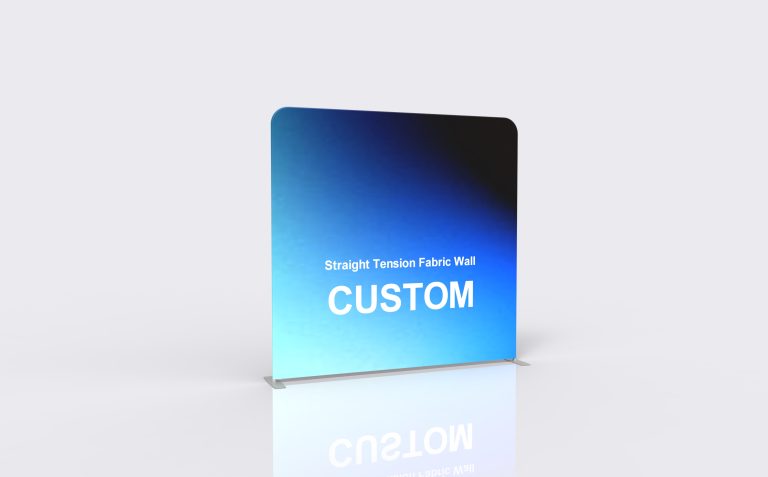
A 3 m-wide backwall display leaves just 4.8 cm—about 1.9 inches—of total nominal width within a 10 ft booth. Confirm whether the quoted width includes the frame, feet, and ballast. Assembly clearance may require a narrower unit.
Use the supplier’s drawing for depth, too. A wall requiring a 3.00 × 0.30 m installation area reserves 0.90 m² of floor space. The 0.30 m depth is an example, not a standard support size. A shipping case measuring 0.40 m deep needs a separate location if the space behind the wall is only 0.30 m deep.
On the artwork proof, mark the actual heights of the counter, screen, and products. Keep the brand name and business description above or beside those outlines. Product specifications can go on sample cards rather than behind the merchandise.
Counters Beside the Entrance
Place a low reception counter near a front corner, set back far enough for visitors to stop without standing in the aisle. Choose the side that leaves the main product visible from the busiest approach.
A 1.80 m table centered across a 3.05 m-wide booth leaves two openings of about 0.625 m each (24.6 inches). A 0.90 m counter positioned at one side leaves a single front opening of about 2.15 m (84.6 inches). These figures exclude people and projecting parts. For conversations and QR-code scanning, a small counter may be enough; paperwork, samples, and equipment may require a larger worktop.
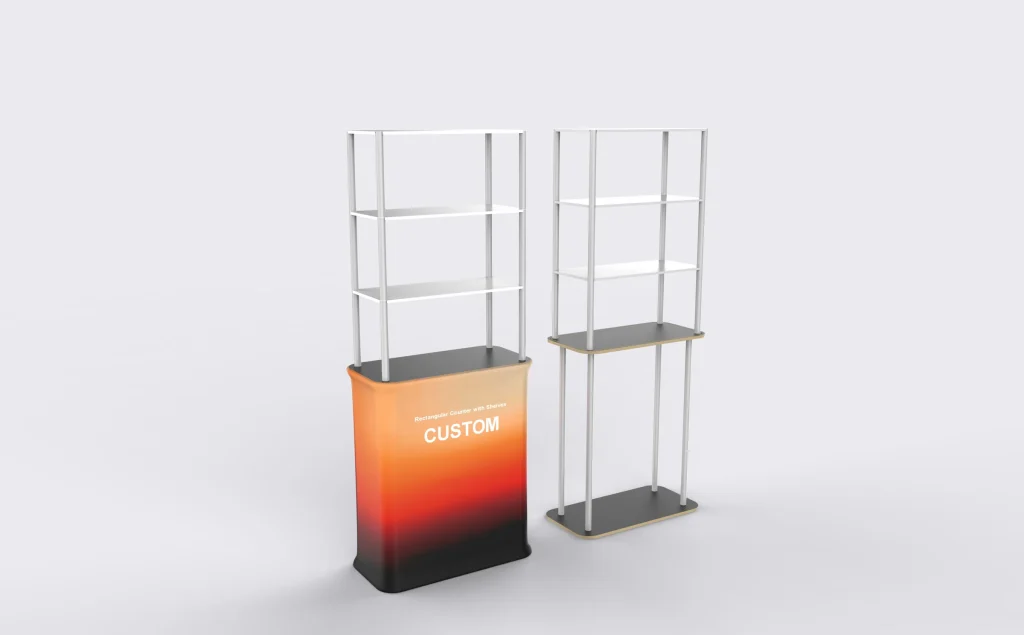
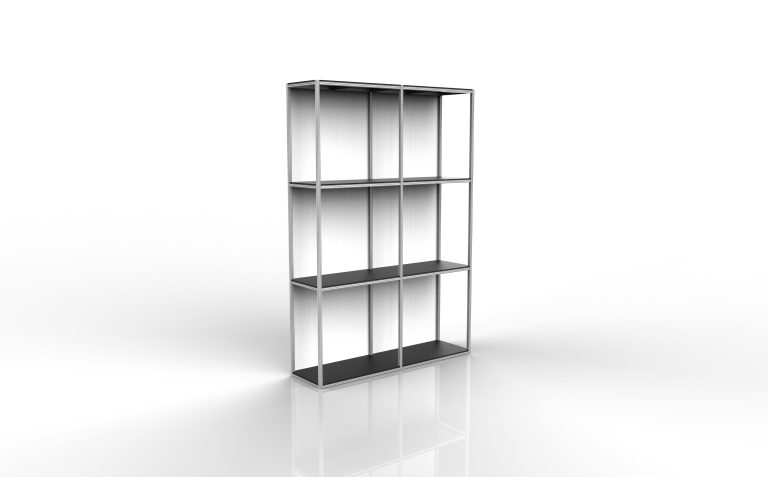
A rectangular counter with shelves combines a work surface with product display space. Unlike a low reception counter, the pictured configuration has a tall upper frame. Consider a side or rear position if it would obscure the backwall or exceed front-of-booth height limits.
To establish the counter setback, have someone stand in front of it and scan a QR code. Move the counter inward until their position is fully within the booth. Include a second standing position if visitors are likely to wait.
Product Displays Along One Side
Place sample displays along one side, with the main product visible from the entrance. Products that need viewing from several angles may suit a central display, but that usually means removing some side furniture.
A 2 m-long display occupies 0.70 m² at a depth of 0.35 m, compared with 1.20 m² at a depth of 0.60 m. The shallower unit saves 0.50 m², provided it supports the product’s full base, weight, and operating needs.
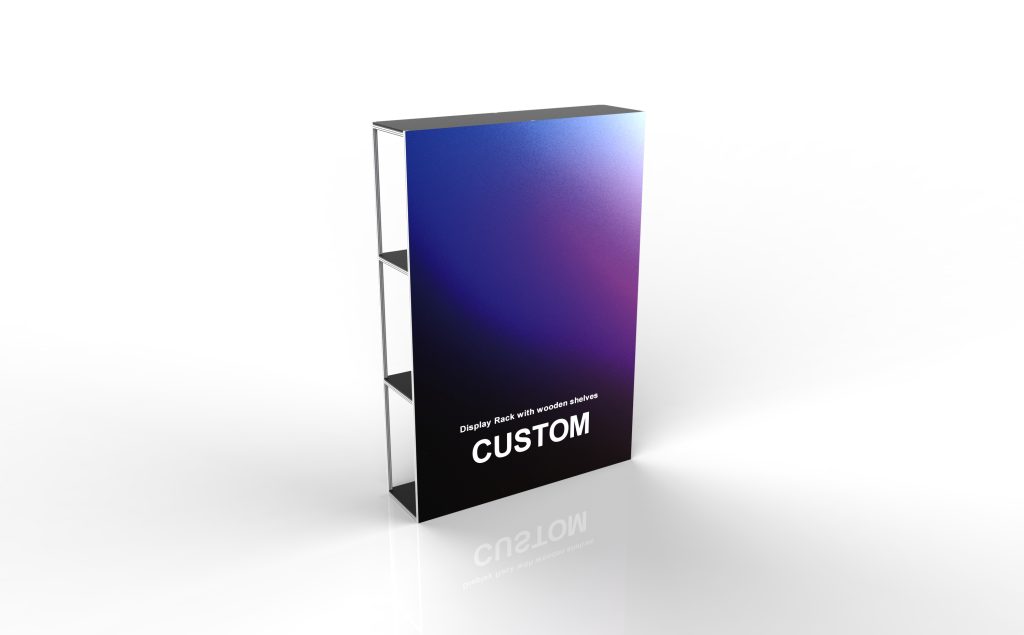
For a packaging range with four materials, one finished package and four material samples can show the differences without repeating every size and color. With a display rack with wooden shelves and a graphic panel, confirm which side visitors will browse and which side carries the artwork. Test shelf spacing with the largest item in hand.
A central freestanding display needs clearance on both sides. In a 3.05 m-wide booth, a centered 0.80 m unit between two 0.40 m-deep side displays leaves only 0.725 m per side (28.5 inches). Removing both side displays increases each gap to about 1.125 m (44.3 inches), before accounting for viewers.
Layouts by Booth Activity
| Main activity | Backwall and counter | Product and visitor positions |
|---|---|---|
| Sales conversations | Backwall at the rear; a low counter near one front corner, with visitor standing space inside the boundary. | Display along the opposite side; center left open for conversations. |
| Sample selection | Backwall at the rear; counter on the side opposite the samples. | A 1.5–2 m-long sample display along one side; spare stock in designated storage. |
| Product demonstrations | Backwall at the rear; registration counter outside the equipment’s operating area. | Single-sided equipment toward a rear corner, facing viewers inside the booth. Reserve space for moving parts. |
| Corner-booth reception | Backwall and counter along closed boundaries. | Tall displays beside the closed edges; the outer corner left open for entry from both aisles. |
Equipment requiring rear servicing, front-to-back feeding, or access on all sides needs a layout based on the manufacturer’s clearances. Mark the power connection before fixing its position, so the cable route does not cross the entrance. If a demonstration needs the same space as a meeting table, choose the activity that takes priority and remove the competing furniture.
Floor Space and Clearances
| Item | Example dimensions (width × depth) | Reserved area |
|---|---|---|
| Backwall and supports | 3.00 × 0.30 m About 118 × 12 in |
0.90 m² |
| Counter | 0.90 × 0.45 m About 35 × 18 in |
0.405 m² |
| Display unit | 1.80 × 0.40 m About 71 × 16 in |
0.72 m² |
| Total | Assuming no overlap between reserved areas | 2.025 m² |
The total is about 21.8 sq ft, leaving roughly 78.2 sq ft (7.27 m²) before accounting for people, door swings, and equipment operation. Inch values are rounded for reference; use the confirmed supplier dimensions for ordering. Measure routes between the furthest projecting edges, including feet and shelves.
In the United States, ADA guidance generally requires a continuous accessible-route clear width of at least 36 inches, or about 914 mm, with limited exceptions. Turns and other conditions can require more space.[1]
Where clear floor space is required at an accessible element, the general minimum is 30 × 48 inches, or 762 × 1,219 mm. Confined approaches may need more room. This is approach space, not a substitute for turning space.[2]
The 0.625 m entrance gaps and 0.725 m central-display gaps calculated above fall below the general 914 mm accessible-route width. They show arrangements to revise, not recommended walkway sizes. Check the full layout against applicable access, service-counter, and local requirements.
Meeting Tables and Chairs
A 0.60 m-diameter table—about 24 inches across—with a trial allowance of 0.60 m for a chair and seated person on each of two opposite sides spans 1.80 m, or about 71 inches. That excludes any route behind the chairs and does not establish an accessible seating layout.
Use the actual chairs to test pulling out, sitting down, and leaving the table. If they extend into the entrance or sample-viewing area, remove or reposition a display before including the table.
Check the Layout Before Ordering
- Mark the usable booth dimensions on the floor, including any columns or venue obstructions. Add furniture outlines, support feet, door swings, and equipment movement areas with tape.
- Have one person use the counter or pick up the largest sample while another enters and leaves. For demonstrations, trial one presenter and two viewers; this is a test group, not a capacity limit.
- Move the counter if its visitors block the entrance. Change the cabinet position or door arrangement if an open door blocks a route.
- Reserve storage for sample cartons, shipping cases, coats, and literature. Confirm shelf load ratings and show restrictions before approving the order drawing.