Choose a hanging sign whose complete outside dimensions fit your approved overhead area. Compare round and square shapes for a booth approached from several aisles, or a rectangle when a long brand name needs a wider flat face. Set the graphic height and hanging position together so booth walls do not hide the lettering.
For a 6 × 6-meter island booth, you could compare 3-meter and 4-meter rings after checking permission and setbacks. Use the same artwork, hanging height, and aisle viewpoint for both. A larger frame is worth considering when it makes the brand easier to read at the distances that matter for your booth.
The calculations and viewing distances below are planning examples, not tested performance claims. Product images illustrate configurations, not completed installations. Your current exhibitor manual and approved drawings determine what you can install.
Check Hanging Permission
Find the hanging-sign and rigging sections in the exhibitor manual. Confirm your booth’s eligibility, maximum height, setbacks, installation provider, and submission deadlines. A product listed for a particular booth size does not establish permission to hang it.
IAEE’s 2023 North American guidelines measure hanging-sign height from the floor to the top of the sign and place signs directly above contracted booth space. They also advise checking for areas without available hanging points. Confirm the permitted height and usable rigging locations with the organizer and venue before finalizing the shape.[1]
If overhead suspension is unavailable, check the permitted height for a floor-supported header or tower. Moving the sign onto a support does not remove the booth’s display restrictions.
Choose the Size
Width and Clearance
Where setbacks apply to the entire sign, subtract them from the booth dimensions. A 6-meter-wide booth with a required 1.2-meter setback on each side leaves 3.6 meters. A 4-meter ring would exceed that space.
| Booth Size | Sign Diameter | Clearance to Each Side Boundary |
|---|---|---|
| 6 × 6 m | 3 m | 1.5 m |
| 6 × 6 m | 4 m | 1 m |
| 9 × 9 m | 5 m | 2 m |
Use the complete outside dimensions, including projecting components. If the sign exactly fills the permitted area, ask the rigging provider to confirm positioning requirements before ordering.
Rotation changes the space needed. A 4 × 2-meter rectangular sign turned 45 degrees in plan view occupies about 4.24 × 4.24 meters.
Keep unit conversions exact on production drawings. One foot equals 0.3048 meters, so a 20-foot booth is 6.096 meters wide—not 6 meters.[2]
For a 20 × 20-foot booth, a centered 10-foot ring leaves 5 feet on each side; a 12-foot ring leaves 4 feet. Compare those clearances with the event’s setbacks. Neither size is automatically approved for a 20 × 20-foot space.
Graphic Height and Hanging Height
For a tension fabric hanging sign, request the printed graphic height and the complete body height. They may differ if the frame or attachments extend beyond the fabric. A quote for a “3-meter ring” does not provide either measurement.
If the complete sign body is 1 meter tall and its top sits 5.5 meters above the floor, its bottom sits at 4.5 meters. Increasing the body height to 1.5 meters while keeping the same top position lowers the bottom to 4 meters. That change may put part of the graphic behind a booth wall. Check separately whether the show’s height limit includes suspension hardware above the body.
Choose the Shape
| Shape | When to Consider It | What to Check |
|---|---|---|
| Round | Visitors approach from several aisles. | Repeat complete brand marks around the curve. One long message will not be visible from a single position. |
| Square | You need four separate flat graphic faces. | Keep the full brand name on each relevant face and check views toward the corners. |
| Rectangular | The booth is elongated or the brand name needs more horizontal room. | Face the long graphic toward the main approach where possible; include branding on the short ends. |
| Triangular | You want three separate graphic faces. | Compare each face with the actual aisle directions. Three open booth sides do not automatically make this the best fit. |
| Custom | The structure follows a specific brand shape. | Check front, back, and side visibility, plus packing dimensions and replacement-graphic costs. |
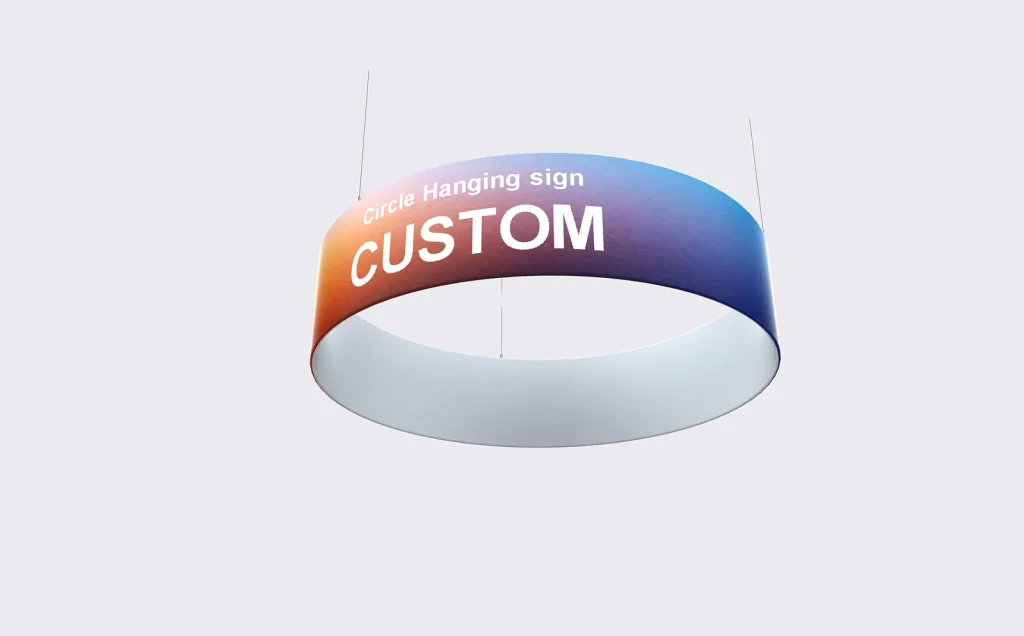
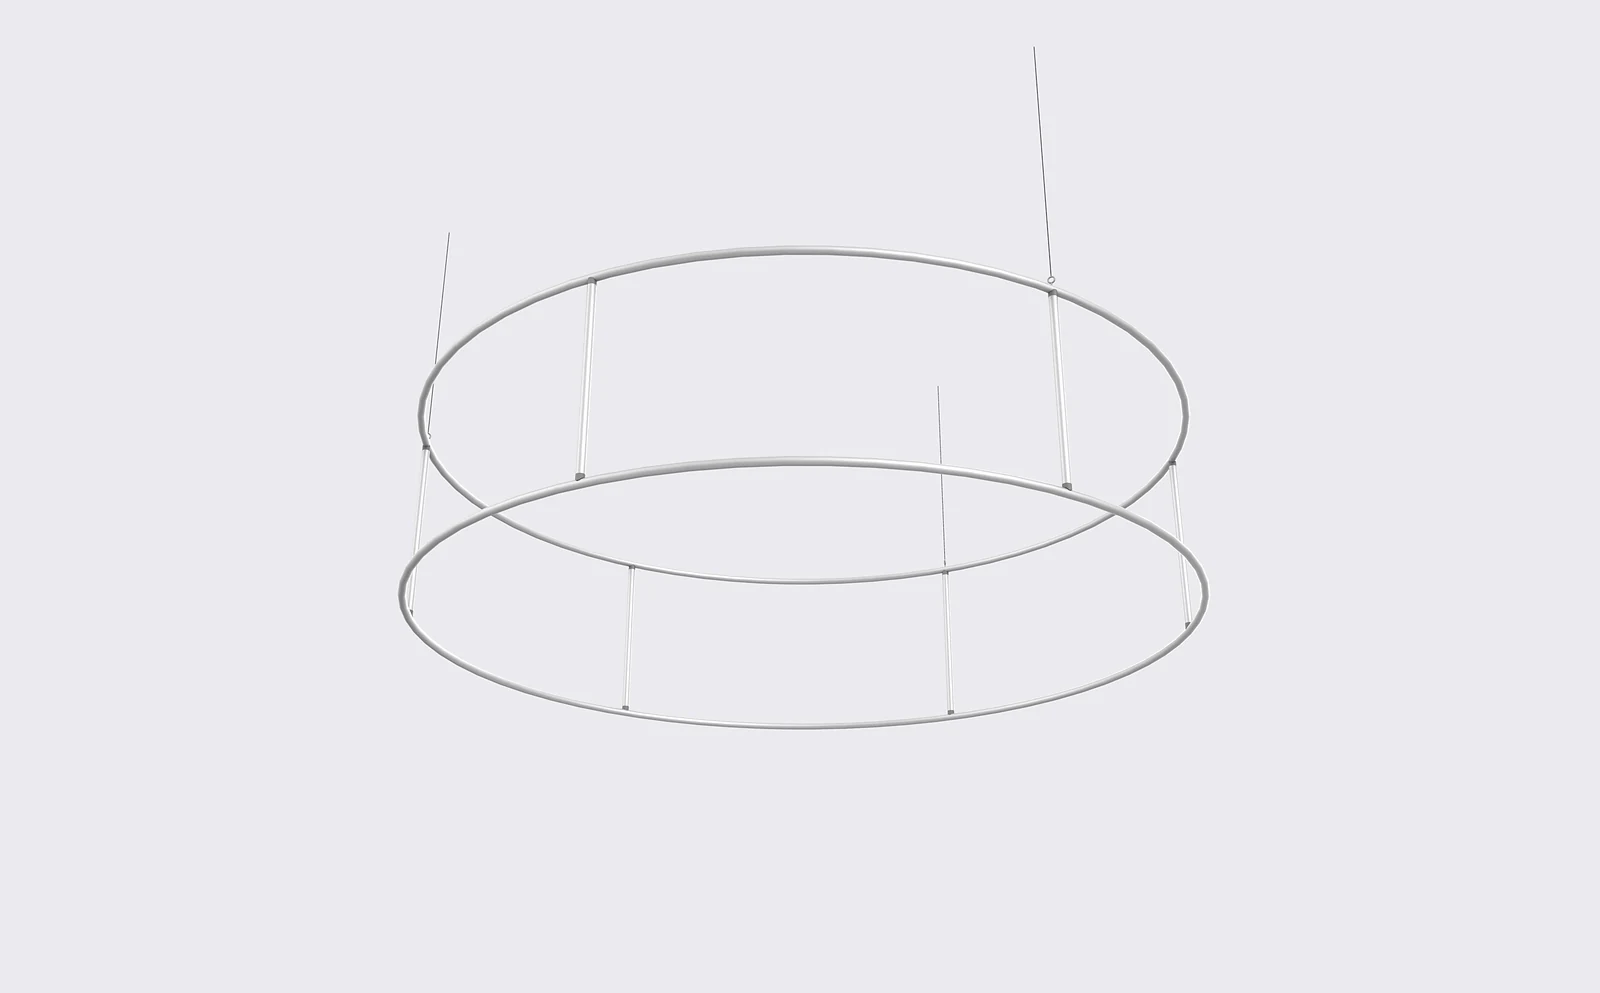
For a circle hanging sign, compare layouts with three or four complete brand marks. Mark the seam and main aisle direction on the artwork so visitors do not approach a blank section between logos.
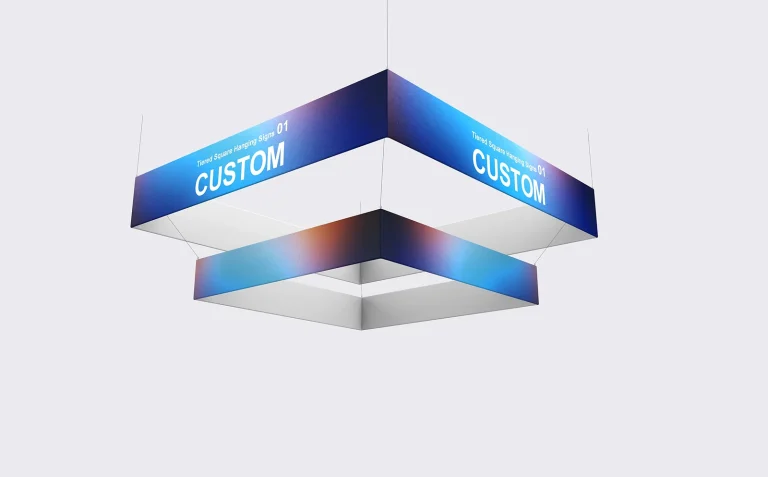
On a flat face, a 3-meter width with 0.3 meters left clear at each end provides 2.4 meters for the main graphic. If the name does not fit, remove the slogan and website first. Then compare a wider face or a brand-approved line break rather than compressing the logo.
Check the View from the Aisle
Place the sign and your backwall displays in the same drawing. Check the main approach, a side aisle, and the entrance—not just a front-facing rendering.
For an initial review, use 20 meters to check brand recognition, 10 meters to check the short business description, and 5 meters to check entrance visibility. Use shorter distances where the aisle layout requires them. These are review positions, not guaranteed reading distances.
To check wall obstruction, draw a section through the viewing point and graphic. Run sightlines from eye level to the top and bottom of the brand name. A line passing through the wall identifies an obstructed part of the text. Start with an assumed eye height of 1.6 meters, then include lower viewpoints.
Keep the Artwork Readable
Use the brand name and a brief category such as “Industrial Automation Sensors.” Add the booth number if it helps visitors locate you. Put product lists and contact details on the booth wall or handouts.
A clear 1:10 print viewed from 2 meters roughly matches the angular size of the full graphic at 20 meters. A 30-centimeter letter becomes 3 centimeters on the print. If the text is difficult to read, enlarge it or remove copy. Curved surfaces, lighting, and fabric need separate checks.
Compare Weight and Installed Cost
Request the assembled weight, hanging-point drawing, connection details, and required material documents. Include lights, power supplies, and accessories in an illuminated sign’s weight. IAEE’s guidelines call for engineered hanging points and compliance with venue and show-management rigging rules.[3]
| Cost Item | Details to Confirm |
|---|---|
| Frame and Graphics | Finished dimensions, inside or outside printing, included hardware, and packing case. |
| Shipping and Handling | Package dimensions and gross weight, delivery destination, venue material handling, and return shipping. |
| Installation and Removal | Rigging equipment, minimum labor hours, scheduled work times, and overtime rates. |
| Other Charges | Required engineering review, electrical service for illuminated signs, taxes, and storage. |
For repeat shows, confirm that the same frame fits each event’s approved hanging area. Replacement graphics must match the original template, including body height, panel layout, and closure positions; matching the diameter is not enough.
Before Production
- Drawings: Confirm outside dimensions, top and bottom heights, setbacks, and the rigging provider’s acceptance.
- Artwork: Approve the template version, seam positions, color proof, and graphic orientation.
- Delivery: Confirm package count, dimensions and gross weight per package, arrival deadline, and itemized cost.
Put the approved drawing number and date on the production order. If the size, weight, or hanging position changes, check whether the revision needs approval before manufacturing begins.