Booth size affects what you can display, how many conversations can happen at the same time, how visitors move through the space and how much the full event costs. A larger booth is not automatically more effective. A clear 10×10 booth with one useful activity can work better than a crowded 20×20 booth filled with furniture and competing messages.
Choose the smallest footprint that supports the required activities, visibility and visitor experience. Count the products, staff, visitors, demonstrations, meetings, storage and service access needed during the busiest period. Do not choose a booth from appearance alone.
North American trade shows commonly use booth modules based on 10-foot dimensions. The International Association of Exhibitions and Events publishes display guidelines to help organizers create consistent rules, but each show can set its own requirements for booth types, height, signs, structures and services.[1] Always check the current floor plan and exhibitor manual before ordering a display.
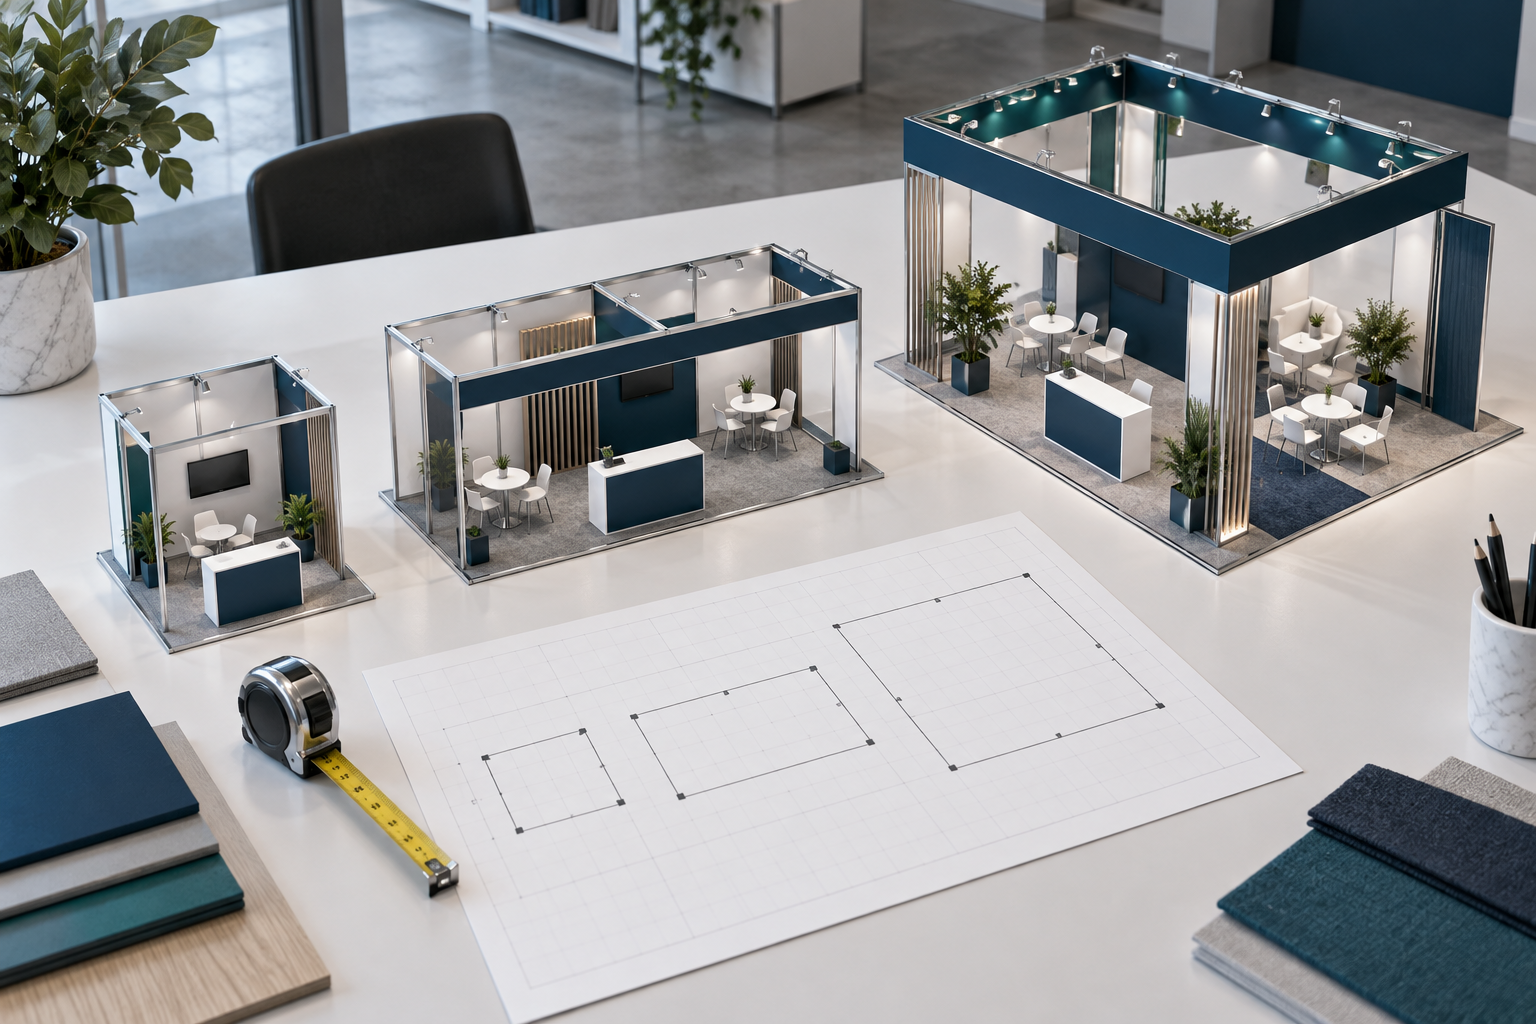
Quick Size Comparison
| Booth Size | Floor Area | Approx. Metric Area | Compared with 10×10 | Typical Planning Use |
|---|---|---|---|---|
| 10×10 ft | 100 sq. ft. | 9.29 m² | 1x | One main message, compact products and short conversations |
| 10×20 ft | 200 sq. ft. | 18.58 m² | 2x | Two main activity zones, several staff members or a small meeting area |
| 10×30 ft | 300 sq. ft. | 27.87 m² | 3x | Long product displays, several aisle-facing stations or a linear visitor journey |
| 20×20 ft | 400 sq. ft. | 37.16 m² | 4x | Multi-side access, larger products and several connected activities |
| 20×30 ft | 600 sq. ft. | 55.74 m² | 6x | Equipment, demonstrations, meetings and hospitality zones |
| 20×40 ft | 800 sq. ft. | 74.32 m² | 8x | Launches, group presentations, private rooms and customer hospitality |
| Custom | Varies | Varies | Varies | Large equipment, unusual hall conditions or a complex visitor experience |
The floor area is the rented footprint, not the space left for people. Walls, counters, products, storage, furniture and structural supports all reduce the usable area.
Feet and Metres Are Not Exact Matches
Plan from the contracted dimensions rather than treating imperial and metric booth sizes as identical. One international foot equals exactly 0.3048 metre. A 10×10-foot booth therefore measures 3.048×3.048 metres and covers about 9.29 square metres.[2]
A 3×3-metre booth covers 9 square metres, about 0.29 square metre less than a 10×10-foot booth. The difference is small, but it matters when ordering fitted flooring, full-width walls or equipment that nearly fills the footprint.
Footprint, Configuration and Construction
These three decisions are related but not interchangeable:
- Footprint is the rented floor area, such as 10×10, 10×20 or 20×20 feet.
- Configuration describes the open sides, such as inline, corner, peninsula or island.
- Construction describes the display system, such as portable, rental, modular or custom-built.
A custom display can be built inside a standard 10×20 space. A large island can also use reusable modular components. Exhibitors comparing construction options can review modular aluminum exhibition booth systems before deciding whether a fully custom structure is necessary.
Inline Booth
An inline booth sits between neighboring exhibitors and normally opens to one aisle. A common module is 10 feet wide and 10 feet deep. Larger inline spaces are often created by joining several modules, so a typical 10×20 inline booth has a 20-foot aisle-facing front and a 10-foot depth.
Inline booths work well when the message can be understood from the front and products can sit against the rear or side boundaries. They are less suitable when visitors need to walk around a machine or enter from several directions.
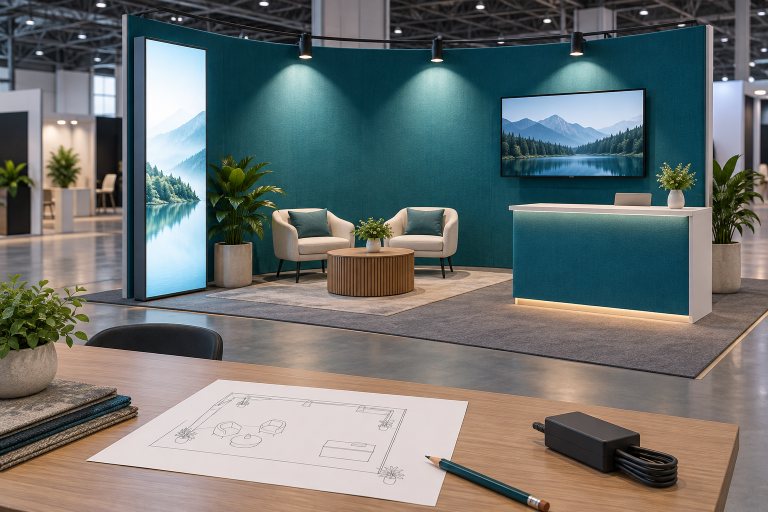
Keep the entrance open. Place the main graphic at the rear and move the reception counter to one side. A lightweight tension fabric backdrop booth can provide a large visual surface without using as much floor depth as heavy furniture or an enclosed room.
Corner Booth
A corner booth has two open sides. It has the same floor area as an inline booth of the same dimensions, but the second aisle can improve visibility, entry and traffic flow.
A 10×10 corner booth still provides only 100 square feet. Its advantage is access, not additional area. Do not close the corner with a tall product, wide counter or storage cabinet.
A corner location may still follow linear-booth height and wall rules, so it should not be designed as a small island without checking the exhibitor manual.
Peninsula Booth
A peninsula booth is open on three sides and connected to another booth or boundary on the fourth. It supports several entry points and works well for a central product, demonstration or reception area.
An end-cap booth at the end of a row may have different rear-wall and sightline rules from a peninsula placed back-to-back with another exhibit. Confirm where tall structures may stand, how the rear wall must be finished and whether graphics may face neighboring booths.
Island Booth
An island booth is surrounded by aisles on all four sides. Many shows sell island spaces from 20×20 feet, although the organizer may define the type by its four open sides rather than by one fixed minimum size.
An island can support a central product, several demonstrations, a meeting room, internal storage and overhead branding when approved. Every visible side must look finished, and wiring, stock and service access must be hidden inside the design.
Four open sides do not require four identical reception counters. Use the floor plan to identify the strongest traffic direction. One side can lead with the main message, while the others support product viewing, meetings or secondary activities.
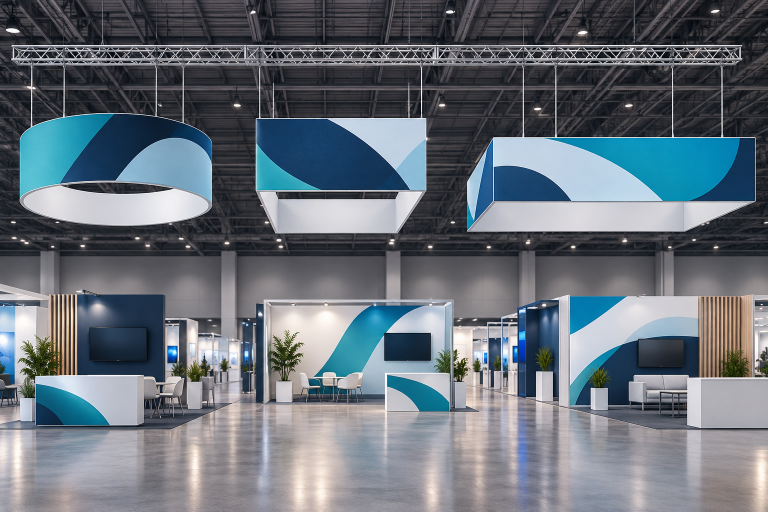
When approved by the organizer, a hanging banner can help visitors locate a large island from farther across the hall. Rigging availability, permitted dimensions and installation services must be confirmed before the design is approved.
10×10 Booth
A 10×10 booth provides 100 square feet. It works best when visitors have one main action: understand the offer, view one product, watch a short demonstration, speak with a representative or book a follow-up meeting.
A practical layout may include a backwall, one small counter, one screen or product station, one or two staff members and limited hidden storage. An open layout commonly supports two to four visitors for short conversations. These numbers are comfort-based planning estimates, not legal occupancy limits.
A simple 10×10 area plan may look like this:
| Area Item | Example Allowance |
|---|---|
| Backwall and supports | 10-15 sq. ft. |
| One 3×2-foot counter | 6 sq. ft. physical footprint |
| One compact product pedestal | 4-8 sq. ft. |
| Open staff and visitor area | About 65-80 sq. ft. |
These figures are planning examples rather than fixed standards. A deeper wall, larger counter or working product can reduce the open area quickly.
Keep the middle open and place the counter near a front corner. Chairs are rarely useful unless seated consultation is central to the event. A counter with internal storage usually uses the space better than a separate cabinet.
A 10×10 is a good choice for software, professional services, compact products, first-time event testing and exhibitors that hold longer meetings elsewhere. Milin’s 10×10 lightbox booth project shows how an illuminated backwall and compact counter can be used without dividing a small footprint into too many zones.
A 10×10 is usually too small when a machine needs operating clearance, several demos must run at once, more than two staff members need permanent working positions or groups stay for long periods.
10×20 Booth
A 10×20 booth provides 200 square feet. It is often the most useful step up from a 10×10 because it can support two main functions, such as product demonstrations and standing conversations, or product display and a small meeting area.
An open 10×20 commonly supports two to four staff members and four to eight visitors at one time. A very open layout may hold more people for short periods, while seating, storage, deep counters and equipment reduce capacity.
The following examples show how the same 200 square feet can support different goals.
| Area | Demo-Focused Layout | Meeting-Focused Layout |
|---|---|---|
| Display structure | 20-30 sq. ft. | 20-30 sq. ft. |
| Demonstration area | 50-70 sq. ft. | 25-35 sq. ft. |
| Meeting area | 0-20 sq. ft. | 40-55 sq. ft. |
| Storage | 9-16 sq. ft. | 9-16 sq. ft. |
| Open circulation and conversations | About 70-110 sq. ft. | About 65-100 sq. ft. |
The ranges overlap because the final result depends on the depth of the structure, product size and furniture. The important point is that a 10×20 normally works better with two strong functions than four weak ones.
Place demonstration stations toward opposite sides and keep the center clear. Angle screens so viewers naturally step into the rented space rather than stopping in the public aisle.
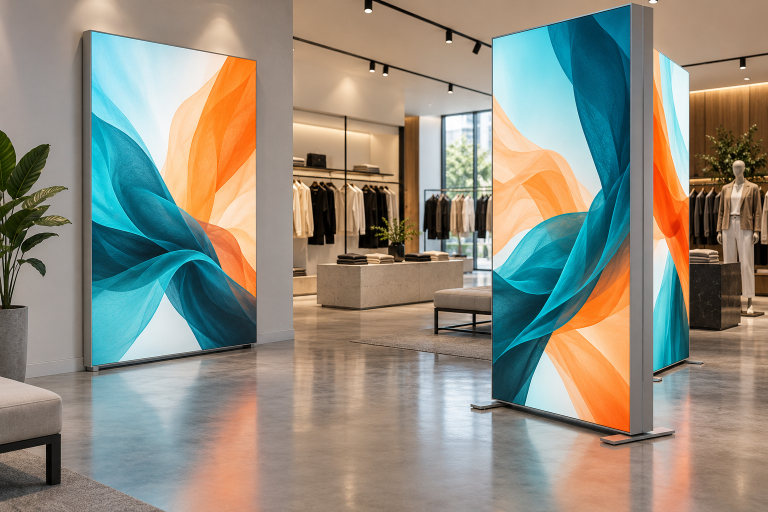
If visibility is more important than adding another product shelf, a lightbox exhibition booth can turn one wall into a clear visual anchor without dividing the floor into several small areas.
A meeting table should sit near the rear or at one end. Include the full chair movement area, not only the tabletop dimensions. Open seating can reduce distractions, but it does not provide sound privacy.
10×30 Booth
A 10×30 booth provides 300 square feet and usually presents a long 30-foot front to one aisle. It suits several products that can be viewed from the aisle, a long demonstration setup or a visitor journey that follows a clear sequence.
The main limit is depth. A typical 10×30 remains only 10 feet deep, so large meeting rooms, deep machinery and furniture placed across the width can create narrow routes.
A practical way to divide the frontage is:
- 10 feet for the main product or attraction;
- 10 feet for a demonstration or second product group;
- 10 feet for consultation, lead capture or a small meeting area.
The three sections should share one message, graphic style and visitor journey. Do not build three unrelated 10×10 booths beside each other.
Compare a 10×30 with a 20×20 before booking. The 10×30 offers a 30-foot public face but only 300 square feet. A 20×20 offers 400 square feet, 100 square feet more than the 10×30, together with greater depth and potentially more open sides.
20×20 Booth
A 20×20 booth provides 400 square feet, four times the area of a 10×10. When configured as an island or peninsula, it can support several visitor routes and several connected activities.
A 20×20 may contain a central product or structure, two or more demonstration points, a reception counter, a small meeting room and storage. That does not mean every feature should be included. A booth filled with all possible functions can still feel difficult to enter.
A sample area budget may look like this:
| Area Item | Example Planning Range |
|---|---|
| Central structure and storage | 60-100 sq. ft. |
| Two demonstration zones | 60-100 sq. ft. total |
| Small meeting or lounge area | 50-80 sq. ft. |
| Reception counter | 6-15 sq. ft. physical footprint |
| Open circulation and conversations | About 120-220 sq. ft. |
An open center works well for large products and group demonstrations. A central structure can hold graphics, screens, utilities and storage, but it must leave wide routes around it. A central meeting room provides privacy but removes open display area and can block sightlines from several aisles.
For product launches or scheduled presentations, an integrated LED screen display may be more useful than several small monitors, provided the screen size, power, sound and audience position are approved in advance.
A 20×20 modular booth can also be designed so parts are reused in smaller footprints. The ProCom 20×20 modular booth example shows the use of illuminated walls and overhead identification in a four-sided layout.
20×30, 20×40 and Larger Booths
Larger footprints can separate product, demonstration, meeting, hospitality, media and service zones. They also require more freight planning, utilities, installation labor, cleaning, storage and staff coordination.
A 20×30 contains 600 square feet, equal to six 10×10 modules. A 20×40 contains 800 square feet, equal to eight 10×10 modules. These footprints can support several functions, but the additional area should have a defined purpose.
Use a larger space when it solves a real problem: a working machine needs clearance, several meetings happen at once, a launch attracts groups or customer hospitality is part of the sales plan. Do not purchase extra floor space only because a large booth looks more impressive in a rendering.
A large booth still needs one clear visitor journey. People should know what to look at first, where to ask for help and how to reach meetings or demonstrations without crossing stock-replenishment and technical-service routes.
Custom Booths and Custom Sizes
A custom booth is designed for a specific brand or activity. It can be built inside a standard footprint. A custom size is a large, irregular or nonstandard rented area. The two terms are not the same.
Custom construction is useful when standard systems cannot support the product, utilities, rooms, branding or visitor route. Before choosing it, compare the same layout with rental and reconfigurable aluminum booth components. A reusable system may be easier to resize for later events.
Approve a scaled floor plan before approving the visual rendering. The floor plan should show every wall, product, counter, door, chair, storage area, utility point and visitor route. A rendering can show appearance but may hide operational problems.
Calculate the Real Working Space
Start with this calculation:
Net open area = Total floor area − Structures − Products − Storage − Fixed furniture
For example, a 10×20 booth has 200 square feet. If the backwall and supports use 20 square feet, storage uses 16, counters use 12, products use 20 and meeting furniture uses 35, the remaining open area is:
200 − 20 − 16 − 12 − 20 − 35 = 97 square feet
The remaining 97 square feet must still support staff positions, visitor conversations, entry and exit, chair movement, demonstration audiences and waiting space. Do not convert open square footage directly into a fixed number of people.
The following figures can help with early planning:
| Item or Activity | Physical Footprint or Planning Allowance |
|---|---|
| 3×2-foot reception counter | 6 sq. ft. before staff standing space |
| 2×2-foot product pedestal | 4 sq. ft. before viewing space |
| 3×3-foot storage room | 9 sq. ft. before wall thickness |
| 4×4-foot storage room | 16 sq. ft. before wall thickness |
| Two-person standing conversation | About 15-25 sq. ft. |
| Small demonstration point | About 25-45 sq. ft. |
| Four-person meeting zone | About 40-60 sq. ft. including chair movement |
| Six-person meeting zone | About 60-90 sq. ft. depending on furniture |
These are practical planning ranges, not building-code or occupancy requirements. Actual needs depend on furniture dimensions, visitor behavior and the type of activity.
Test the plan at full scale. Mark the booth outline on a floor with tape, add furniture or cardboard shapes in the correct dimensions, open doors and cabinets, move chairs and simulate the busiest period. This is often more useful than studying a perspective image.
Plan Staff, Visitors and Traffic Together
Use the number of people working each shift, not the total number traveling to the event. A company may send twelve employees but need only three or four inside the booth at one time.
For example, using two shifts of four active booth staff means only one-third of a twelve-person event team needs permanent working space at any one time. The remaining employees can attend meetings, visit customers, take breaks or support off-floor activities.
A simple staffing plan may look like this:
| Booth Size | Example Active Team |
|---|---|
| 10×10 | One sales or greeting person plus one product specialist |
| 10×20 | One greeter, one or two salespeople and one technical person |
| 20×20 | One or two greeters, two to four salespeople and one or two demo or technical staff |
These examples should be adjusted to the number of active stations. A booth with two demonstration areas and one meeting room needs different staffing from an open lead-collection booth of the same size.
Visitor Dwell Time Changes Capacity
Floor area alone does not determine how many visitors a booth can handle. The length of each interaction matters.
| Average Interaction Time | Theoretical Maximum per Station per Hour | Typical Use |
|---|---|---|
| 3 minutes | 20 interactions | Fast qualification or badge scanning |
| 5 minutes | 12 interactions | Short product introduction |
| 10 minutes | 6 interactions | Basic consultation or product discussion |
| 20 minutes | 3 interactions | Detailed demonstration |
| 30 minutes | 2 interactions | Scheduled sales meeting |
These are simple time calculations and do not include note-taking, visitor changeover or delays. Actual throughput will normally be lower.
A 10×20 booth with eight visitors staying for three minutes may continue to accept new traffic. The same booth with eight visitors watching a 20-minute demonstration may remain effectively full for most of that period.
Keep audiences and queues inside the contracted footprint. Move counters away from the center of the entrance, place seated areas toward the rear or side and make sure visitors can leave without walking through another conversation.
Check Whether a Meeting Area Is Worth the Space
A meeting table can use 40 to 60 square feet after chair movement is included. In a 10×20 booth, that may represent 20% to 30% of the total footprint.
Calculate expected use before reserving that space. For example:
- Six meetings per day;
- 30 minutes per meeting;
- Eight-hour show day, equal to 480 minutes;
- Total active meeting time: 6 × 30 = 180 minutes;
- Meeting-area use: 180 ÷ 480 = 37.5%.
In this example, the meeting area is actively used for 37.5% of the show day. That may still be worthwhile if the meetings involve qualified buyers, but it should be compared with the value of using the same area for demonstrations or open conversations.
A room used for twelve 30-minute meetings would have 360 minutes of active use, equal to 75% of an eight-hour show day. Higher planned use makes the dedicated floor area easier to justify.
Measure Products in Working Position
A machine’s shipping dimensions are not enough. Include open doors, moving parts, operator space, visitor viewing, barriers, ventilation, cables, hoses and maintenance access.
A machine measuring 6×4 feet has a physical footprint of 24 square feet. Once an operator position, open panels and visitor viewing space are added, the working zone may use two or three times the physical footprint.
At twice the physical footprint, the working zone would use about 48 square feet. At three times the footprint, it would use about 72 square feet. In a 10×20 booth, that equals 24% to 36% of the total rented area before counters, walls or storage are added.
Check the delivery route as well. Equipment may fit inside the booth but fail to pass through the loading door or planned booth opening. Heavy items may require floor protection, approved lifting, early delivery or installation before nearby structures are built.
Plan Utilities Before the Layout Is Final
Electrical service, internet, water, drainage, compressed air, audiovisual equipment and rigging can change the entire floor plan. Decide where services enter and how technicians can reach them before fixing the position of counters and products.
Do not run loose cables across visitor paths. Use only floor systems and cable protection accepted by the organizer and venue.
Hospitality also needs operational space. A coffee service may require power, water, preparation space, cup storage, waste handling, cleaning and a queue. A four-foot counter does not represent the full working area once the server, equipment and waiting visitors are included.
Check Height, Structure and Sign Rules
There is no single height rule for every trade show. Organizers may apply different limits to linear, perimeter, peninsula and island booths. Separate rules may cover hanging signs, lighting trusses, covered ceilings, raised floors, multi-level structures and tall elements near an aisle.
Official exhibitor manuals can also differ by venue or event area. CES, for example, provides venue-specific information for booths, meeting rooms, hospitality spaces, rules and official services.[3] A booth approved at one event should not be assumed to comply at another.
Large, tall, suspended, covered or multi-level structures may require drawings, engineering information, fire documentation or written approval. Confirm the submission deadline before fabrication begins.
Build Accessibility Into the Booth
Provide a step-free route from the aisle to the main product, meeting area and interaction point. Check floor edges, entrances, turning space, counter access, seating, screen captions, text size and contrast.
The ADA National Network’s temporary-event guide recommends planning for access from the beginning and identifying barriers that may prevent people with disabilities from participating.[4]
In the United States, the Department of Justice’s ADA Standards include technical requirements for accessible routes, entrances, doors, turning spaces and ramps.[5] Local laws, venue rules and organizer requirements still need to be checked for each event.
Do not place every control or sample at standing height. Add captions to important video content and do not use color as the only way to communicate information. A raised floor should not create an unexpected step or narrow the usable entrance.
Compare the Full Event Cost
The booth-space fee is only one part of the budget. A full comparison may include:
- Floor-space rental;
- Display rental or fabrication;
- Graphics, flooring, furniture and lighting;
- Electrical, internet and audiovisual services;
- Freight and material handling;
- Installation and dismantling;
- Rigging, cleaning, storage, insurance and approvals;
- Staff travel, hotels, lead capture and follow-up.
Some costs rise directly with area. Others increase in steps when a project needs extra shipping cases, more installers, heavy lifting, rigging or engineering review.
| Move from 10×10 to | Flooring Quantity | Increase over 10×10 |
|---|---|---|
| 10×20 | 200 sq. ft. | 100% increase |
| 10×30 | 300 sq. ft. | 200% increase |
| 20×20 | 400 sq. ft. | 300% increase |
| 20×30 | 600 sq. ft. | 500% increase |
| 20×40 | 800 sq. ft. | 700% increase |
For example, moving from a 10×10 to a 20×20 increases flooring from 100 to 400 square feet. The flooring quantity increases by 300%, even though each side of the booth only doubles.
This does not mean the full project cost always rises by the same percentage. A simple 20×20 modular booth may cost less to transport and install than a heavily built 10×20 booth. Compare the same services and construction level.
The Milin display pricing page can help compare example booth systems, but space rental, venue services, freight, labor and staff expenses should be budgeted separately.
Measure Results, Not Just Booth Size
A useful starting calculation is:
Cost per qualified lead = Total event cost ÷ Number of qualified leads
For example, if the full event costs $40,000 and produces 100 qualified leads, the cost per qualified lead is $400.
If a larger booth raises the full event cost to $60,000 and produces 120 qualified leads, the cost per qualified lead becomes $500. The larger booth produces more leads, but each qualified lead costs more.
This does not automatically mean the larger booth performed worse. The 120 leads may include more target accounts, larger opportunities or more completed meetings. Cost per lead should be reviewed together with lead quality and sales value.
Define a qualified lead before the event. A badge scan alone does not show whether the visitor has a relevant need, authority, timing or willingness to continue the discussion.
Also track completed meetings, demonstrations, target accounts reached, sales opportunities, pipeline value and follow-up completion.
Rent, Buy or Use a Modular System
Renting works well when the company attends only a few shows, changes sizes often or wants to test a new layout. Check whether graphics, flooring, furniture, freight and labor are included.
Buying may work when the company uses stable sizes across many events and can manage shipping, storage, repairs and graphic updates. Compare total ownership cost over the expected number of uses.
For example, a system costing $30,000 and used at ten events has an initial hardware cost of $3,000 per event before storage, repairs, freight, installation and graphic updates. If it is used only three times, the initial hardware cost is $10,000 per event.
Modular systems can be rebuilt for several footprints. Ask the supplier to show a complete plan for every intended size, not only the largest configuration. A system that looks complete at 20 feet may feel unfinished when reduced to 10 feet.
Replaceable fabric graphics can make repeated use easier when the hardware remains the same but campaigns change. Milin’s exhibition display solutions include aluminum, lightbox, tension-fabric, hanging and LED-based options that can be compared by footprint and display purpose.
Choose the Size by Main Goal
Lead collection: Use an open 10×10 or 10×20 with one clear message, easy entry and fast qualification. Move to 10×20 when several conversations must happen at once.
Product demonstration: Calculate the product, presenter, audience, screen, safety space and demo duration. A compact demo may fit in a 10×20; large or moving equipment may require a 20×20 or custom footprint.
Meetings: Count simultaneous meetings, group size, duration and privacy needs. One small open table may fit in a 10×20. Several private rooms usually require a larger island or a separate meeting facility.
Brand or product launch: Plan for the audience created at the launch time, not normal traffic. Include media positions, screens, technical support, storage and crowd movement.
Equipment display: Confirm delivery access, floor loading, lifting, power, air, water, ventilation and operating clearance before reserving the space.
How to Calculate the Final Size
- Define the main business result.
- List the activities happening during the busiest period.
- Measure products, structures and furniture in use.
- Add operating space, storage and utility access.
- Add the staff and visitors expected at the same time.
- Keep continuous entry, exit and accessible routes.
- Compare booth shapes and open sides, not only total area.
- Test the layout at full scale.
- Check the current exhibitor manual and floor plan.
- Compare the full cost with the result the extra space should produce.
Consider a company that needs the following:
- Product and operating area: 40 sq. ft.;
- Two demonstration areas: 60 sq. ft.;
- Storage: 20 sq. ft.;
- Meeting area: 50 sq. ft.;
- Staff, visitors and circulation: 130 sq. ft.
The total requirement is:
40 + 60 + 20 + 50 + 130 = 300 square feet
A 10×30 provides exactly 300 square feet, but it leaves no planning margin and has only 10 feet of depth. A 20×20 provides 400 square feet, leaving about 100 square feet before any later changes. It may also offer more open sides and better movement around the product.
The 10×30 may still be better when the products need long aisle frontage. The 20×20 may be better when visitors need to move around a central product or enter from several directions.
Common Booth-Size Mistakes
- Choosing from appearance: A dramatic structure is not useful when it blocks entry or removes working space.
- Adding too much: Every screen, counter and chair should support a specific visitor action.
- Ignoring net space: The rented footprint is not completely available to people.
- Planning for average traffic: Test the busiest demonstration, launch or meeting change.
- Overstaffing: Schedule only the people needed for each shift.
- Underplanning storage: Boxes, bags and supplies quickly reduce visitor space.
- Measuring equipment only for shipping: Use its full operating and service area.
- Assuming every open side receives equal traffic: Design for the real aisle location.
- Using aisle space as booth space: Keep demonstrations, queues and staff inside the contracted footprint.
- Buying a fixed system too early: Confirm future booth sizes before committing to hardware.
Final Choice
Choose a 10×10 booth when one message, one compact product or short conversations are enough.
Choose a 10×20 booth when two main activities, several staff members or a small meeting area must fit.
Choose a 10×30 when a long aisle-facing display or linear product story matters more than depth.
Choose a 20×20 when visitors need access from several sides, products need more operating space or several connected activities happen at once.
Choose a larger or custom footprint when equipment, meetings, presentations or hospitality create a clear operational need.
The right booth is not simply the largest one the budget allows. It is the smallest space that supports the required work, visibility and visitor comfort without avoidable congestion.
Exhibitors that need a layout based on a specific product, staff count and show footprint can review the full range of exhibition display solutions or send their dimensions and requirements for a custom booth plan.
Frequently Asked Questions
Is 10×10 the standard trade show booth size?
A 10×10-foot space is a common North American module, but it is not a worldwide rule. Use the exact dimensions shown on the contracted floor plan.
How many square metres are in a 10×10 booth?
A 10×10-foot booth covers about 9.29 square metres. A 3×3-metre booth covers 9 square metres, so the two sizes are close but not identical.
How many people fit in a 10×10 booth?
An open layout commonly supports one or two staff members and two to four visitors for short conversations. Furniture, products and dwell time can reduce that number.
Is a 10×20 booth twice as large as a 10×10?
Yes. A 10×10 has 100 square feet and a 10×20 has 200 square feet. The extra space may not feel twice as large after adding storage, meetings and more displays.
Is a 20×20 booth four times larger than a 10×10?
Yes. A 20×20 contains 400 square feet. Its official booth type still depends on the open sides shown on the floor plan.
Which is better, a 10×30 or a 20×20?
A 10×30 provides a longer aisle-facing front. A 20×20 provides 100 more square feet, greater depth and may offer more open sides. Choose according to the product shape and visitor route.
Does a corner booth give you more space?
No. It gives the same floor area as an inline booth of the same dimensions, but the second open side can improve visibility and entry.
How much space does a four-person meeting area need?
A practical early-planning allowance is about 40 to 60 square feet, including the table, chairs and chair movement. The actual requirement depends on the furniture and access route.
Should a booth have enclosed storage?
Use enclosed storage when supplies cannot fit inside counters. A 3×3-foot room uses at least 9 square feet, while a 4×4-foot room uses 16 square feet before wall thickness is included.
Can one display system fit several booth sizes?
Yes, when the hardware is designed as a modular system. Review a complete layout for every intended size, including graphics, storage, lighting and shipping cases.