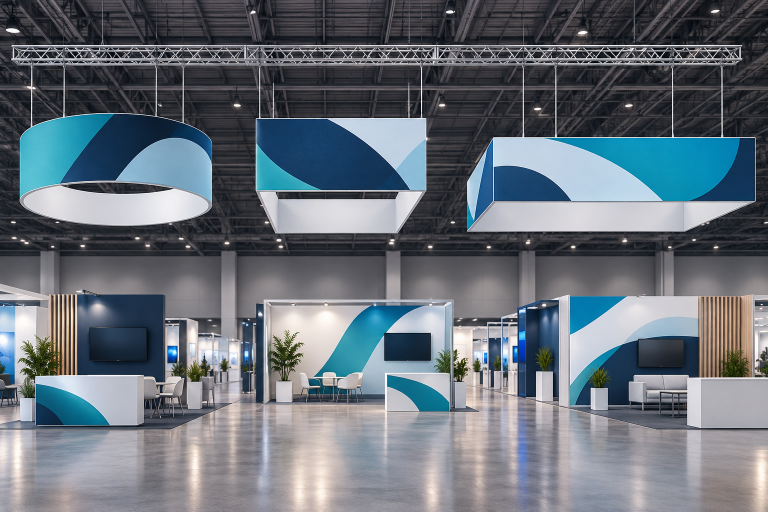
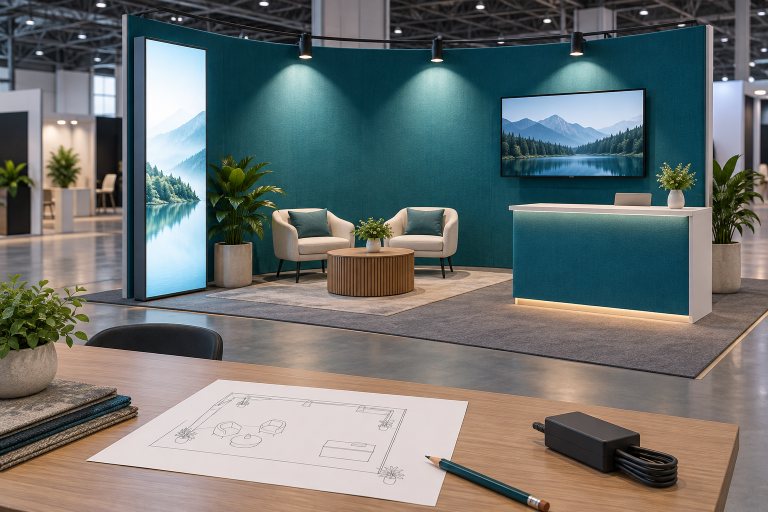
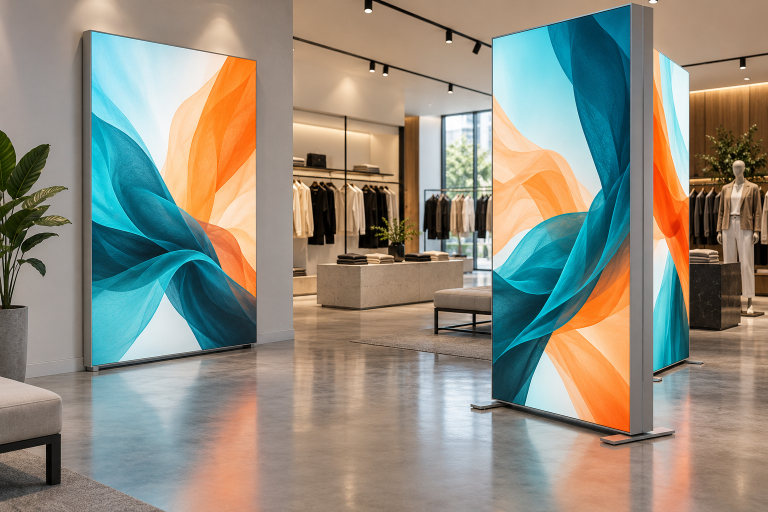
Before buying an exhibition booth, check the business goal, event rules, real booth space, full cost, safety, shipping, installation, and future reuse. Do not choose from a rendering or the first quotation alone. A good booth must fit the venue, support your staff, arrive safely, install on time, and remain useful after the first event.
Start by reviewing the available exhibition display options, then compare them with your booth size, event locations, products, staff needs, storage plan, and budget.
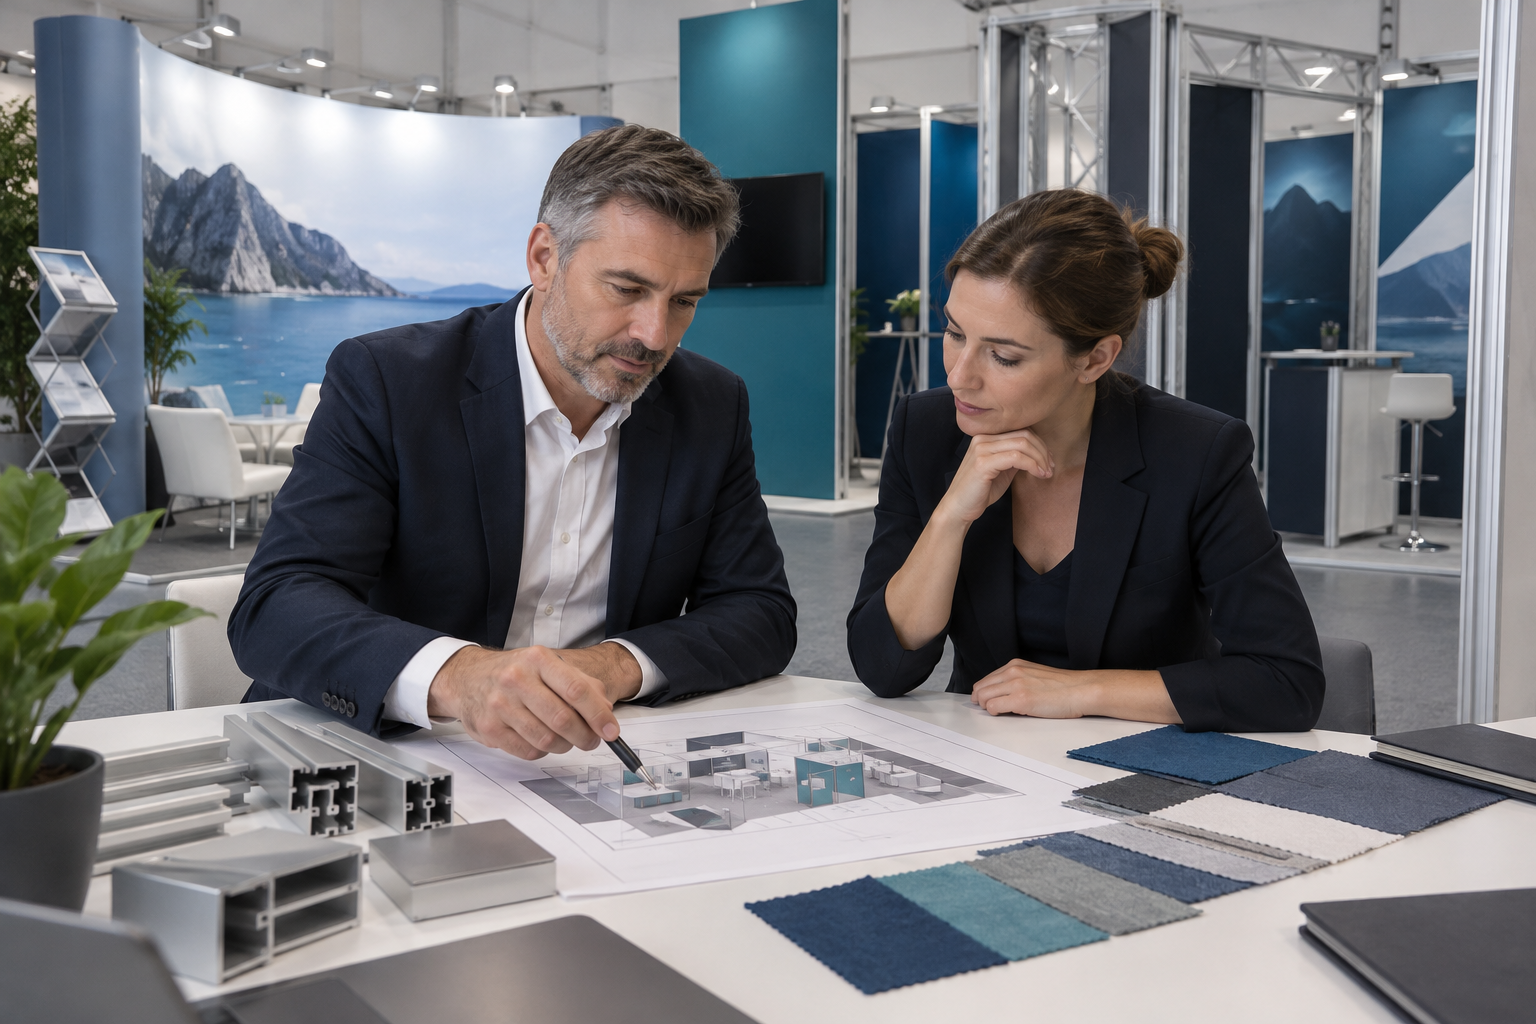
Define What You Are Buying
“Buying a booth” can describe several different transactions. Confirm the meaning before comparing prices.
- Booth space: The floor area rented from the event organizer.
- Purchased booth system: Reusable frames, panels, counters, lights, graphics, cases, and other parts that become your property.
- Custom build service: A booth made for one event. The contractor may still own, reuse, or dispose of the materials afterward.
- Rental booth: Temporary use of a structure or equipment without ownership.
- Hybrid booth: A mix of owned branded parts and locally rented items.
Ask the supplier to list exactly what you will receive. This should cover the physical parts, shipping cases, spare hardware, artwork files, production drawings, installation instructions, and repair information. A quotation that only says “custom exhibition booth” is not detailed enough.
Set the Main Booth Goal
Choose one main goal before discussing colors, shapes, or decorative features. Common goals include collecting qualified leads, launching a product, running demonstrations, meeting distributors, or holding customer meetings.
The goal should decide the layout. A lead-generation booth needs open access and several short conversation points. A meeting booth needs seating and some privacy. A machinery booth needs safe viewing space, power, ventilation, and room for operators.
Give every supplier the same brief:
- Main goal and target visitors
- Booth size and event location
- Products, samples, or machines to be displayed
- Meeting, demonstration, and storage needs
- Expected number of future uses
- Budget range
Also state what the booth does not need. Removing low-priority features before design is cheaper than removing them after production starts.
Check the Booth Space
Do not design from the floor area alone. A 6 × 6 meter booth can work very differently depending on its open sides, hall position, columns, nearby booths, visitor direction, ceiling height, and loading route.
Confirm these details with the organizer:
- Exact width, depth, and orientation
- Number of open sides
- Maximum build and sign height
- Columns, floor ducts, power points, and restricted areas
- Floor-load limits and permitted fixing methods
- Emergency exits and fire equipment
- Rigging points and hanging-sign rules
- Loading doors, freight elevators, corridors, and turning space
Ask whether the listed dimensions include dividing walls. Storage rooms, ramps, platforms, wall thickness, structural supports, and product safety zones all reduce usable floor area.
For large products, check the full delivery path. A machine may fit inside the booth but still be too wide for a freight elevator or too long to turn through a corridor. In some projects, the product must be placed first and the booth built around it.
Illustrative 36 m² layout:
| Use | Example area | Share of total area |
|---|---|---|
| Visitor movement and entrances | 12 m² | 33% |
| Product display | 8 m² | 22% |
| Demonstration area | 6 m² | 17% |
| Meeting area | 6 m² | 17% |
| Storage | 4 m² | 11% |
| Total | 36 m² | 100% |
This is a planning example, not a standard layout. A product-launch booth may give more space to demonstrations, while an appointment-based booth may need a larger meeting area.
Read the Event Rules Before Final Design
Every event has its own rules for height, wall length, sightlines, enclosed rooms, platforms, ramps, hanging signs, electrical work, fire safety, sound, machinery, insurance, labor, and drawing submission. IAEE publishes display-rule guidance for North American exhibitions, but the organizer’s current manual and written approval control the actual event.[1]
Send the full exhibitor manual to the supplier before approving the design. Confirm who will prepare drawings, calculations, material certificates, insurance documents, and organizer submissions. Also state who pays if the design is rejected because it did not follow the supplied rules.
Do not begin expensive production only because a salesperson says the design “should pass.” Approval may also involve the venue, fire authority, electrician, rigger, insurer, or local contractor.
Choose the Right Booth Type
The best booth type depends on space, event frequency, transport, storage, and how often the design needs to change.
Portable displays suit small spaces and simple brand presentations. Products such as a tension fabric backdrop booth usually pack smaller than a traditional custom wall. Before buying, ask a normal team member to test the full setup and repacking process.
Modular booths use repeatable frames, panels, connectors, lightboxes, counters, and graphics. A modular aluminum exhibition booth may suit companies that attend several shows with similar booth sizes. Ask for drawings showing how the same parts work in inline, corner, and island layouts.
Custom booths provide more freedom for large products, private rooms, and special brand features. They can also cost more to ship, install, repair, and store. Confirm whether the custom structure is reusable or mainly made for one event.
Hybrid booths combine reusable branded parts with locally rented flooring, furniture, screens, or basic walls. This can reduce freight and storage, especially when events take place in different countries.
Compare Buying and Renting
Buying is not automatically cheaper. It is usually more practical when booth sizes are predictable, branding will stay stable, events are held in manageable locations, and someone can store, inspect, and repair the system.
Renting may be safer when:
- You attend only one or two events
- Booth sizes change often
- Events are held in distant countries
- Your branding or product range may change soon
- You have no storage or maintenance plan
Compare full purchase, full rental, and a hybrid plan. Test each option across one, three, and five events. Then check what happens if an event is canceled, a future space is smaller, freight rates rise, or the graphics need to be changed earlier than expected.
Calculate the Total Cost
The production price is not the final cost. Include one-time, per-event, annual, and risk costs.
- One-time: Design, engineering, production, graphics, product mounts, cases, and factory testing
- Per event: Freight, venue handling, installation, dismantling, electricity, internet, rigging, cleaning, and local rentals
- Annual: Storage, insurance, inventory checks, and maintenance
- Risk: Overtime, damage, missing parts, emergency printing, customs delays, and late changes
Total ownership cost = purchase cost + repeated event costs + storage + maintenance + updates
The following example compares two booths. Booth A costs $25,000 and needs $12,000 per event. Booth B costs $35,000 and needs $6,000 per event.
| Number of events | Booth A $25,000 + $12,000 per event |
Booth B $35,000 + $6,000 per event |
Lower total |
|---|---|---|---|
| 1 | $37,000 | $41,000 | Booth A by $4,000 |
| 2 | $49,000 | $47,000 | Booth B by $2,000 |
| 3 | $61,000 | $53,000 | Booth B by $8,000 |
| 4 | $73,000 | $59,000 | Booth B by $14,000 |
| 5 | $85,000 | $65,000 | Booth B by $20,000 |
In this example, Booth B becomes cheaper from the second event, even though its purchase price is $10,000 higher. Real costs depend on booth size, packing volume, venue, shipping distance, labor rules, and storage terms. Use the booth pricing page only as a starting reference, then request an itemized project quotation.
Plan a Simple Layout
The layout should help visitors understand the offer, enter easily, speak with staff, see the product, and leave without blocking other people.
Use only the areas the booth actually needs:
- Main message or attraction area
- Product display or demonstration area
- Short conversation points
- Private meeting space, when necessary
- Lead-capture point
- Hidden storage
Do not fill the space with furniture. Test the plan with the expected number of visitors and staff, not with an empty booth. Check whether cabinet doors, meeting-room doors, screens, demonstrations, or waiting visitors block the entrance or a main route.
A large counter across an open entrance can discourage visitors. A front registration desk may still make sense for appointment-only or controlled-access events.
Overhead signs can improve visibility in a large hall, but they add rigging, approval, installation, and freight costs. Use a hanging banner only when the event permits it and the extra visibility is worth the added cost.
Design Around the Real Product
Give the supplier confirmed product dimensions, weight, power needs, heat output, ventilation needs, operating noise, moving parts, fluids, pressure, maintenance access, and delivery method. Photos are not enough.
For heavy equipment, confirm concentrated loads at the machine feet, not only the average weight across the booth. In U.S. workplaces, OSHA requires walking-working surfaces to support their intended maximum load and to be inspected and kept in a safe condition.[2] The organizer may require additional engineering or floor protection.
For live demonstrations, decide:
- Where the audience will stand
- How many people can watch safely
- Who will operate and supervise the product
- How long each demonstration and reset takes
- Where tools, spare parts, and consumables are stored
- What happens if the internet or equipment fails
Prepare an offline video, static sample, spare cable, or backup device for important demonstrations. A mobile LED screen may help a larger audience see details, but check power, viewing distance, brightness, weight, and mounting before adding it.
Include Real Storage Space
Estimate storage by quantity. Count the brochures, samples, staff bags, coats, water, tools, chargers, spare graphics, and replacement parts that must stay in the booth at one time.
Ask for the usable internal size of every cabinet. Frames, shelves, hinges, lighting drivers, and cables reduce available space. Check that doors and drawers can open without blocking visitors.
Keep cleaning products, food, electronics, confidential documents, and valuable samples in suitable separate spaces. Do not block electrical panels, safety equipment, or emergency routes with cartons or personal items.
Check Accessibility
Visitors should be able to enter, move through the booth, reach the main display, speak with staff, and view demonstrations without unnecessary barriers.
Check step-free access, route width, turning space, counter height, screen height, readable text, contrast, seating, and demonstration viewing positions. For U.S. events, the 2010 ADA Standards provide enforceable accessibility requirements for covered facilities, while other countries and venues use different rules.[3] The U.S. Access Board also explains that accessible routes connect accessible spaces and elements.[4]
Avoid a raised floor unless it solves a real cable or equipment problem. If a platform is needed, confirm ramp, edge, surface, and route requirements with the organizer. A general checklist is not proof of legal compliance.
Check Structure, Fire Safety, and Power
Ask who is responsible for structural design, calculations, ballast, anchoring, tall walls, hanging parts, screen supports, product mounts, and the final on-site check.
Load ratings must include the conditions of use. A shelf limit can change with the load position, fixing method, wall design, and anchoring. Do not place heavy products on a shelf without checking the approved limit.
Fire rules depend on the venue, materials, booth activities, and local law. The UK Health and Safety Executive advises responsible parties to identify fire hazards and provide suitable precautions and procedures in workplaces and public-access buildings.[5] Ask which fire certificates or treatments are needed for fabrics, timber, plastics, flooring, decorative items, and enclosed spaces.
Prepare a power list covering lights, screens, laptops, chargers, refrigerators, coffee machines, sound equipment, and product demonstrations. Record voltage, current, phase, frequency, and startup demand where relevant.
Illustrative power calculation:
| Equipment | Example operating load |
|---|---|
| Booth lighting | 2.0 kW |
| Two display screens | 1.2 kW |
| Laptops, tablets, and chargers | 0.6 kW |
| Demonstration equipment | 3.5 kW |
| Refrigerator and small appliances | 0.8 kW |
| Total operating load | 8.1 kW |
| Example 20% planning allowance | 1.62 kW |
| Example planned capacity | 9.72 kW |
In this example, the exhibitor would discuss a supply of about 10 kW with the venue electrician. This is not a universal booth power requirement. Motors, heaters, refrigerators, LED systems, and other equipment may have startup loads or circuit requirements that need separate review.
Do not run loose cables across visitor routes. OSHA’s U.S. general-industry rules include requirements for temporary wiring and state that temporary wiring must be removed when its purpose is complete.[6] Confirm whether the venue requires its approved electrician to make the final connection.
Choose Practical Materials and Graphics
Ask for a written list of frames, panels, fabrics, flooring, shelves, counters, finishes, graphics, lights, and packing materials.
For each important material, check:
- Fire and event compliance
- Weight and packed size
- Resistance to scratches and repeated transport
- Cleaning and repair method
- Whether one damaged part can be replaced
- Whether graphics can be changed without replacing the structure
Request physical samples for key finishes. A 3D rendering cannot show real color, gloss, texture, edge quality, or thickness.
Graphics need clear file size, resolution, color profile, bleed, safe area, mounting method, and file names. Separate long-term branding from short-term product messages. A reusable SEG lightbox booth can use replaceable fabric graphics, allowing the frame to stay in use when campaign content changes.
Test Reuse Before Ordering
Do not accept “modular” or “reusable” without proof. Ask for future layouts showing how the same inventory works in smaller, larger, inline, corner, and island spaces.
For each layout, request:
- A component list
- Parts reused and parts left in storage
- New parts and graphics required
- Estimated packing volume
- Installation labor
- Cost of the change
Component reuse rate = value of components used in the next layout ÷ total original component value × 100%
For example, if the reusable booth components originally cost $30,000 and the next layout uses components worth $21,000, the value-based reuse rate is 70%. The remaining $9,000 of parts may still be useful later, but their storage cost and expected future use should be checked.
Also check whether profiles, connectors, lights, and graphic sizes are standard or available only from the original supplier. A system can be reusable but still expensive to update if every replacement must be custom-made.
The U.S. EPA places source reduction and reuse above recycling and disposal in its non-hazardous materials management hierarchy.[7] In practical terms, a booth is more sustainable when it is durable, repairable, easy to update, and actually reused—not simply described as recyclable.
The reusable exhibition system case shows one example of a branded exhibition project. Treat supplier case results as project-specific rather than guaranteed performance for every booth.
Check Packing and Shipping
Ask for the number, size, empty weight, loaded weight, and total packed volume of all cases. Confirm whether they can pass through warehouse doors, freight elevators, venue loading doors, and truck doors.
Packed-volume example:
Eight cases measuring 1.2 m × 0.8 m × 1.0 m each have a simple combined volume of:
8 × 1.2 × 0.8 × 1.0 = 7.68 m³
This does not automatically mean the shipment will use only 7.68 m³ of vehicle or warehouse space. Non-stackable cases, pallets, protective gaps, loading order, and handling access may increase the real space required.
Large or non-stackable cases may increase truck space, forklift use, storage, and venue handling fees. Components needed first during installation should not be packed below parts used at the end.
Use numbered parts, fixed packing positions, photos, packing diagrams, and a checklist. This helps the dismantling team return every part to the correct case and reduces missing hardware.
Where mechanical handling equipment is used, OSHA’s U.S. material-handling rule requires enough clearance at aisles, loading docks, doors, and turning points for safe movement.[8]
For international shows, state who handles export documents, freight booking, customs clearance, venue delivery, empty-case storage, and return shipping.
An ATA Carnet can simplify the temporary import of eligible exhibition goods, commercial samples, and professional equipment in participating countries, provided the goods are re-exported under the applicable rules.[9] Consumables, giveaways, and products that will remain in the destination country need a different customs plan.
U.S. Customs also provides Temporary Importation under Bond for qualifying goods imported temporarily rather than for sale.[10] Ask a customs broker or freight specialist which method fits the destination and goods.
Do not use a shipping plan with no recovery time. Compare advance-warehouse delivery with direct-to-show delivery when both are available, and prepare a simpler local backup if the main shipment is delayed.
Plan Installation and Repacking
Confirm crew size, skill level, tools, lifting equipment, working hours, overtime rates, installation order, and dismantling time. A booth that always needs specialist labor may be expensive to reuse.
Request an installation manual with numbered parts, connection details, safety warnings, power guidance, and repacking instructions. For a complex booth, require factory pre-assembly and a timed setup test.
“Easy to install” should mean a stated number of people, tools, and hours. It should also be difficult to assemble the parts incorrectly. Project-specific video instructions, such as the approach shown in the DRYPAX booth setup case, can help a crew understand the correct sequence before arriving at the venue.
Inspect Before Shipping
Agree on acceptance standards before production. They should cover dimensions, alignment, surface defects, doors, locks, shelves, lights, graphics, screens, product mounts, cable access, spare parts, and packing completeness.
Whenever possible, assemble the booth before packing. Record each problem with a photo, description, repair method, responsible person, and completion date. Do not release the shipment until agreed problems are corrected.
Test moving and powered items more than once. Open doors and drawers repeatedly, run lights and screens, and check locks, connectors, and removable panels.
Video inspection can help, but it may hide color, finish, measurement, or connection problems. For a high-value booth, consider an independent in-person inspection or require a live video walkthrough with close-up measurements.
Check the Supplier and Quote
Do not choose a supplier from renderings alone. Check the legal company name, production location, insurance, relevant project experience, technical team, production capacity, installation support, warranty, spare parts, and repair service.
Ask which work is completed in-house and which work is subcontracted. Outsourcing is common, but one supplier must remain responsible for final quality and schedule.
Give every supplier the same brief and request an itemized quote. Mark all exclusions, estimates, optional items, and allowances. A low quotation can rise quickly when venue and site costs are added.
Illustrative quote-gap example:
| Item excluded from the first quotation | Example additional cost |
|---|---|
| Venue electricity | $2,000 |
| Material handling | $3,500 |
| Installation overtime | $2,500 |
| Empty-case storage | $1,200 |
| Emergency replacement graphic | $800 |
| Total additional cost | $10,000 |
In this example, a $40,000 quotation becomes a $50,000 project before travel, international freight, customs, or annual storage are added. These figures are not industry averages; they show why exclusions must be priced before suppliers are compared.
Descriptions such as “premium lighting” or “high-quality material” are too vague. The quotation should state the product type, dimensions, quantity, finish, performance, and included work.
Compare suppliers on five points:
- Safety and event compliance
- Fit for the booth goal
- Total cost over several events
- Delivery and installation risk
- Warranty, repair, and reuse support
Confirm Ownership and Contract Terms
The contract should separate four rights:
- Physical ownership: Who owns frames, panels, counters, lights, cases, screens, and graphics?
- Design rights: Can the design be used at future events?
- File access: Will you receive editable artwork and production drawings?
- Future repair rights: Can another supplier repair or expand the system?
Also include the final scope, materials, dimensions, deliverables, exclusions, payment stages, schedule, approvals, changes, cancellation, delay responsibility, inspection, warranty, damage, storage, insurance, taxes, confidentiality, and dispute process.
Use written change approval. Each change should show its price, schedule effect, and authorized person. Link payments to clear evidence, such as approved drawings, completed pre-assembly, passed inspection, and shipping documents.
If the booth will be stored by the supplier, state the storage fee, insurance, inspection schedule, access rights, notice period, and what happens if the contract ends. For international or high-value orders, obtain legal, tax, insurance, and customs advice.
Build a Realistic Timeline
Work backward from the event opening date. The following 12-week plan is an example for a booth that does not require unusually long engineering, production, or international shipping.
| Time before opening | Main work |
|---|---|
| 12–10 weeks | Prepare the brief, compare suppliers, and approve the basic concept |
| 9–8 weeks | Confirm the layout, products, materials, and sample finishes |
| 7–6 weeks | Complete technical drawings and organizer submission |
| 5–4 weeks | Approve artwork and begin production |
| 3 weeks | Complete factory pre-assembly, testing, and inspection |
| 2 weeks | Correct defects, pack the booth, and release shipping |
| Final week | Deliver, install, test, and hand over the booth |
Complex structures, organizer approval, ocean freight, customs clearance, and busy production seasons may require a much longer schedule. Do not copy this example without checking the actual project.
Set three firm dates:
- Design freeze: The main structure and layout stop changing.
- Artwork freeze: Print files are approved.
- Shipping release: Inspection is passed and the booth can be packed and sent.
Late changes often affect several tasks. Moving a logo may require new graphics, panel work, lighting changes, new drawings, repacking, and another approval. Keep extra time around technical review, custom production, international freight, customs, and first-time installation.
Measure Results After Each Event
A booth should be measured as both a marketing tool and a physical asset. Record qualified leads, meetings, demonstrations, setup time, freight cost, labor cost, damage, missing parts, repairs, and unused space.
Cost per qualified lead = total event cost ÷ number of qualified leads
For example, if the booth, venue services, freight, labor, travel, and event marketing cost $60,000 and the event produces 120 qualified leads, the cost per qualified lead is $500.
Do not treat every scanned badge as a qualified lead. A useful record may separate:
- 120 qualified leads
- 40 follow-up meetings requested
- 15 active sales opportunities
- 5 formal quotation requests
This makes it easier to see whether the booth supported useful business conversations or only attracted general foot traffic. It also helps decide which booth parts should be reused, changed, repaired, or removed before the next event.
Final Buying Checklist
- The main goal and target visitor are clear.
- The real space, open sides, height, and loading route are confirmed.
- The event manual has been reviewed.
- Buying, renting, and hybrid use have been compared.
- The full cost includes freight, labor, storage, repairs, and updates.
- The layout supports products, visitors, staff, meetings, and storage.
- Accessibility, structure, fire safety, and power have been checked.
- Materials and graphics are specified and replaceable where needed.
- Future layouts and reuse costs are documented.
- Packed size, weight, shipping, customs, and installation are clear.
- The booth will be assembled and inspected before shipping.
- The supplier, warranty, ownership, files, and contract terms are verified.
Delay the order when major technical, cost, logistics, ownership, or inspection details are missing. These details decide whether the booth remains useful after the first show.
Conclusion
Buy an exhibition booth only after checking the real space, event rules, full cost, packed size, installation plan, and ownership terms. In the cost example above, a $35,000 booth becomes $20,000 cheaper than a $25,000 booth after five events because its repeated costs are lower. Before paying a deposit, require an itemized quotation, material list, power plan, future layouts, packed dimensions and weights, inspection standards, warranty, and editable files. These checks give you more useful evidence than a rendering and reduce redesign, overtime, freight, repair, and storage problems.
For a project-specific quotation based on booth size, event location, products, and reuse needs, use the contact page.