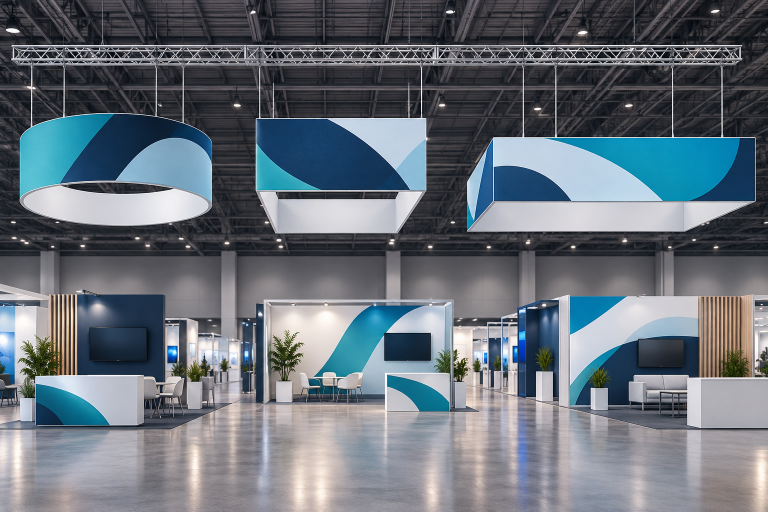
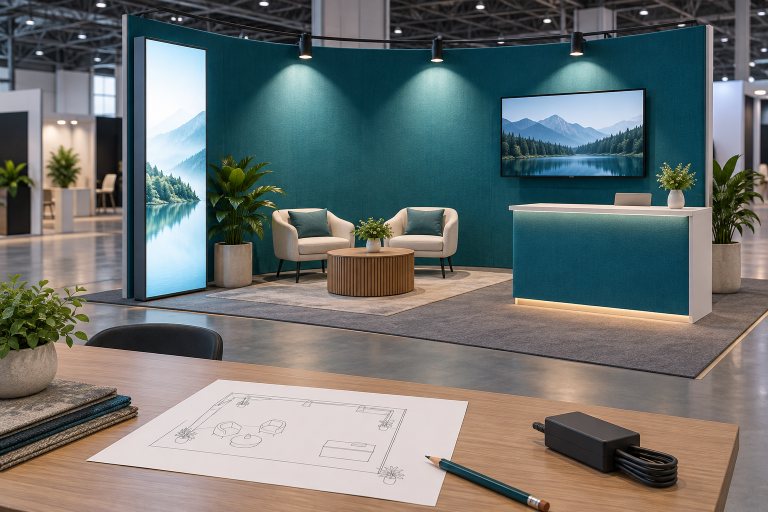
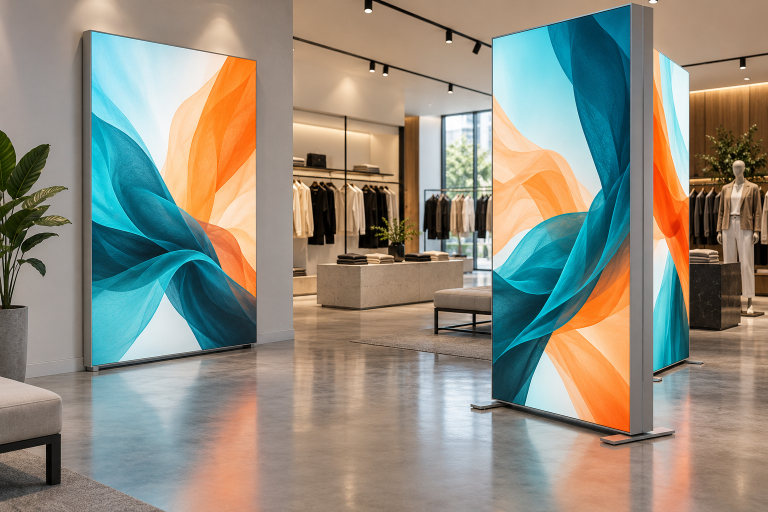
A reusable exhibition stand can lower total trade show spending when the same frames, counters, lights, cases, and fittings are used at several events. In the six-event example below, the total falls from $210,000 for six newly built stands to $124,500 for one modular system, a difference of $85,500.
The saving does not come from buying the cheapest frame. It comes from reusing the expensive parts, changing only the graphics and event-specific pieces, and keeping freight, labor, storage, and repair under control. A modular system is a good investment only when it fits future booth sizes and costs less to reuse than to replace or rent locally.
What a Reusable Exhibition Stand Is
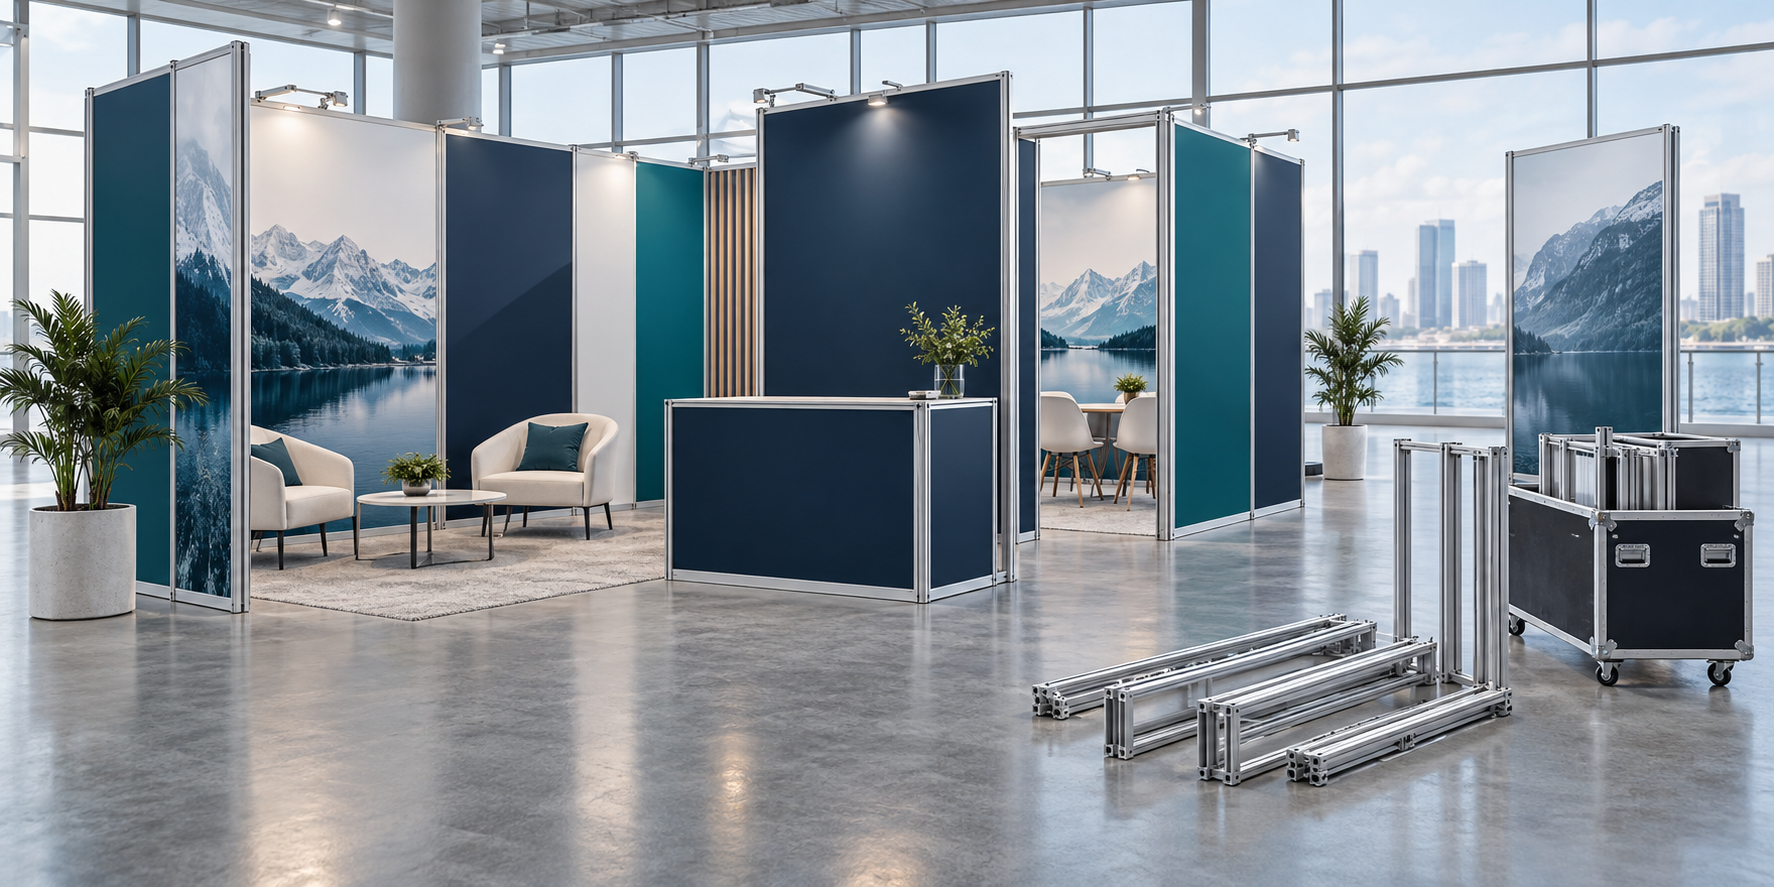
A portable stand is easy to move. A modular stand is made from parts that can be rearranged. A reusable stand is planned for more than one event. A rental stand belongs to a supplier. One booth can be portable, modular, reusable, and partly rented at the same time.
A part should be counted as reusable only when it passes three tests:
- It is safe: the part is not bent, cracked, loose, or electrically damaged.
- It fits: it works with the next floor plan, graphic size, load, and venue rule.
- It saves money: storage, shipping, handling, and repair cost less than making or renting a replacement.
An aluminum exhibition booth can provide a reusable base because the frame can stay while the wall positions, graphics, shelves, lights, and entrances change. The material alone does not make the stand reusable. The system also needs available connectors, clear load limits, spare parts, drawings, labels, and packing instructions.
When Reuse Saves Money
Buying usually makes sense when a company attends several shows over two or three years, uses a small range of booth sizes, keeps a fairly stable brand look, and can manage storage and repairs.
It is less likely to save money when:
- Only one event is planned.
- The whole booth design changes every year.
- Booth sizes and open sides change greatly.
- The company has no inventory or storage process.
- A large system must be shipped across long international routes.
- Local rental is cheaper than freight, customs, and venue handling.
Do not buy a system only because a supplier calls it modular. Ask for drawings of the smallest, most common, and largest layouts before production. The wider exhibition display range can help buyers compare which parts should be owned and which can be rented or added only when needed.
Use Planning Data, Not Vague Claims
Statements such as “high reuse” or “fast setup” are too vague for a budget. Use measurable planning figures instead. The table below shows three internal planning cases. These percentages are examples for budgeting, not industry averages.
| Planning case | Structure reused | Graphics reused | Repair reserve | What it means |
|---|---|---|---|---|
| Conservative | 50% | 20% | 10% of hardware value | Booth sizes change often and more custom parts need replacement. |
| Expected | 70% | 40% | 6% of hardware value | Main frames and fittings stay, while campaign graphics change. |
| High reuse | 85% | 60% | 3% of hardware value | Booth sizes repeat and the brand structure stays stable. |
Cost-weighted reuse is more useful than counting pieces. Reusing 100 low-cost connectors may save less than reusing one expensive lightbox wall or storage room.
Calculate the Full Cost
Use the same cost scope for every option. Do not include electricity, cleaning, furniture, or project management in one quotation and leave them out of another.
Keep the categories separate. Do not include repairs inside “event operating costs” and then add repairs again as another line.
Useful calculations include:
- Cost per event: total cost over the planned period ÷ number of completed events.
- Cost per square metre: event booth cost ÷ booth floor area.
- Cost per qualified lead: event cost ÷ number of leads that match the company’s sales criteria.
Cost per square metre should not be used alone. A larger stand may include meeting space, product demonstrations, storage, screens, or more visitor capacity.
Cost Example for Six Events
The example below uses a 6 × 6 metre booth at six domestic events over three years. It is a planning example, not an industry price guide. Booth-space rental, tax, staff travel, electricity, internet, and product freight are excluded from both options.
| Cost item | New stand at every event | Owned modular system |
|---|---|---|
| Stand cost | $35,000 × 6 | — |
| Initial design, hardware, cases, and first graphics | — | $55,000 |
| First-event freight, handling, installation, and dismantling | — | $8,000 |
| Later-event operating cost | — | $10,500 × 5 |
| Three-year storage | — | $9,000 |
| Maintenance and replacement reserve | — | $5,000 |
| Estimated remaining value | — | −$5,000 |
| Three-year total | $210,000 | $124,500 |
In this example, the modular option is $85,500 lower over six events. The result will change with booth size, freight distance, local labor, graphic replacement, repair needs, and storage fees.
See the Break-Even Point Clearly
The table below looks only at the initial modular cost and event operating costs. It leaves out storage, the repair reserve, and remaining value so the operating break-even point is easy to see.
| Completed event | New stand every time | Modular system | Position after the event |
|---|---|---|---|
| Event 1 | $35,000 | $63,000 | Modular is $28,000 higher. |
| Event 2 | $70,000 | $73,500 | Modular is $3,500 higher. |
| Event 3 | $105,000 | $84,000 | Modular is $21,000 lower. |
| Event 4 | $140,000 | $94,500 | Modular is $45,500 lower. |
| Event 5 | $175,000 | $105,000 | Modular is $70,000 lower. |
| Event 6 | $210,000 | $115,500 | Modular is $94,500 lower before storage and other adjustments. |
The extra first-event cost is $28,000. Each later modular event costs $10,500 instead of $35,000, so it saves $24,500 per later event. The extra cost is recovered after about 1.14 later events, which means the modular option becomes cheaper during the third total event.
Plan for Different Booth Sizes
Design for the event calendar, not only the first show. Prepare layouts for the smallest space, the most common space, and the largest likely space.
| Booth size | Floor area | Useful planning focus |
|---|---|---|
| 3 × 3 m | 9 m² | One main wall, one counter, one product area, and very limited storage. |
| 3 × 6 m | 18 m² | Product display, screen, open visitor space, and a small meeting point. |
| 6 × 6 m | 36 m² | Several visitor zones, multiple entrances, a storage room, and larger displays. |
Each layout should show:
- Floor plan and wall heights
- Open sides and visitor entrances
- Bill of materials
- Graphic sizes
- Storage room or lockable counter
- Product and screen positions
- Electrical load and cable routes
- Parts left in storage
- Extra parts required
- Packed weight and volume
- Case count and longest case
- Installation team and person-hours
Do not assume a large booth will shrink neatly. A wide counter, long beam, tall wall, or large fabric graphic may take too much space in a small inline booth. Limit one-off dimensions so frames, doors, counters, shelves, and graphics can move between layouts.
Keep the Hardware and Change the Graphics
Long-life parts should carry as little short-term information as possible. Frames, connectors, counters, shelves, screen mounts, doors, lights, and cases can often stay. Dates, prices, product launches, local distributors, QR codes, and event offers should be easy to replace.
Use three graphic levels:
- Brand graphics: logo, brand colors, core message, and long-life images.
- Product graphics: product names, uses, benefits, and technical information.
- Campaign graphics: dates, offers, prices, local contacts, and temporary QR codes.
Place campaign content on small panels instead of printing it across the largest wall. A tension fabric backdrop booth can be used as a lightweight wall, while a lightbox exhibition booth can be used where backlighting is worth the extra wiring and power. The article on fabric light box displays gives another example of keeping the frame while changing the printed fabric.
Keep a graphic list with the artwork number, size, language, market, event, approval date, current status, and case location. Test every printed QR code before the show opens.
Cut Freight and Venue Handling Costs
Freight cost depends on more than weight. Packed volume, case length, stackability, delivery date, special handling, customs, and return shipping can all change the bill.
Ask for:
- Net and packed weight
- Total packed volume
- Number of cases
- Longest case
- Heaviest case
- Stacking limits
- Pallet or forklift needs
- Wheel and handle details
- Door and elevator clearance
- Empty-case storage needs
A light curved wall can still be expensive if it needs a large non-stackable crate. A strong case is not useful if one person cannot move it safely. OSHA recommends reducing load weight, movement range, and handling frequency, and using equipment with handles that can be gripped while the worker stays upright.[1]
Freight and venue handling are separate charges. Freight moves the shipment to the venue or official warehouse. Venue handling may include unloading, movement to the booth, empty-case storage, return of cases after the show, and reloading. Use the current exhibitor manual and the real packed shipment data.
| Shipping record | Small layout | Medium layout | Large layout |
|---|---|---|---|
| Cases | 3 | 6 | 10 |
| Packed weight | 180 kg | 360 kg | 650 kg |
| Packed volume | 1.4 m³ | 2.8 m³ | 5.2 m³ |
| Longest case | 1.2 m | 1.5 m | 2.0 m |
| Heaviest case | 70 kg | 85 kg | 95 kg |
The shipping figures above are an example record format, not standard weights for all modular stands. Replace them with the supplier’s final packed data.
Measure Installation and Dismantling Time
The labor estimate should state whether it includes unpacking, frame assembly, graphics, lights, screens, shelves, doors, counters, cleaning, dismantling, sorting, and repacking.
| Example setup | Workers | Hours | Person-hours |
|---|---|---|---|
| Small 3 × 3 m booth | 2 | 4 | 8 |
| Medium 3 × 6 m booth | 3 | 6 | 18 |
| Large 6 × 6 m booth | 4 | 8 | 32 |
These are planning examples. Screens, doors, lighting, local labor rules, damaged parts, and poor packing can increase the real time.
“Tool-free” often refers only to the main frame. Screens, shelves, doors, electrical parts, leveling feet, and safety items may still need tools or approved technicians.
Complete a full test build before the first show. Use the final graphics, lights, counters, screens, cables, and cases. Record the unpacking order, setup time, common mistakes, required tools, dismantling time, and packing order. Milin’s DRYPAX booth setup case shows how assembly guidance can be linked to the actual booth parts. The JCB Tools setup case also shows several modular pieces planned as one kit. These are supplier examples, so buyers should still test their own final layout and record their own times.
Plan International Shows Carefully
Compare three options before shipping:
- Ship the full owned stand: best for visual consistency, but it adds freight, customs, delay, insurance, and return-shipping risk.
- Rent locally: reduces shipping and storage, but available frames, finishes, furniture, and lights may differ.
- Use a hybrid plan: ship graphics and unique branded parts, then rent frames, flooring, screens, furniture, and labor locally.
For a hybrid plan, get final production dimensions before printing. Two frames may look similar but use different channels, silicone edges, panel sizes, or mounting points.
U.S. Customs and Border Protection recommends carrying trade show documents, exhibitor confirmation, item values, product classification details, and proof that display goods are not for sale. Its trade show guidance also notes that a Temporary Importation Under Bond or Carnet may be suitable for certain higher-value shipments, including display booths that will be re-exported.[2]
The ATA Carnet is an international customs document used for temporary duty- and tax-free import of eligible goods for up to one year in participating countries and customs territories.[3] It does not cover consumable giveaways or goods that will stay in the destination country.
Check Venue, Fire, Electrical, and Access Rules
Approval at one show does not mean approval at another. Check the current organizer manual for height, open sides, covered ceilings, storage rooms, hanging signs, floor loading, fire documents, raised floors, ramps, electrical work, and emergency routes.
Send drawings before final production. A review package may need floor plans, elevations, material details, structural calculations, load data, fire-test documents, electrical plans, rigging plans, ramp details, and installation schedules.
NFPA 701 contains test methods for flame propagation of textiles and films.[4] The event organizer, venue, or local fire authority decides which documents and test results it will accept.
For temporary wiring, OSHA states that the other requirements for permanent wiring also apply unless the temporary-wiring section changes them. It also includes rules for grounding, conductors, receptacles, flexible cords, and cable placement.[5] Local rules may require approved electricians for some work.
Plan access before the stand is built. Keep entrances and routes clear, limit sudden floor-level changes, add suitable ramps where required, and check door clearance, counter use, product reach, and cable covers. The U.S. Access Board explains the technical rules for accessible routes, including walking surfaces, doors, ramps, and clear widths.[6]
Do not claim that a booth is approved for every venue or complies with every local rule. Approval depends on the exact layout, materials, documents, and location.
Store, Inspect, and Repair the Stand
Reuse fails when parts are lost, mixed, damaged, or checked too late. Give every part a number, description, replacement cost, case location, packing position, and condition record.
Each case should show its case number, contents, packed weight, handling notes, destination-label area, packing diagram, and a photo of the correct packed arrangement.
After every event:
- Count major parts before they leave the venue.
- Separate damaged, wet, or dirty items.
- Photograph damage and missing items.
- Clean and dry fabric graphics before storage.
- Test lights, drivers, plugs, and cables.
- Inspect frames, connectors, doors, counters, shelves, wheels, and handles.
- Complete repairs before the next deadline is close.
Keep a small spare-parts kit with the stand. It may include connectors, approved fasteners, shelf brackets, cable clips, LED drivers, power cables, graphic edging, door parts, leveling feet, touch-up materials, and basic tools.
One person or supplier should own the inventory process. That person should know where the stand is stored, which parts are damaged, what must be ordered, and which layout is planned next.
Track Cost and Sales Results After Each Event
A booth is not a good investment only because it is cheap. It also needs to support sales conversations, demonstrations, meetings, and lead collection.
| Measure | Planned example | Actual example | What to check |
|---|---|---|---|
| Total event booth cost | $12,000 | $13,200 | Find the cause of the $1,200 overrun. |
| Qualified leads | 80 | 72 | Check traffic quality, staff coverage, and message clarity. |
| Cost per qualified lead | $150 | $183.33 | Compare with other events using the same lead definition. |
| Installation person-hours | 18 | 24 | Check missing labels, difficult wiring, and packing order. |
| Damaged or missing parts | 2 | 5 | Review case protection and inventory checks. |
| New graphic area printed | 12 m² | 18 m² | Move more short-term content onto smaller panels next time. |
In the example above, $13,200 divided by 72 qualified leads gives $183.33 per qualified lead. The number is useful only when the company uses the same definition of a qualified lead at every event.
Buy, Rent, or Use Both
Buy when the event schedule is reliable, booth sizes repeat, the brand structure stays stable, and storage and repair can be managed.
Rent when the market is being tested, only one or two shows are planned, the design changes greatly, or the events are far apart.
Use a hybrid plan when brand-specific parts are worth owning but heavy standard items are cheaper to rent near the venue. Common local rentals include flooring, screens, furniture, basic frames, and labor.
A first-time exhibitor can rent once, record the real freight, handling, labor, graphics, and service costs, then use those figures to decide whether ownership will pay back.
Use Measured Sustainability Claims
A reusable stand reduces waste only when it is actually used again. “Reusable,” “recyclable,” and “zero waste” do not mean the same thing.
The U.S. Environmental Protection Agency places source reduction and reuse above recycling, energy recovery, treatment, and disposal in its waste-management hierarchy.[7]
Track facts such as the number of frame uses, weight of new material added, graphics replaced, repairs completed, freight distance, locally rented items, packaging life, and end-of-life route. A useful claim is specific: “The same aluminum frame was used at eight events; only the campaign graphics and two damaged connectors were replaced.”
ISO 20121:2024 applies to events of different types and sizes and provides requirements and guidance for managing social, economic, and environmental effects.[8] Do not claim certification unless the organization has completed the required conformity process.
Supplier and Contract Checklist
- Which parts are owned, rented, reprinted, newly made, or disposable?
- Which booth layouts are included?
- Is there a separate bill of materials for each layout?
- What are the wall, shelf, screen, door, and hanging load limits?
- Are connectors proprietary, and how long will spare parts be available?
- What are the final graphic sizes and edge details?
- Are editable graphic templates included?
- What are the packed weight, volume, case count, longest case, and heaviest case?
- How many workers and person-hours are needed?
- Which tasks need tools, technicians, or venue-approved labor?
- Does the estimate include dismantling and repacking?
- Who checks, cleans, stores, and repairs the system after each event?
- What are the warranty limits and replacement-part prices?
- Who prepares and submits venue approval documents?
- What happens if parts are missing, graphics do not fit, delivery is late, or the design is rejected?
Before final payment, test-build the planned layouts, match the delivered parts to the bill of materials, fit the graphics, test lights and doors, verify case labels, and collect the drawings, graphic templates, instructions, and spare-parts list.
Conclusion
A reusable exhibition stand is worth buying when the numbers work across several events, not only at the first show. Compare the same cost items, test at least three booth sizes, record packed weight and case dimensions, and measure setup in person-hours. In the six-event example, the modular system costs $124,500 versus $210,000 for six new stands, saving $85,500. The saving depends on real reuse, clear venue approval, controlled storage, available spare parts, and graphics that can change without replacing the main frame.