PRODUCT DETAILS
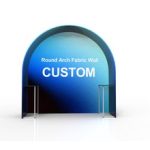
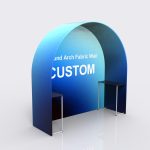
Round Arch Fabric Wall
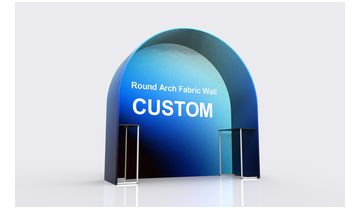
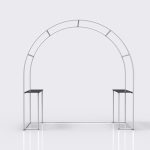
A rounded opening turns this fabric wall into an entrance or framed display area. The Round Arch Fabric Wall is offered in custom sizes; the catalog includes more than one frame configuration, so the chosen drawing matters. Plan the passage first, then fit the outer arch and any furniture around it.
Specifications & configuration
| Product format | Fabric entrance structure |
|---|---|
| Graphic material | 260 g stretch warp-knitted fabric |
| Printing | Full-color heat-transfer printing |
| Frame | 32 mm round aluminum tube; 1.2 mm wall thickness |
| Frame finish | Industrial sandblasted oxidation treatment in matte silver |
| Order type | Made to order; custom size and artwork |
| Reference frame | W 300 × H 250 × D 100 cm. Other configurations and custom sizes require their own drawing. |
Product details
Form & footprint
The curve reduces usable headroom toward the sides. Check the clear opening at the points where people or equipment will pass.
Graphic placement
Follow the rounded top with the artwork, while keeping key wording in areas that remain easy to read from the approach.
Suitable uses
This form can frame a reception point or introduce a separate area within a larger exhibition stand.
Order configuration
A counter appears in the catalog information, but the arch and furniture should be identified as separate quotation items.
Artwork & print
Artwork preparation
Ask for the artwork outline for the selected frame version. Do not reuse a square-arch template on the curved top.
Included & optional
Included in this configuration
- White Back
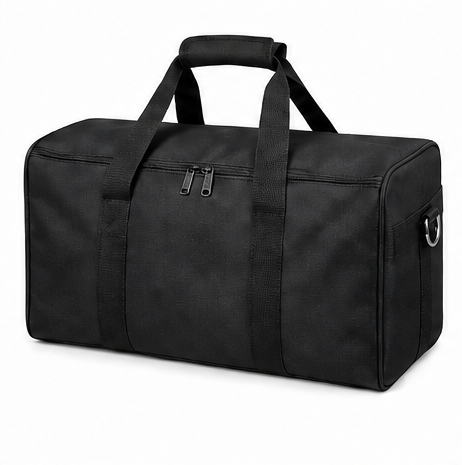
- Soft Bag
Optional accessories
- Frame Only
- Replacement Fabric Graphic
- Shelf Kit
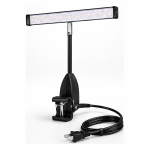
- LED Display Lights (2 pack)
- TV/Monitor Mount
Applications
Entrances & routes
Create a rounded entrance feature for an exhibition zone.
Reception & demonstrations
Frame a staffed welcome point without filling the opening with a full-height wall.
Photo settings
Use the arch as the edge of a photo setting, with the camera and subject positions planned together.
Planning & ordering
Order essentials
Identify the reference version and required passage dimensions. List any counter separately so its size and inclusion are unambiguous.
- Finished dimensions and access requirements
- Artwork file and print orientation
- Selected components and packing requirements
Quotation checklist
- Quantity and preferred configuration
- Installation location and available space
- Any equipment dimensions or fit requirements
- Delivery destination and required date
Questions & answers
Which dimensions should I use?
Choose the configuration by its dimensioned drawing. Check the usable opening separately from the overall width, height and depth, especially if a counter will sit inside the arch.
How should I prepare custom artwork?
For a printed configuration, use the template for the confirmed model and dimensions. Check the visible faces, edges and fitting areas before approval; a graphic from a similarly named product is not proof of a matching fit.
Does the reference image define everything included?
No. Have the quotation identify the product configuration, selected accessories and packing items individually. Reference images can show equipment or surrounding items that are not included in the order.
How should I plan production and delivery?
Production timing, dispatch arrangements and any assembly support should be confirmed for the selected configuration and destination. Share your delivery address and event date when requesting a quote.