Modular Tension Fabric Display 05
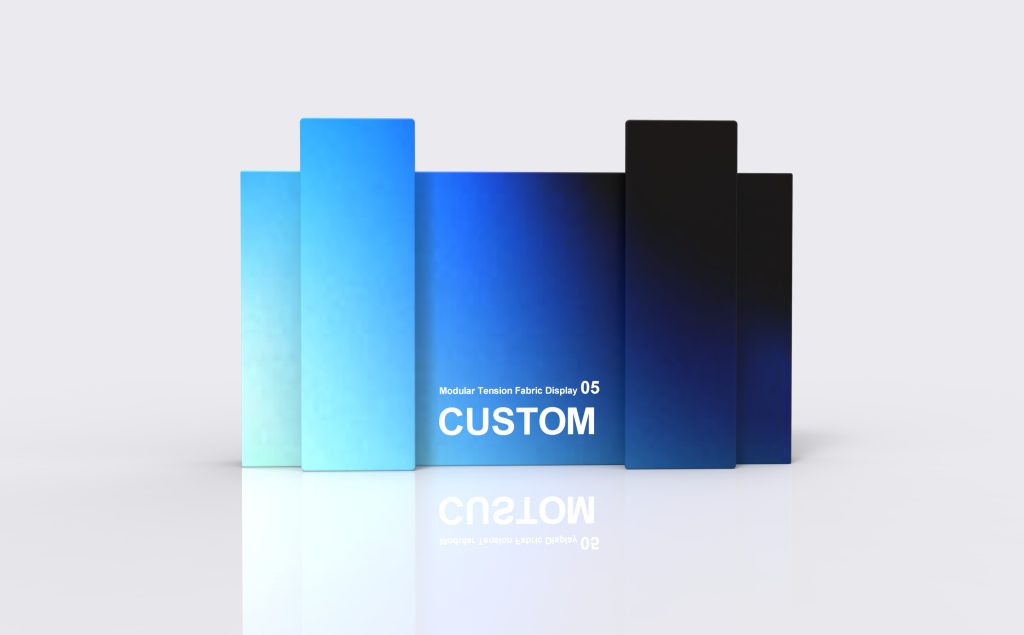
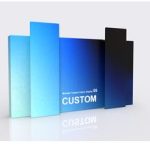
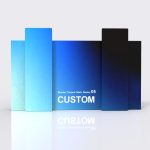
Two raised vertical sections frame a lower central graphic, with shorter outer ends completing the arrangement. Model 05 combines fabric-covered modules into a shaped backdrop for exhibitions and promotional presentations.
Compose the message across the shape
Model 05 uses two raised sections around a lower center. Give those areas different jobs in the artwork: short identifiers on the tall sections, a larger campaign image in the center and supporting color on the outer ends.
Use the two high sections as markers
Place short brand or category identifiers on the raised areas. Keep each identifier within its own visible face rather than carrying a sentence across the dip between the two sections.
Give the center a clear role
The lower central area can carry the main campaign image or product story. Show any counter or equipment on the layout proof so it does not obscure key copy once the display is installed.
Include the approach views
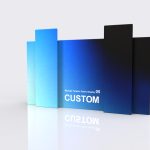
Check the angled view as well as the front elevation. Where side or rear faces will be visible, mark them on the print schedule. Keep key wording on the face seen from the intended aisle rather than carrying it around a turn.
Materials and dimensions
The module outline is customizable. The listed materials remain the starting specification for this fabric-display system.
| Product format | Tension-fabric backdrop |
|---|---|
| Graphic material | 260 g stretch warp-knitted fabric |
| Printing | Full-color heat-transfer printing |
| Frame | 32 mm round aluminum tube; 1.2 mm wall thickness |
| Frame finish | Industrial sandblasted oxidation treatment in matte silver |
| Order type | Made to order; custom size and artwork |
| Module specification | Custom sizes, shapes and combinations; gray-painted steel feet. |
| Tube preparation | Chamfered ends, age-hardened aluminum, elastic-cord connections and assembly markings |
| Current size selection | 16ft; individual module dimensions, depth and finished footprint follow the approved configuration |
Account for depth, connections and feet
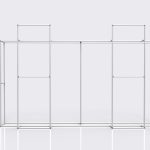
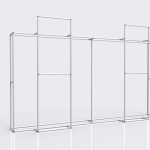
The front elevation shows the graphic silhouette; the angled frame view shows why the assembled depth also matters. Record the complete support footprint before positioning the display against an aisle or beside furniture.
Keep the assembly groups identifiable
The tubular system uses elastic-cord connections and assembly markings. Match the center, raised and outer sections to the supplied drawing before fitting the graphics. Retain the module and graphic labels for later events.
Specify a changed combination as a complete set
Custom shapes and combinations are available, with gray-painted steel feet listed in the manual. A new arrangement can change connector locations, supports and fabric coverage; review all three together when requesting additional modules.
From layout proof to print files
Approve the complete elevation
Show the two high sections, center and outer ends on one artwork proof. Check the overall image scale, transitions between modules and any areas that will sit behind counters or equipment.
Use the templates for the selected size and shape. Each file should identify its module, face and viewing orientation, with fitting allowances taken from that template.
Keep printing and coverage separate
The material is 260 g stretch warp-knitted fabric with full-color heat-transfer printing. The printing method does not define whether front, side or rear faces are included.
Record the approved face coverage and artwork revision with the order. This gives a future replacement request a specific frame and graphic set to match.
What to put on the order
Graphic set and transport
Listed included items: Full Graphic Set and Protective Packing. The final quotation should identify the selected frame combination, feet, connectors and graphic coverage.
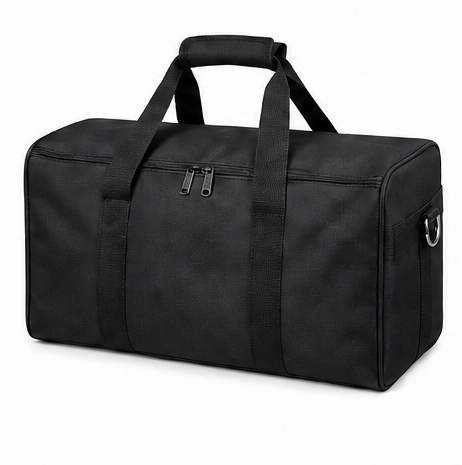
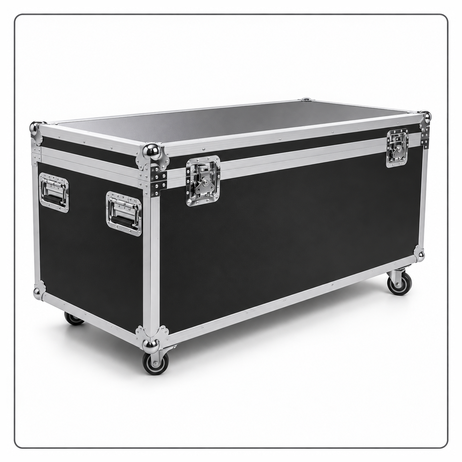
Transport options are Oxford Fabric Carry Bag and Flight Case. Provide access requirements and the packing arrangement needed for delivery and subsequent transport.
Additional components
Optional: Frame Only, Replacement Graphic Set, Additional Connector Kit, Shelf Kit and TV/Monitor Mount.
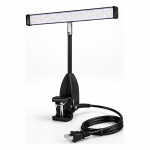
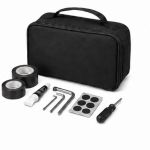
The purchase area also lists Spotlight, Repair Kit and Shelf. Supply equipment dimensions, weight and intended positions when requesting mounted accessories. Optional accessories and shipping are quoted separately.
Send a sketch with the enquiry
Mark the maximum footprint, visitor approach, finished dimensions, printed faces and any equipment. Include quantity, selected components, artwork orientation, packing choice, installation location, delivery destination and required arrival date.
Milin provides photos and video of the finished order for approval before dispatch. Confirm production and transport timing for your event; video installation guidance is available for assembly questions.
Model 05: configuration questions
Is Model 05 a single flat wall?
The reference shows several connected frame volumes and two raised sections. The angled frame image reveals depth behind the front graphics. Ask for the complete plan and elevation so that module depth and feet are included in the booth footprint, rather than treating the front width as the only space requirement.
Does the 16ft selection specify every panel size?
No. It identifies the current size option, not the width and height of each graphic or the projection of the supports. The drawing needs to identify overall width, both raised sections, the lower center area, outer ends and complete depth.
Can one photograph run across the whole display?
Yes, it can be prepared as a coordinated design, but the separate faces and changes in height need individual templates. Review a composite proof first, then divide the image into labeled files. Keep faces, logos and essential text away from transitions where alignment is visually sensitive.
Are the side and rear faces printed as standard?
Define the Full Graphic Set by the faces needed for your installation: front areas, visible returns and any exposed rear faces. On an open-sided booth, mark the visitor approaches on the drawing so the print schedule includes the surfaces people will actually see.
Can I reuse this graphic set in a different arrangement?
Moving the raised modules changes both the silhouette and the reading order of the graphics. A continuous photograph may no longer align, and a changed outline may need new fabric. Keep the module labels and original templates with the set, then use them to plan any revised arrangement.
Where can a shelf or monitor be fitted?
Shelf Kit and TV/Monitor Mount are optional. Their attachment points must be agreed on the actual frame, with equipment dimensions and loaded weight supplied. Neither the raised portions nor the 32 mm tube specification alone establishes a load capacity.