For an indoor pop-up, choose an opaque fabric enclosure with a secure entrance, or a rigid-panel room if you need a door. Check for gaps, visible silhouettes and reflected views under the actual shop lighting before customers use it. Measure the usable interior, entrance clearance and surrounding access—not just the frame’s footprint.
Choose the Right Structure
| Structure | Useful when | Check before ordering |
|---|---|---|
| Frame with curtains | You need a packable indoor setup with replaceable fabric. | Curtain opacity, entrance overlap, lower gaps and closure security. |
| Shaped fabric enclosure | You want a cubic or cylindrical room with printed outer graphics. | Usable floor area, entrance position and whether the fabric reveals silhouettes. |
| Rigid-panel room | You need a solid door or more separation from the sales floor. | Door operation, emergency access, panel joints, packed weight and transport. |
| Changing tent | You need a compact enclosure for a setting approved by its manufacturer. | Intended indoor or outdoor use, stability, ventilation and privacy under backlighting. |
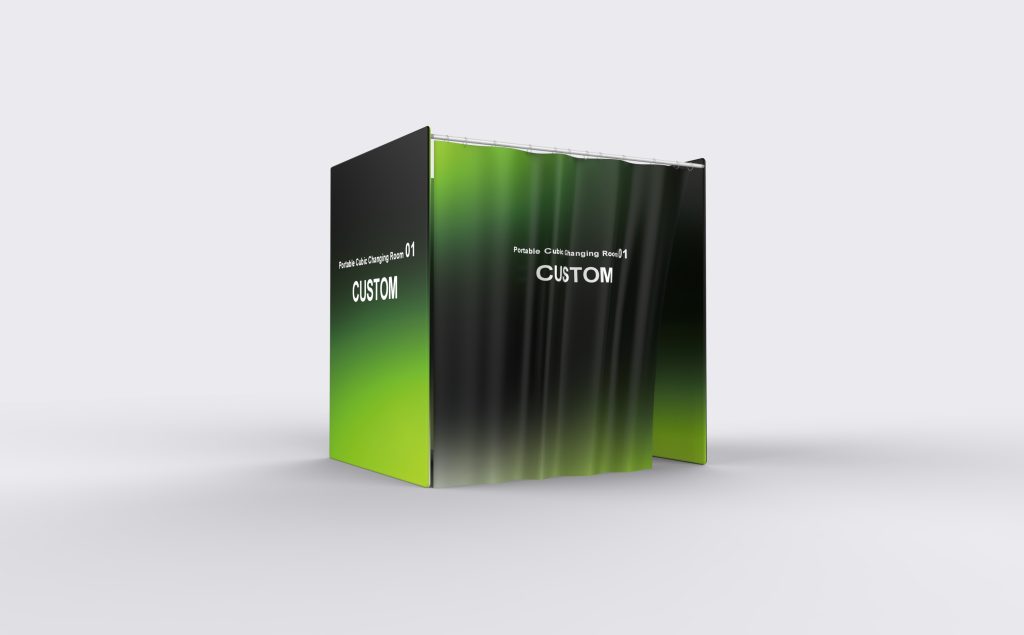
A fabric wall stretched over a frame is not a hard panel. Milin’s Portable Cubic Changing Room 01, for example, is described as a temporary fabric enclosure. Its final dimensions and openings depend on the approved configuration.
Test Privacy Before Opening
Run this check with two staff members after the room, mirrors and shop lights are in their final positions. One person stays fully clothed inside while the other checks from outside.
Check the Entrance
Close the entrance from inside, then turn, bend and reach as if changing clothes. Check that the closure stays shut and no direct sightline opens at the edges. For a curtain design, a 20–30cm overlap can be a starting point to test—not a guaranteed privacy specification.
Add an occupied sign. Staff should ask before approaching the entrance and must never pull the curtain aside to offer another size.
Check for Silhouettes
Test with the interior light on and from the brightest nearby aisle. The person inside should stand near each fabric face and move their arms. If their outline becomes visible, change the fabric, lining or lighting arrangement and repeat the test.
A phone flashlight can reveal a weak spot in a fabric sample, but it cannot replace the assembled-room check. Dark fabric is not automatically opaque.
Check Every Viewing Angle
Inspect the entrance from directly ahead and both sides, then check lower views from a seated position. Look for reflections in mirrors and glass storefronts. Review overhead views from stairs, balconies or raised displays before choosing an open-top enclosure.
No single wall height prevents every viewing angle. An entrance screen may be needed where the room faces a busy aisle.
Plan the Floor Space
A hypothetical 1.2 × 1.2m room occupies 1.44m², or about 15.5 sq ft. If a layout assigns another 0.8m² to the entrance and 1m² to an external mirror area, those three zones total 3.24m², or about 35 sq ft. Required circulation and accessible space must be checked separately.
Mark the layout with floor tape before ordering. Place the proposed seat and hooks inside, open the entrance fully, and walk from the clothing rail to the room. Check whether a waiting customer blocks checkout or the shop entrance.
Round rooms need a different calculation. The Portable Cylinder Changing Room lists reference diameters of 210cm and 240cm. Those circles occupy approximately 3.46m² and 4.52m² respectively, before entrance clearance or circulation. Confirm the selected size rather than applying a small square-room allowance.

Allow for Accessible Use
A step-free entrance alone does not make a fitting room accessible. For projects covered by the U.S. ADA Standards, temporary facilities are included within the standards’ scope; a short event duration is not, by itself, an exemption.[1]
Section 803 addresses turning space, door swing, a compliant bench, and the reach of hooks and shelves. Check these together with the accessible route and applicable scoping requirements. Do not label a 1.2 × 1.2m room “ADA compliant” from its dimensions alone.[2]
Confirm the Venue Requirements
Before paying a deposit, send the venue the proposed footprint, complete height, entrance position, material details and electrical requirements. Ask for its submission deadline and written approval. Include any header above the enclosure when checking the height limit.
If the venue requests NFPA 701 documentation, obtain the report for the specified fabric and confirm that the venue accepts it. NFPA 701 assesses flame propagation of textiles and films under defined test conditions; it does not establish structural stability or approve the complete fitting room.[3]
For outdoor events, obtain the manufacturer’s written approval for outdoor use, the required fixing arrangement and weather limits. Adding sandbags does not establish a wind rating. There is no universal “safe up to Beaufort 6” rule for portable fitting rooms.
Compare Complete Quotes
Ask each supplier to quote the same interior size, entrance design, fabric, graphics and accessories. For a broader pop-up shop layout, include the fitting room in the same drawing as the product displays and checkout counter.
- Purchase: Include the frame, enclosure, closure, graphics, carrying case, delivery, taxes and any separate seat or mirror.
- Rental: Include the full hire period, delivery, installation, collection, cleaning and damage terms.
- Repeat events: Add storage, return transport, replacement graphics and repairs before deciding that ownership costs less.
- Handling: Request packed dimensions, the heaviest individual package, crew requirements and an assembly demonstration.
A product photograph does not confirm what arrives in the box. Get the included-parts list and approved drawing in writing.
Prepare for Daily Use
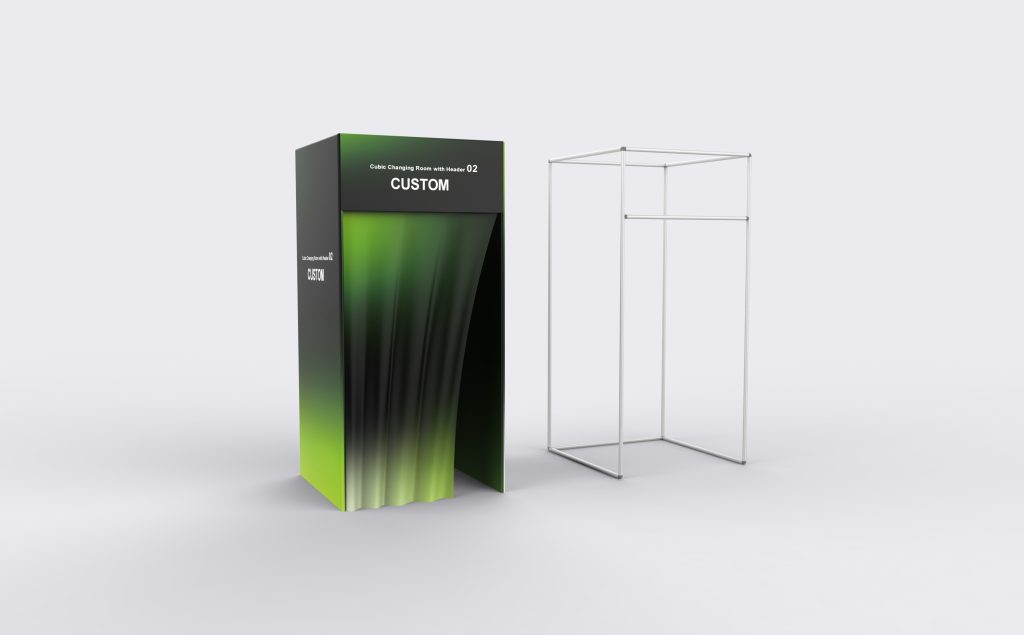
After assembly, check every connector and the specified base or fixing arrangement. Stop use if a joint loosens, a base moves or the entrance catches. Do not treat pole diameter as a stability rating or hang stock from a rail without its stated load capacity.
Use a fixed mirror that does not reflect through the entrance, secure lighting cables away from feet, and keep belongings off the floor. Follow the fabric’s cleaning instructions. During the event, inspect closures, contact surfaces and loose floor coverings between users as needed.
Plan capacity from fitting time rather than shop size. At an assumed eight minutes per fitting, one room provides seven complete appointments per hour before cleaning or delays. Record actual fitting times and queues during the first event to decide whether the next location needs another room.
Keep the setup photos, assembly time, packed measurements, privacy-check results and any repairs in a short event log. That gives the next crew a tested arrangement instead of another guess at the floor plan.
Plan the enclosure around your actual shop space.
Send Milin your floor plan, available height, entrance position, venue requirements and event date. Include the usable interior space you need so the enquiry covers the frame, closure, graphics and packing—not just the outside dimensions.
Send Your Fitting Room Brief