A portable fitting room needs to block both direct views and revealing silhouettes. Before changing, check the fabric under the actual lighting, make sure the entrance stays closed as you move, and inspect the bottom, top and seams from outside. Keep your clothes on during the check. If someone can see inside or make out your body outline through the fabric, use another space until the problem is fixed.
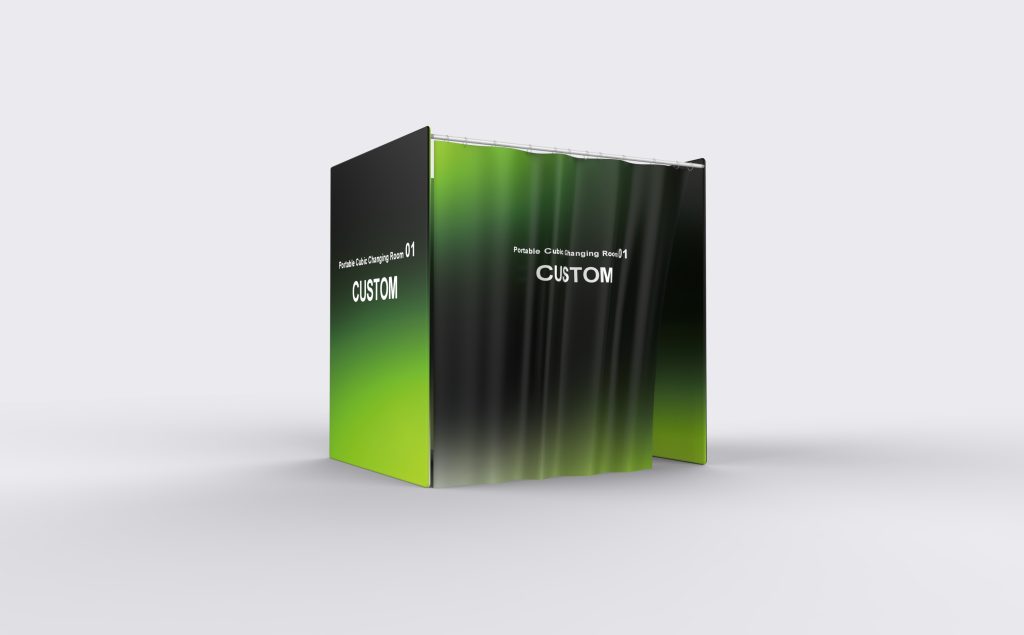
Check the Fabric
Ask for the exact fabric, lining and printed finish that will be supplied. Labels such as “210D,” “260 g/m²,” “double-sided” or “silver-coated” do not, by themselves, establish privacy performance. Double-sided printing is not the same as a separate blackout lining.
With the fabric installed at its normal tension, hold a hand against the inside while a colleague looks from outside. Visible fingers or a clear hand outline flag a problem. Then step back into the position where you would change and raise your arms, turn and bend. The hand check alone cannot establish whether the whole enclosure provides enough cover.
Inspect worn patches, stitch holes and damaged coatings too. A phone torch can help locate small holes, but a bright spot shining through cloth does not necessarily mean someone has a clear view through it. Check the opening itself from outside. Do not stretch the fabric beyond its intended fit.
Check the Gaps
Close the entrance from inside, then repeat normal changing movements. A curtain that meets while you stand still may separate when an elbow catches it. Check whether the closure is easy to secure and reopen without help.
| Location | What to check | When to stop using it |
|---|---|---|
| Entrance | Check both edges after raising your arms, turning and bending. | The curtain separates or the fastener releases. |
| Bottom edge | Have the observer check from standing and lower viewpoints along nearby public routes. | Someone can see the changing area beneath the fabric. |
| Open top | Inspect views from nearby stairs, raised platforms and balconies. | An accessible higher position overlooks the interior. |
| Seams and corners | Inspect zipper ends, panel joints and fabric pulled around the frame. | An opening provides a direct view inside. |
There is no reliable privacy clearance based on bottom-gap height alone. Viewing angle, distance and the user’s position all matter. Seeing shoes outside does not prove that someone can see your underwear, but it is a reason to check that sightline properly. A bag blocks only the area it covers; it is not a substitute for a fitted privacy panel.
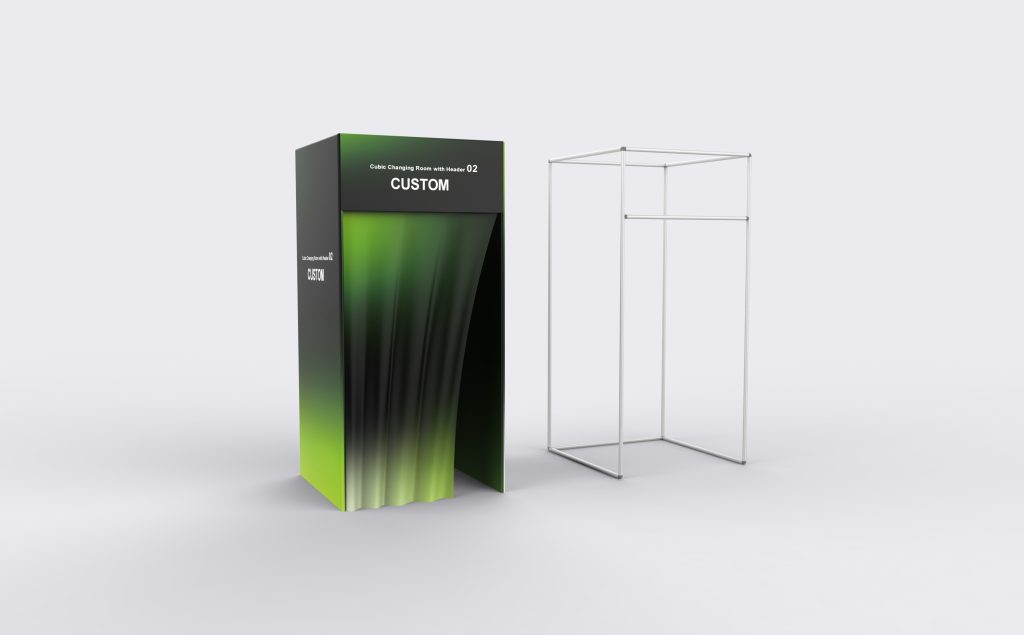
Test Backlighting
A room that looks opaque during daytime setup can show silhouettes after its internal light comes on. Test the lighting planned for use, including nearby spotlights and illuminated displays. Position the fully clothed tester between the light and each fabric wall being inspected.
Have a colleague check from the nearest place a customer could stand, then from farther along the aisle. Distances such as 2 m and 5 m are useful additional viewpoints, not pass-or-fail standards. Check every exposed side, including any view through a nearby mirror.
If a body outline is visible, reposition the light or enclosure, or fit an appropriate opaque liner. Repeat the check after each change. Keep enough light to see clothing, fasteners and the floor; switching the room into darkness is not a suitable fix.
Include the fitting area when planning booth lighting and power. A lux reading can document lighting conditions, but it does not measure fabric opacity or certify privacy.
Keep a Setup Record
For a shop or event, record the model, fabric version, date, light positions, observer locations and any visible gaps or silhouettes. Note the fix and the result of the repeat check. With the tester’s consent, take fully clothed reference photos; never ask someone to undress to demonstrate a problem.
Repeat the inspection when the room moves, the fabric is replaced, lighting changes or wind starts shifting the panels. These records document what was actually checked rather than relying on a supplier’s product image.
This is a practical inspection procedure, not a report of completed product testing. The product photos show enclosure designs, not verified privacy results.
Specify the Room Before Ordering
When comparing portable changing rooms, request a drawing showing usable internal space, entrance closure, top coverage and the bottom edge. Confirm whether an opaque liner is included and ask for a demonstration using the proposed fabric under backlighting.
The Portable Cylinder Changing Room lists reference diameters of 210 cm or 240 cm, both at 240 cm high. These are catalog dimensions, not proof of usable clearance or accessibility. Check the approved configuration, especially if a bench, wheelchair or assistant needs to fit inside.
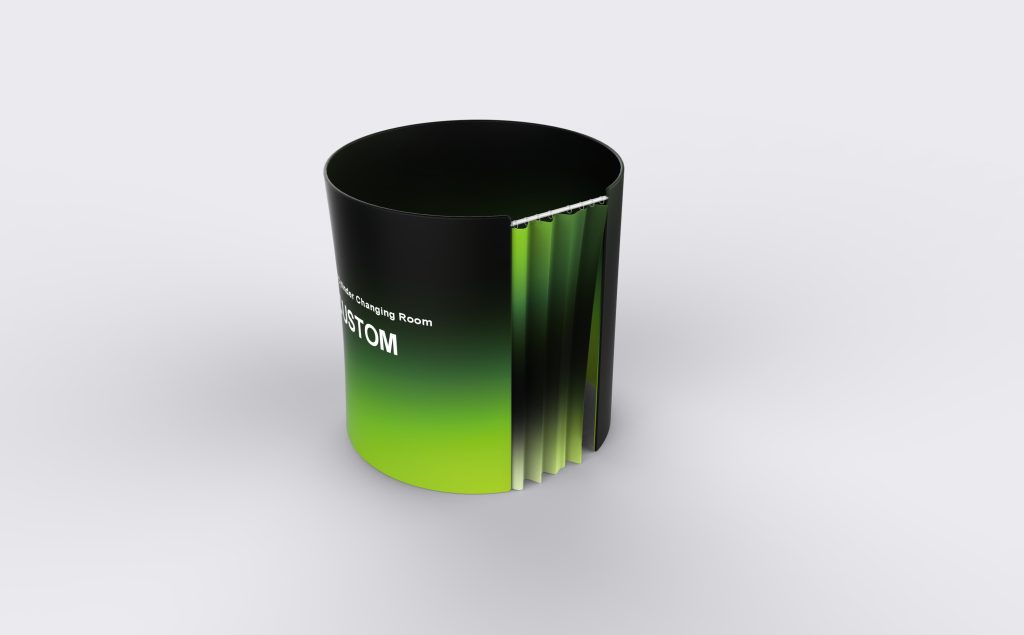
For U.S. projects subject to ADA requirements, Section 803 addresses turning space, benches and other fitting-room features. Its advisory guidance calls for privacy equivalent to that provided to other users. A wide entrance alone does not establish compliance.[1]
For outdoor use, confirm that the selected room is intended for that setting and follow its fixing instructions and operating limits. Do not assume a standard ballast weight suits every enclosure. UK HSE event guidance specifically calls for assessing ground conditions, anchoring locations and prevailing wind when positioning temporary structures.[2] Stop use if wind opens the entrance or shifts the frame.