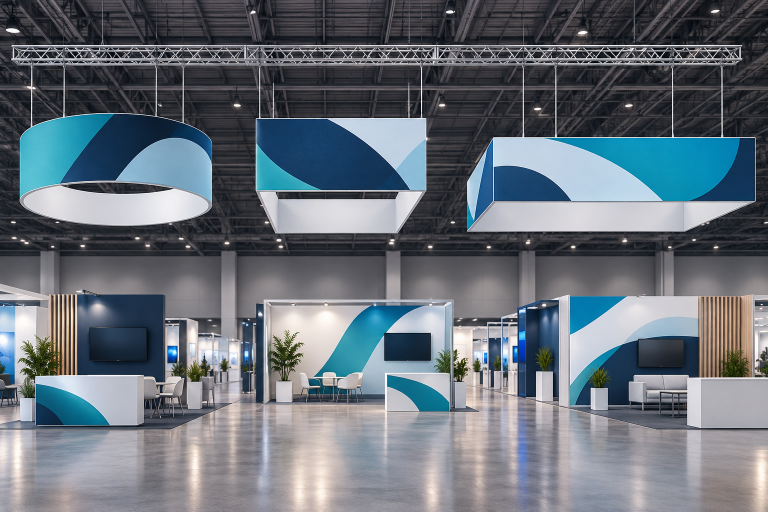
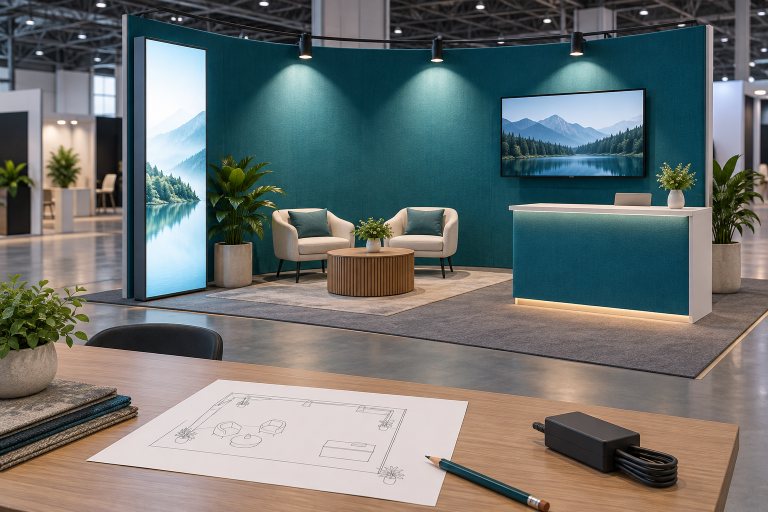
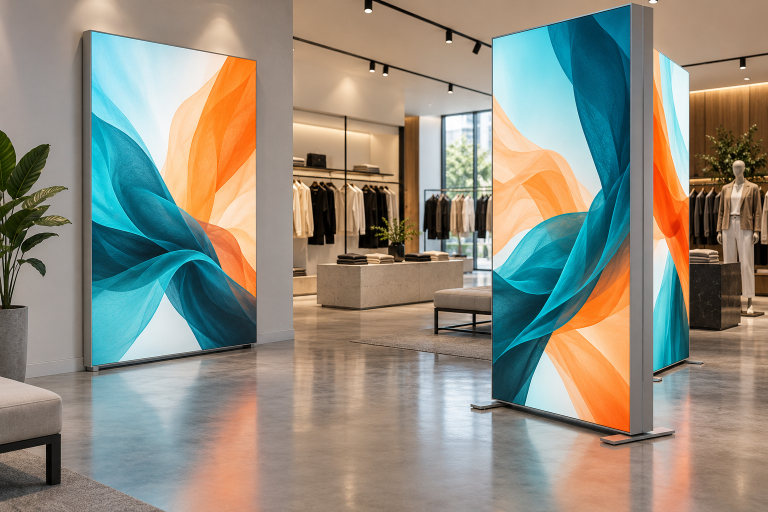
Modular display systems are becoming an important part of reusable exhibition displays because the same frame kit can be resized, fitted with new graphics, repaired, and used at different events. They can reduce repeated booth-building costs, but only when most parts are reused, transport cases are kept under control, and the system is used often enough.
A good system should pass six basic checks: it fits several planned booth sizes, carries the required products and screens, packs within the freight budget, can be installed by the available crew, meets the rules of each venue, and has replaceable parts. Buyers can compare different formats through Milin’s exhibition display solutions, but the final choice should be based on tested layouts and written specifications rather than product names.
The figures used in this article are planning examples, not universal industry standards. Actual results depend on booth size, design, location, labor rules, shipping distance, and how often the system is used.
What Is a Modular Display System?
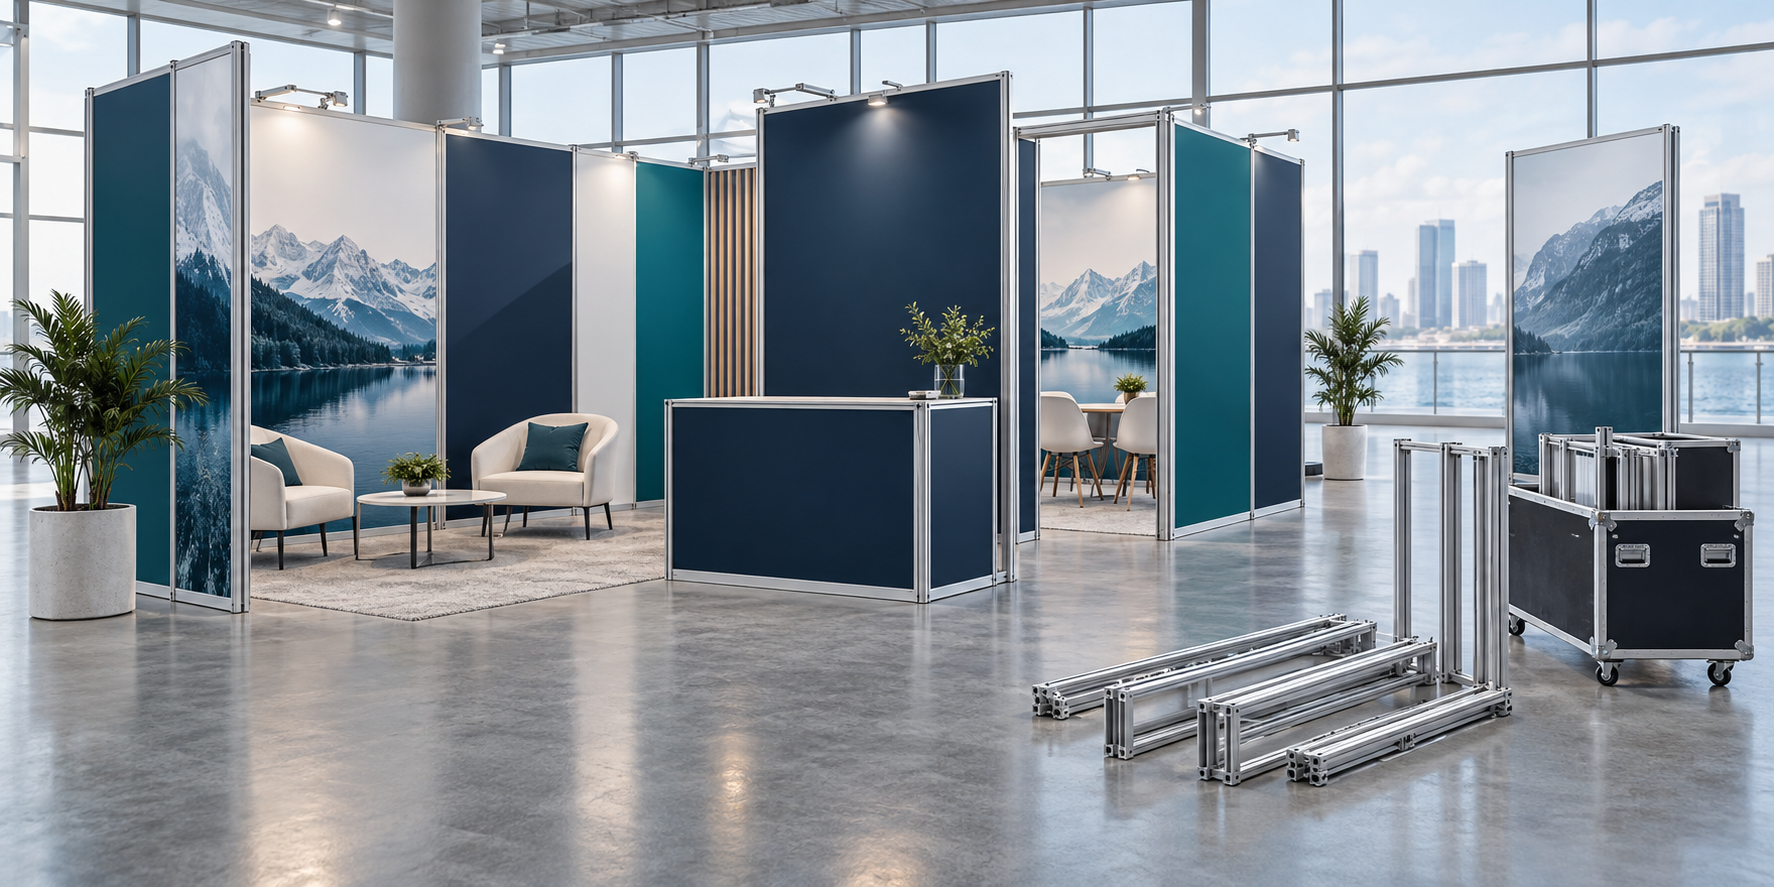
A modular display system uses frames, connectors, graphics, counters, shelves, lights, screen mounts, doors, and storage parts that share standard sizes or connection points. The parts can be moved and reused in more than one layout.
For example, wall frames used as a 6-meter back wall at one show may become two 3-meter side walls at another. A door and storage section can be added for a larger booth and removed for a smaller one. The costly frame stays in use while lower-cost graphics and selected accessories change.
| Term | What It Means |
|---|---|
| Portable | Easy to move, but it may have only one fixed shape. |
| Reusable | Can be used again, but may not change size or layout. |
| Modular | Parts can be combined in different sizes and layouts. |
| Custom | Made for a brand or project. Custom parts can still attach to a modular frame. |
| Rental | Describes how the booth is supplied, not how it is built. |
| Hybrid | The exhibitor owns key brand parts and rents common items locally. |
The best test is simple: ask the supplier to show at least three complete layouts made from the quoted kit. A useful starting set may include a 3 × 3 meter inline booth, a 3 × 6 meter corner booth, and a 6 × 6 meter island booth. Each layout should come with its own parts list.
As a practical planning target, try to reuse about 70% to 85% of the main structural parts between common layouts. This is not a fixed industry rule, but it gives buyers a clear way to compare systems. If changing the layout requires more than 40% new structural parts, the system offers limited modular value.
The same review should count unique parts. For a small or medium booth kit, keeping the number of connector types below five can make packing, training, and spare-parts control easier. A design that uses many nearly identical brackets is more likely to cause installation mistakes.
When Does Buying Make Sense?
Buying a modular booth is usually practical when the company attends several events, uses a limited range of booth sizes, keeps the same main brand look, and has a place to store the kit. It also needs someone to manage the parts, arrange repairs, update graphics, and book freight.
Rental is often better for one event, a new market test, a one-off design, or shows held far apart. Long-distance shipping and storage can remove the saving gained from owning the frame.
A hybrid plan is often the safest choice for international exhibitors. The company may own the graphics, counters, product holders, and special brand features while renting flooring, furniture, extra walls, and basic lighting near the event. Before mixing owned and rented parts, confirm that their sizes, connection methods, load limits, and finishes work together.
Do not use a rule such as “buy if the booth will last three years.” The number of uses matters more than the calendar.
| Use Plan | Total Uses Over 4 Years | Fixed Cost per Use on a $48,000 Investment |
|---|---|---|
| 2 events per year | 8 uses | $6,000 |
| 4 events per year | 16 uses | $3,000 |
| 8 events per year | 32 uses | $1,500 |
This example shows why a booth used ten times in one year may provide better value than a booth used once a year for four years.
Start With Real Booth Sizes
List the smallest and largest spaces the company expects to book. Then draw each layout using the same kit. Do not approve a system only because the supplier says it can be expanded.
Large frames reduce the number of joints, but they take more case space and may need more people to lift. Very small modules are easier to combine, but they create more connectors, labels, seams, and chances for mistakes.
Choose module sizes after checking:
- Actual booked or likely floor plans
- Service-door and freight-elevator sizes
- Transport-case dimensions
- The number of installers normally available
- The largest part that can be lifted safely
- Graphic seam positions
- Storage space between events
A modular kit should usually be designed around the smaller booth first. Oversized counters, long wall sections, and a large storage room may work in a 36-square-meter booth but leave little usable space in an 18-square-meter booth.
A simple planning example is a kit made from six 1-meter wall frames, two 0.5-meter extensions, one door module, two counters, four lights, and two movable shelves. The same parts may create a small back wall, two side walls, a corner layout, or part of a larger island booth.
Check the Frame, Connections, and Load Ratings
Aluminum is widely used for modular frames because it is lighter than many steel structures, resists corrosion, and can be made with slots for connectors and accessories. An aluminum exhibition booth should still be judged as a complete structure. The material name alone does not prove strength.
Ask the supplier for the profile size, wall thickness, alloy, surface finish, maximum unsupported span, recommended height, base requirements, and written load limits. Anodized finishes should be specified by the required use and coating quality. ISO 7599 gives a formal method for specifying decorative and protective anodic coatings on aluminum.[1]
Connectors: Check whether each lock gives a clear sign that it is fully closed. Similar-looking fittings should be labeled. High-wear locks, pins, feet, hinges, and brackets should be replaceable without discarding the main frame.
For frequently used locks, feet, pins, and brackets, a spare quantity equal to about 5% to 10% of the installed quantity is a useful starting point. If one layout uses 40 frame locks, carrying two to four spare locks may prevent a small failure from stopping the setup.
Bases: A straight freestanding wall normally needs more support than the same wall connected in an L or U shape. A high screen, deep shelf, moving door, or visitor leaning on the wall changes the force on the base. The supplier should approve the exact layout instead of giving one base-plate size for every booth.
Shelves and screens: A load rating is incomplete unless it states where the load is placed and how the bracket is fitted. A 20-kilogram product placed close to the wall creates less force than the same product placed at the front edge of a deep shelf.
For heavier displays, consider floor-supported aluminum profile shelves or separate product stands instead of attaching everything to a graphic wall. Record the product weight, shelf depth, fixing method, mounting height, and whether visitors can touch or pull the product.
Show rules can cover wall height, sight lines, hanging signs, enclosed rooms, and other booth features. IAEE publishes display-rule guidelines to help North American event organizers set more consistent standards, but exhibitors must still follow the manual for the specific show and venue.[2]
Plan the Booth Around People and Products
Visitors should be able to see the brand and main product from the aisle. Once inside, they should know where to view a product, watch a demonstration, talk to staff, or enter a meeting area.
Keep the main entrance open. A large counter across the front can feel like a barrier and may cause a queue in the aisle. In a small booth, place the counter to one side. In a booth with several open sides, make each entrance lead to a clear product or activity.
Plan product positions by weight, viewing distance, reach, and the amount of explanation needed. A product that visitors can touch needs enough space for safe handling. A demonstration should not block the entrance or force people to stand in the aisle.
Use enclosed meeting rooms only when privacy is worth the lost floor space. For example, a 3 × 3 meter booth contains only 9 square meters. A 2 × 2 meter meeting room would use 4 square meters, or about 44% of the entire booth. A partly screened table may provide enough privacy while leaving more room for products and visitors.
Size storage from real items, not from an empty drawing. Count sample cartons, brochures, coats, staff bags, cleaning supplies, drinks, spare graphics, tools, and packing materials. Keep frequently used items near the door and do not block electrical equipment or exits.
Accessibility rules depend on the country and venue. For U.S. projects, the ADA Standards include requirements for accessible routes, walking surfaces, doors, clear widths, turns, and ramps.[3] Confirm the final plan with the organizer instead of copying dimensions from an older booth.
Choose Graphics, Lighting, and Screens Carefully
Graphics are the part visitors notice first. A reusable frame will still look poor if the fabric is loose, the rigid panels do not line up, or the lightbox has dark areas.
Ask for a controlled artwork template for every frame. It should show the finished size, bleed, seams, edge type, and safe area for text and logos. Before printing the full set, test one finished graphic on the real frame. Check color, opacity, stretch direction, stitching, silicone-edge size, and fit.
When graphics are printed in different regions, use the same approved color sample and size template. Different fabric, ink, heat, or sewing settings can change the final color and dimensions. Keep faces, small text, and product labels away from panel seams unless the alignment has been tested.
Plan the artwork so that temporary campaign messages can be replaced without reprinting the full booth. For example, if a booth has 40 square meters of visible graphics and only 12 square meters contain campaign-specific content, the company may replace 30% of the graphics instead of printing all 40 square meters again.
SEG fabric is useful when the frame will stay in use but campaigns will change. Milin’s guide to interchangeable SEG fabric displays explains how the fabric graphic can be removed while the frame is kept. For simple back walls, a tension fabric backdrop booth may use less hardware than a full booth system.
For lighting, check both the light color, often listed as CCT, and how accurately it shows product colors, often listed as CRI. The U.S. Department of Energy explains that the color of the light source and the way it changes the appearance of objects are separate issues.[4]
Always test the final lights with the real products, especially textiles, cosmetics, food, paint, and printed packaging.
A SEG LED lightbox booth should be tested with the final printed fabric. Check for visible LED dots, dark corners, color differences between adjoining boxes, heat buildup, and access to drivers and power supplies.
Use screens for content that benefits from movement or regular updates, such as software demonstrations, technical animation, live data, or short product videos. Plan the screen weight, mount, viewing distance, brightness, ventilation, cable access, and removal method. Keep a local copy of the content because venue internet may be unreliable. Videos should work without sound or include captions.
Calculate the Real Cost per Event
Compare the full cost of each option over the same number of events. Do not compare a frame-only modular price with a custom-booth quote that already includes graphics, freight, labor, and disposal.
Separate costs into three groups:
- Fixed costs: frame, design, engineering, first graphics, cases, manuals, training, and test build
- Per-event costs: freight, handling, setup, dismantling, venue services, updated graphics, cleaning, and small repairs
- Long-term costs: storage, insurance, inventory work, major repairs, expansion parts, and end-of-life handling
Fixed ownership cost per use = fixed and long-term ownership costs ÷ completed uses.
Example: a modular booth costs $30,000. Over four years, storage, repairs, new graphics, and added modules cost another $18,000. If it is used 12 times, the fixed ownership cost is $4,000 per use.
The operating costs for one event can then be added separately:
| Per-Event Cost | Planning Example |
|---|---|
| Freight and handling | $1,200 |
| Installation and dismantling | $1,800 |
| Updated graphics | $700 |
| Storage allocation | $300 |
| Minor repairs and missing parts | $200 |
| Total operating cost | $4,200 |
In this example, the total cost for one use is $8,200: $4,000 in fixed ownership cost plus $4,200 in event operating costs.
If a comparable custom booth costs $10,000 per event on the same cost basis, 12 events would cost $120,000. These figures are examples, not market averages. Actual costs can change sharply with booth size, country, labor rules, case volume, and design detail.
Simple break-even uses = net purchase cost ÷ saving per event.
If the net purchase cost is $35,000 and the modular system saves $7,000 per event after all comparable event costs are included, the simple break-even point is five uses.
Also run three cost scenarios:
- Conservative: fewer events, higher freight, frequent graphic changes, and more repairs
- Expected: the most likely event schedule and normal operating costs
- High-use: frequent reuse, stable layouts, and efficient local logistics
This shows the risk that the booth may not pay back before a major brand change.
Control Packing, Freight, and Installation
Ask for the number of cases, the outside dimensions of each case, gross weight, total packed volume, pallet needs, lifting points, and a case-by-case parts list.
Weight alone does not show the full freight cost. Two booth kits may each weigh 200 kilograms, but one may occupy 2.0 cubic meters while the other occupies 3.5 cubic meters. The second kit may cost more to ship and store because it takes up 75% more space.
Freight may be charged by actual weight or by the space the shipment takes up. IATA explains that air-cargo pricing can use chargeable weight based on weight and volume, so a light booth in oversized cases can still be costly.[5]
Case weight should match the available crew and handling equipment. For example, a 180-kilogram shipment may be divided into six 30-kilogram cases rather than three 60-kilogram cases. The final limit should be based on local lifting rules, case wheels, ramps, and whether mechanical handling is available.
Check every case against warehouse doors, freight elevators, service corridors, and delivery vehicles. Use dividers so metal parts do not rub against printed fabric. Pack in setup order where possible, and give every main part a code that matches the drawing and packing list.
For goods that will enter a country temporarily and then leave again, check customs requirements before shipping. The International Chamber of Commerce describes the ATA Carnet as a customs document that can simplify duty- and tax-free temporary admission of eligible goods in participating countries and territories.[6]
Installation claims must state what is included. “Installs in 45 minutes” may refer only to the frame and leave out the graphics, lights, screens, and final checks.
| Setup Task | Planning Example |
|---|---|
| Frame assembly | 45 minutes |
| Graphics | 30 minutes |
| Lights and screens | 20 minutes |
| Alignment and final checks | 25 minutes |
| Total setup time | 120 minutes |
This example shows why frame-only assembly time should not be presented as the full setup time.
Complete a full test build before the first event. Use all graphics, doors, shelves, counters, screens, lights, and cables. Record the crew size, tools, total time, difficult steps, missing parts, final dimensions, and packing order. Then dismantle and repack the booth. Testing only the main wall is not enough.
Check Safety and Venue Rules
Ask for documents that match the exact booth, not a similar product. Depending on the layout and venue, this may include load ratings, base and bracing instructions, structural calculations, material fire-test reports, electrical ratings, and installation checks.
For U.S. events, NFPA 701 is a standard test method for flame spread on textiles and films.[7] A report for one fabric does not automatically cover a different coating, print process, backing, or finished graphic. The organizer decides which documents are accepted.
Keep walkways clean and free from hazards. OSHA’s general-industry rule requires walking-working surfaces to be kept orderly and maintained free of hazards, and it requires safe access and exit for employees.[8]
Inspect extension cords and plug-in equipment before use. OSHA requires damaged portable cords and equipment to be removed from service until they are repaired and tested.[9] Venue electricians may be required to make final connections.
Do not treat an indoor booth as an outdoor booth. Wind, rain, ground fixing, drainage, ballast, and weatherproof electrical equipment need a separate design and approval.
Maintain the Kit and Avoid Supplier Lock-In
Complete a basic inspection after every event. Check the inventory, visible damage, graphic condition, locks, feet, lights, power supplies, hinges, shelves, screen mounts, and cables.
A useful maintenance schedule may include:
- After every event: count, clean, dry, inspect, and repack the system
- Every 3 to 5 uses: complete a detailed connector, hinge, shelf, light, and electrical check
- Once a year: carry out a full inventory audit and update repair and replacement records
Do not store wet fabric because it can develop stains, odor, or mold. Remove cracked locks, bent bases, loose hinges, damaged cords, and badly deformed frames from service until they are repaired or replaced.
Build a spare kit around the effect of failure, not the price of the part. A small screen fastener, door fitting, connector, or power supply may be more important than a large decorative panel because its failure can stop a main booth function.
Before buying a proprietary system, ask whether another printer can make the graphics, whether individual parts can be ordered, how long the system will be supported, and whether new modules will fit older frames. The agreement should state who receives the artwork templates, drawings, installation files, and inventory records.
Measure Sustainability Instead of Using Green Claims
A reusable booth can reduce new material use, but it is not automatically the greener choice. Repeated air freight, frequent graphic replacement, poor packing, and early disposal after a rebrand can reduce the benefit.
Track practical figures:
- Number of uses for each main frame
- Percentage of the kit reused at each event
- Weight or area of graphics replaced
- Total packed weight and volume
- Average shipping distance
- Repair and replacement rates
- Items rented or produced near the event
- Materials that can be separated at end of life
A simple event record may show that after six events, 82% of the structural kit remained in use, 35 square meters of graphics were replaced, four connectors were repaired, and furniture was rented locally for five events. This is more useful than saying the booth is simply “green.”
The U.S. EPA places source reduction and reuse above recycling and disposal in its waste-management hierarchy.[10] This supports repairing and reusing the frame before replacing it.
Avoid claims such as “zero waste,” “100% sustainable,” or “eco-friendly” without clear proof. The U.S. Federal Trade Commission advises against broad, unqualified environmental claims and recommends stating the specific benefit that can be supported.[11]
Useful future changes are practical rather than complicated: shared frame specifications across regions, QR or RFID labels for inventory, replaceable locks and electrical parts, local graphic production, and digital content that reduces short-term printing.
A modular lighting case such as Milin’s ProCom display project also shows how backlit walls and hanging elements can be planned as parts of one system rather than isolated pieces.
Supplier Checklist
- Show at least three realistic layouts made from the quoted kit.
- List standard parts, custom parts, and new parts needed for each layout.
- State the percentage of structural parts reused between layouts.
- List the number of unique connector and bracket types.
- Provide the outside size, weight, volume, and contents of every case.
- State the crew size, tools, and work included in the setup time.
- Give screen, shelf, counter, wall, and base load limits with test conditions.
- Provide artwork templates and a finished graphic sample.
- Confirm fire, electrical, structural, and venue documents required for the event.
- Include a complete test build, dismantling test, and repacking check.
- List spare parts, prices, normal lead times, and warranty coverage.
- Explain whether local printers and installers can work with the system.
- Confirm that future modules will connect to the current frames.
- Use the same cost items when comparing purchase, rental, and custom booths.
Conclusion
A modular display system is worth buying when one kit can cover several real booth sizes and reuse about 70% to 85% of its main structural parts. Before ordering, require at least three tested layouts, written load limits, exact case dimensions, a full setup and repacking test, and a cost model that includes storage, freight, labor, repairs, and replacement graphics. In the example above, a $48,000 ownership cost spread across 12 uses equals $4,000 per use before event operating costs. The saving is real only when the system is reused as planned and does not need major new parts for every show.