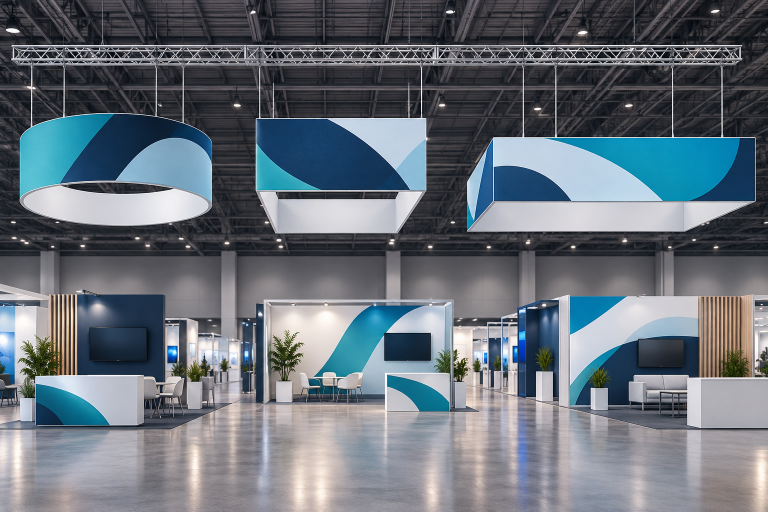
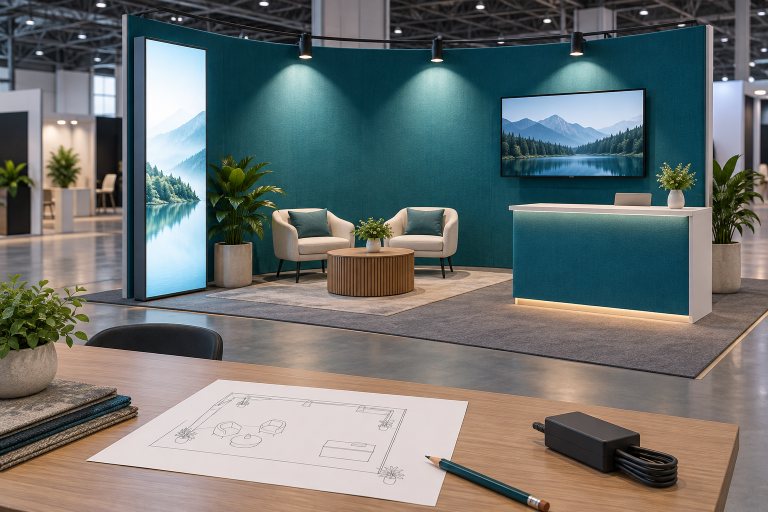
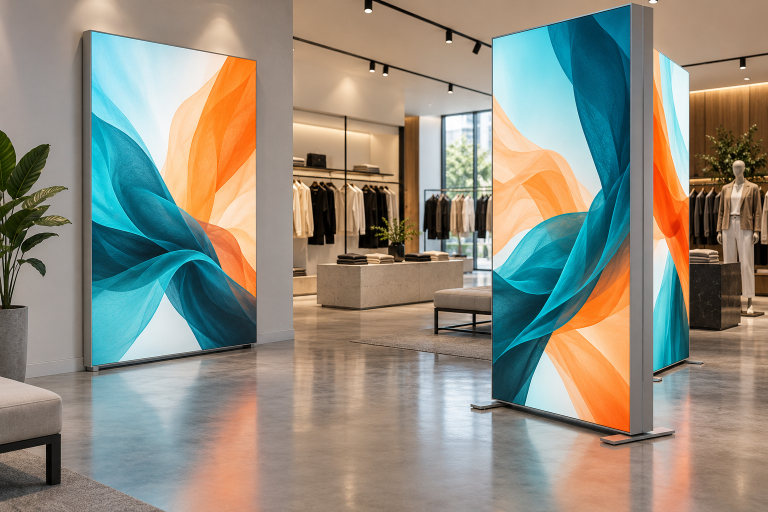
To order a custom exhibition booth from China, prepare a complete brief, compare the total installed cost, verify the supplier, approve the final drawings, test and inspect the booth, confirm customs and shipping responsibilities, and arrange local delivery and installation before the venue deadline.
Do not choose a supplier from the factory price or 3D rendering alone. A booth can be well made but still fail if it breaks venue rules, arrives late, is packed badly, or cannot be installed with the local labor and tools available.
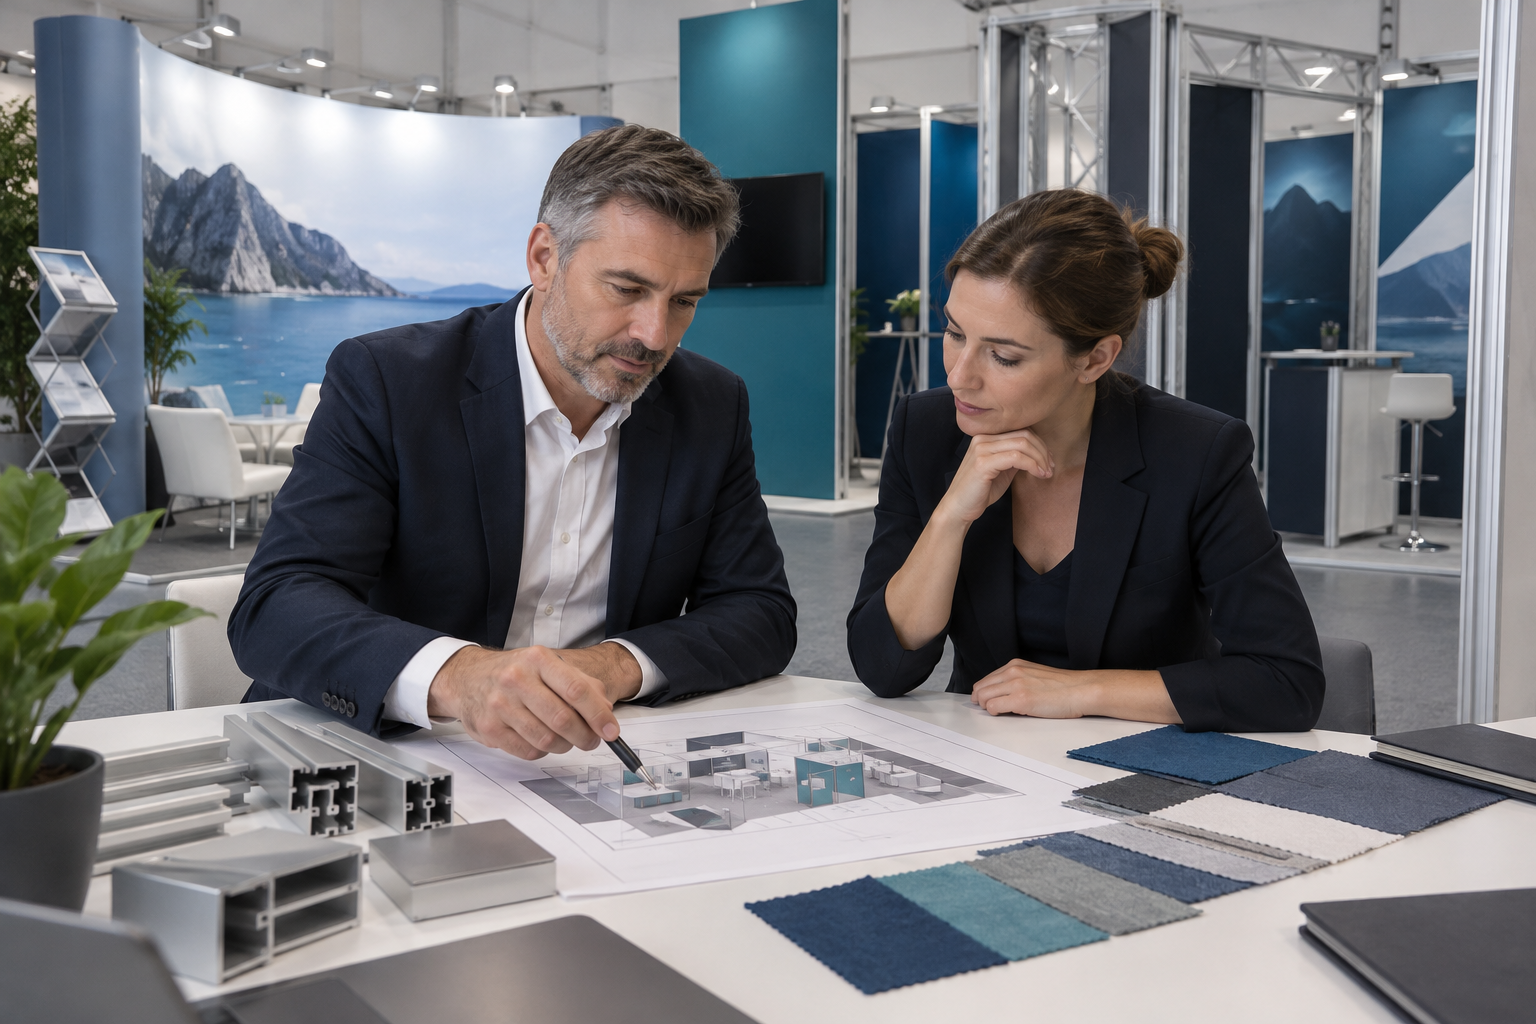
Decide Whether Buying From China Makes Sense
China is often a good option when the booth includes custom aluminum frames, fabric lightboxes, branded counters, product displays, unusual shapes, or parts that will be reused at several shows. You can first review common exhibition display systems to see which parts are suitable for factory production.
As a practical screening example, an 18–72 m² custom booth planned for three or more shows is usually worth a full overseas cost comparison. This is not a fixed rule. A smaller booth may still make sense if it contains valuable custom parts, while a larger booth may be cheaper to build locally when venue labor and handling charges are high.
Local production or rental may be better when:
- The booth is small and mainly uses standard walls, carpet, furniture, and televisions.
- The show date is too close for design, approval, production, inspection, shipping, and customs clearance.
- The booth will be used only once.
- The venue requires official contractors to complete most of the work.
- Local handling, storage, labor, and import charges are high.
- No importer or customs-clearance plan has been confirmed.
For a reusable booth, compare the full cost across all planned shows:
Average cost per show = total design, production, freight, customs, installation, storage, repair, and graphic replacement cost ÷ actual number of shows
A reusable aluminum exhibition booth only saves money when the frame can be assembled many times, the graphics can be replaced, the crates survive repeated transport, and damaged parts can be ordered separately.
Prepare a Complete Booth Brief
Do not request a final quote with only the booth size and a reference picture. Every supplier will make different assumptions, so the prices will not be comparable.
Your brief should include:
- Exhibition name, venue, city, country, booth number, and show dates
- Installation hours, dismantling deadline, and delivery window
- Booth length, width, area, height limit, and number of open sides
- Columns, utility points, nearby exits, neighboring booths, and main aisle direction
- The complete exhibitor manual and all submission deadlines
- Required reception, meeting, demonstration, storage, and product areas
- Expected staff numbers and peak visitor numbers
- Electricity, internet, water, compressed air, ventilation, and overhead hanging needs
- Budget range, reuse plan, destination, and required delivery date
Read the full exhibitor manual before design starts. Height is only one rule. The venue may also limit wall length, enclosed ceilings, raised floors, hanging signs, sound, cooking, electrical work, and on-site construction.
For early layout planning, storage may take about 5%–10% of the booth area. A 36 m² booth may therefore need roughly 2–4 m² of storage, depending on the number of samples, brochures, staff bags, water cartons, spare graphics, tools, and waste containers kept inside.
| Brief Item | Example |
|---|---|
| Booth size | 6 m × 6 m, 36 m² |
| Open sides | Front and left |
| Maximum height | 4 m |
| Storage | At least 3 m² with shelves and a lock |
| Meeting area | One table for six people |
| Main product | 1,200 kg industrial machine |
| Reuse target | Three exhibitions |
Provide Complete Product and Brand Information
For every displayed product or machine, provide:
- Length, width, height, and total weight
- Support points, load at each point, and center of gravity
- Power use, heat, noise, moving parts, and safety distance
- Required forklift, crane, pallet truck, or lifting points
- The route from the loading area to the booth
- Whether the product must enter before walls or flooring are installed
For a heavy machine, total weight is not enough. The supplier and venue also need to know where the load touches the floor and whether the machine creates movement or vibration.
Send vector logos, approved colors, fonts, product photos, final text, translations, and clear graphic dimensions. Do not use a small logo copied from a website for large-format printing.
Choose the display system according to the job. A SEG lightbox booth is useful when bright graphics are important. A tension fabric backdrop is lighter and may be easier to pack when backlighting is not needed.
Calculate the Total Installed Cost
The factory quote is not the final project cost. Compare three figures:
- Factory cost: design, materials, manufacturing, graphics, test assembly, and packing.
- Landed cost: factory cost plus China transport, freight, insurance, duty, tax, broker fees, and destination charges.
- Installed cost: landed cost plus venue delivery, material handling, labor, electricity, overhead hanging, internet, cleaning, dismantling, and disposal or storage.
| Cost Area | Items to Include |
|---|---|
| Design and approval | Renderings, drawings, revisions, engineering review, submission fees |
| Production | Frames, panels, counters, shelves, finishes, graphics, lighting |
| Quality control | Samples, test assembly, inspection, and corrections |
| Shipping | Crates, pickup, export handling, freight, insurance, duty, tax, and customs |
| Venue | Delivery, venue freight handling, storage, labor, power, overhead hanging, internet, and cleaning |
| After the show | Dismantling, disposal, return freight, repair, and storage |
Also allow for bank charges, exchange-rate changes, overtime, warehouse fees, customs examination, damaged parts, and urgent air freight. A 10% to 15% reserve can be used for early planning, but a complex booth, new supplier, short schedule, or unclear customs plan may need more.
The prices shown on a display pricing page can help with early comparison, but they should not be treated as the delivered and installed price.
Choose What to Make in China and What to Rent Locally
Do not ship every item from China. Make custom, branded, or reusable parts in the factory and rent common items near the venue.
| Often Made in China | Often Rented Locally |
|---|---|
| Aluminum frames and wall systems | Standard chairs and tables |
| Fabric lightboxes and printed graphics | Televisions and common audio equipment |
| Custom counters, cabinets, and shelves | Carpet, plants, refrigerators, and coffee machines |
| Product stands and special fixtures | Forklifts, lifts, internet, and cleaning equipment |
A television may be cheap to buy in China, but freight, voltage differences, local certification, damage, mounting, and disposal can make rental cheaper.
Create a responsibility list showing what the supplier, freight forwarder, customs broker, venue contractor, local installer, and exhibitor must provide. Assign one person or company to every item.
Shortlist and Verify Suppliers
Compare three to five suppliers. This gives enough choice without creating too many different designs and unclear prices.
Check whether each supplier has experience with:
- Your booth size and structure
- Your destination country or region
- Reusable frames and replacement graphics
- Export packing and international shipping
- Test assembly and English installation documents
- Heavy products, screens, lightboxes, or hanging structures used in your design
Ask for the Chinese business license, registered company name, factory address, company bank account, recent project records, production schedule, quality process, and list of outsourced work.
Use a live video call to see the production floor, printing area, assembly area, warehouse, packing area, current projects, and quality records. A video alone does not prove factory ownership or capacity, so also check company records, customer references, and recent project evidence.
Ask for the full process, not only final booth photos: drawings, factory production, test assembly, numbered parts, packing, and the installed booth. The video-guided assembly case is a useful example of the type of installation evidence a buyer should request.
Send the Same RFQ to Every Supplier
Send one clear request for quotation to all shortlisted suppliers. Include the brief, floor plan, venue rules, product data, brand files, reuse target, delivery point, required date, inspection rules, test-assembly scope, and packing requirements.
Ask suppliers to separate the price into:
- Design and technical drawings
- Structure and surface finishes
- Graphics and printing
- Lighting and electrical parts
- Furniture and equipment
- Test assembly and project management
- Packing, crates, and spare parts
- Domestic delivery, export handling, and freight
- Excluded items, assumptions, warranty, and installation support
A one-line quote such as “custom booth: USD 28,000” is not enough. You cannot see what is missing or what changes will cost.
Ask whether the quote includes two or three design-revision rounds. Also treat early packed-volume and gross-weight figures as estimates. A planning allowance of about 10%–20% may be useful until the final hardware, internal protection, spare parts, and crate construction are confirmed.
Before comparing totals, make sure the suppliers are pricing the same drawing revision, materials, graphic quantity, lights, furniture, packing method, delivery point, trade term, test assembly, and warranty.
Replace unclear descriptions such as “premium board,” “strong frame,” or “high-quality fabric” with exact material names, thicknesses, sizes, finishes, grades, and quantities.
Check the Layout Before Approving the Look
Use a dimensioned floor plan, not only a 3D rendering. Check the space with real furniture, products, doors, storage shelves, staff, and visitors shown at their correct sizes.
Confirm that:
- The main product can be seen from the aisle.
- The entrance is not blocked by the reception counter or a queue.
- Visitors can enter, move around, watch a demonstration, and leave safely.
- Meeting chairs fit when people are seated.
- Cabinet and storage-room doors can open fully.
- Staff can restock brochures and remove waste without crossing meeting areas.
- Accessible routes and raised-floor edges meet local and venue rules.
A four-person meeting area may need about 6–8 m² once the table, chairs, chair movement, and access space are included. A six-person meeting area may need about 8–12 m². These are planning values, not venue minimums.
Storage is often underestimated. A starting range of 5%–10% of the total booth area works for many early layouts, but the final size should be based on the actual number of brochure boxes, samples, staff bags, coats, water cartons, spare graphics, tools, and waste containers needed during the busiest part of the day.
Check Structure, Fire Rules, and Electricity
Ask for technical drawings that show frame sizes, connections, bracing, bases, screen mounts, shelf loads, product loads, counterweights, and how the booth load reaches the venue floor.
Large screens must connect to a proper frame, not only to a decorative panel. Tall walls, hanging signs, heavy shelves, and suspended parts may need calculations and approval from a qualified local engineer.
Ask the organizer which materials need fire test reports or treatment certificates. The document must match the actual fabric, carpet, foam, timber product, or printed material. A general statement that a product is “fireproof” is not enough.
Create a power list showing every light, screen, laptop, appliance, motor, and demonstration machine. For example:
| Equipment | Quantity | Power per Unit | Total |
|---|---|---|---|
| LED spotlights | 20 | 30 W | 600 W |
| Lightboxes | 4 | 120 W | 480 W |
| 75-inch screen | 1 | 250 W | 250 W |
| Laptops | 4 | 90 W | 360 W |
| Coffee machine | 1 | 1,500 W | 1,500 W |
| Total connected load | 3,190 W |
The example connected load is 3,190 W. For early budgeting, the exhibitor may use about 4 kW or more as a working estimate. The final order may need extra capacity and separate circuits for high-load equipment, so confirm voltage, frequency, plugs, cable rules, starting current, and who is allowed to make the final connection.
Approve Drawings and Samples in the Right Order
Use clear drawing stages:
- Concept design: layout, appearance, main dimensions, and basic scope.
- Venue review: height, walls, exits, overhead hanging, access, and other major rules.
- Technical drawings: structure, materials, electricity, graphics, and required calculations.
- Approved for production: the signed version the factory must follow.
- Installation drawings: part numbers, crate numbers, wiring, and assembly order.
Do not approve important changes only in chat. Update the drawing, quote, and schedule before production continues.
Approve physical samples for important colors, printed graphics, fabric, paint, laminate, metal finish, carpet, acrylic, hardware, and lighting. A photo on a screen is not reliable for final color approval. Keep one approved sample for inspection.
For booths that need frequent graphic changes, confirm how the old fabric will be removed and how the new one will fit. See the fabric lightbox example for a typical replaceable-graphic system.
Use a Contract That Matches the Drawings
The contract should include:
- Buyer and seller legal names
- Approved scope, drawings, materials, quantities, and prices
- Payment stages and bank details
- Design, production, test, inspection, and shipping dates
- Packing, labeling, spare-part, and document requirements
- Exact trade term and named place
- Warranty, defect correction, delays, and urgent replacement costs
- Design ownership, confidentiality, subcontracting, and dispute process
- Which document controls if the contract, quote, drawing, and material list conflict
A practical payment plan can link the deposit to contract signing, the next payment to approved production drawings, another payment to successful test assembly, and the balance to final inspection. The percentages depend on the supplier and project.
Every change order should show the revised drawing, price difference, schedule effect, and effect on packing, freight, and venue approval.
Build the Timeline Backward From Installation
Do not use the show opening date as the delivery deadline. Allow time for customs clearance, warehouse handling, venue delivery, assembly, repair, cleaning, and final checks.
| Stage | Planning Range |
|---|---|
| Brief and supplier selection | 2–3 weeks |
| Design and revisions | 2–4 weeks |
| Venue review and final drawings | 1–3 weeks or more |
| Samples and material approval | 1–2 weeks |
| Production | 3–6 weeks |
| Test assembly, inspection, and correction | 1–2 weeks |
| Packing and export handover | 3–7 days |
| International shipping and customs | Depends on route and shipping method |
| Venue installation | Often 1–3 days for a medium booth |
These are planning ranges, not fixed promises. From a complete brief to factory handover, many medium custom booths need about 8–14 weeks before international freight and customs time are added. Add more time for large booths, double-deck structures, local engineering approval, special electronics, Chinese public holidays, port congestion, customs checks, and limited venue working hours.
Monitor Production and Test the Actual Booth
Request dated photos or videos at these stages: raw materials, frame production, panel work, painting or laminating, graphic printing, wiring, test assembly, corrections, cleaning, and packing.
Ask for close-up evidence of profile sizes, welds, joints, edges, paint, graphic wording, cable connections, screen supports, locks, shelves, and hardware. Wide factory photos are not enough.
For a medium or complex custom booth, require a full test assembly when practical. As a planning example, a 36 m² modular booth may need four to six trained installers and one to two working days at the venue. A factory trial assembly may take half a day to one full day. Complex structures, machinery, large screens, or overhead parts may take longer.
If the structure is too large to assemble completely, require full testing of the main modules, connections, doors, screens, lightboxes, graphics, and load-bearing parts.
During the test, record:
- Overall dimensions and wall alignment
- Stability and connection quality
- Door, lock, shelf, drawer, and counter operation
- Graphic fit, lighting, cable access, and screen position
- Product fit and safety clearances
- Number of installers, tools, assembly time, and dismantling time
- Parts that were hard to install or damaged during the test
Use the actual parts that will be shipped and record the assembly order on video.
Inspect Before Final Payment and Shipment
Test assembly checks whether the booth design works. Final inspection checks whether the complete order is correct and ready to ship.
Inspect:
- Dimensions and quantities
- Materials, finishes, colors, and graphic text
- Doors, locks, drawers, shelves, lights, drivers, and screen mounts
- Part labels, hardware bags, tools, and spare parts
- Crates, internal protection, packing lists, and shipping marks
Classify defects:
- Critical: may cause injury, structural failure, electrical danger, fire risk, or venue rejection.
- Major: prevents normal installation or involves an important wrong or missing part.
- Minor: cosmetic and does not affect safety, approval, or normal use.
Do not release the balance or approve shipment until critical and major defects are corrected and checked again.
Pack, Label, and Prepare Spare Parts
The booth may be handled many times between the factory and venue. The IMO/ILO/UNECE CTU Code gives international guidance on safe packing and securing of cargo transport units.[1]
Use dividers and surface protection for frames, rigid face and corner protection for panels, protective bags or cores for graphics, and separate cases for electronics. Pack hardware by assembly step and include extra fasteners.
Each crate should show:
- Project name, booth number, destination, and crate number
- Total crate count, dimensions, gross weight, and net weight
- Center of gravity, forklift direction, upright direction, and stacking limit
- Fragile and keep-dry marks where needed
Create a separate packing list for each crate and photograph every layer before the crate is closed. Put the parts needed first in an easy-to-reach position.
If solid-wood crates, pallets, braces, or loose wood used to support the cargo are used, check the destination’s ISPM 15 rules. The IPPC standard covers raw-wood packaging used in international trade, while processed wood such as plywood may be treated differently.[2] For U.S. imports, regulated wood packaging must be treated and carry the required IPPC mark.[3]
For standard bolts, screws, and common connectors, an extra quantity of about 3%–5% is a useful starting point. For a custom locking part or bracket that cannot be bought locally, include at least two to four spare pieces, depending on how many booth sections rely on it.
Also include spare lights, LED drivers, cables, printed logos, touch-up paint, repair tape, and a small tool kit. Create a spare-parts list with photos, quantities, and crate locations.
Choose Shipping and the Correct Trade Term
Sea freight is usually suitable for large or heavy booths. Air freight is useful for urgent graphics, small replacement parts, or light high-value items. Air cargo may be charged by actual weight or by a higher chargeable weight calculated from package size.[4]
Compare the complete route, not only port-to-port time. Where the schedule allows, keep about three to seven extra days between the expected arrival and the installation date. Shared-container shipping, customs examination, public holidays, or limited venue receiving dates may require a larger buffer.
The complete route should include:
- Factory pickup
- Export customs clearance
- Origin handling
- International transport
- Destination handling
- Import customs clearance
- Local delivery and venue appointment
Incoterms® 2020 contain 11 trade rules that divide costs, risks, and duties between buyer and seller.[5] Write the rule with an exact place, for example:
FCA [full factory address], Guangzhou, Guangdong, China, Incoterms® 2020
Do not write only “FOB China” or “DDP USA.” The rule and named place should match the actual handover and delivery plan.
- FCA is often more suitable than FOB when crated or containerized goods are handed to a carrier before vessel loading.[6]
- FOB and CIF are for sea or inland-waterway transport.[7]
- EXW can leave the buyer responsible for export work it may not be able to complete easily in China.[8]
- DDP should not be used until the parties confirm who can legally act as importer and pay duties and taxes.
Confirm Customs and Temporary Import Before Shipping
Confirm the importer, customs broker, product descriptions, values, HS codes, duties, taxes, permits, and temporary-import plan before the booth leaves China.
Prepare:
- Commercial invoice
- Detailed packing list
- Transport document
- Country-of-origin information
- Product descriptions, materials, quantities, and values
- HS classifications checked for the destination country
- Temporary-import documents where needed
- Wood-packaging information where required
The World Customs Organization explains that the Harmonized System is used by more than 200 countries and economies, but countries may add their own tariff lines and import measures after the common six-digit level.[9]
Use clear descriptions such as “aluminum exhibition frames,” “printed polyester fabric graphics,” “LED lighting units,” and “wooden counters.” Avoid a vague description such as “display materials.”
For U.S. shipments, CBP explains that the importer of record must use reasonable care when providing entry information, even when a customs broker helps prepare the entry.[10]
If the booth will leave the destination after the show, ask whether an ATA Carnet or another temporary-import procedure is suitable. ICC lists trade-fair goods, professional equipment, and commercial samples among common ATA Carnet uses.[11] Giveaways, food, goods for sale, and items that will stay in the country may need different customs treatment.
Plan Venue Delivery and Installation
Confirm whether the crates will go to an advance warehouse, direct-to-show receiving, a local installer’s warehouse, or another location.
Check:
- Receiving dates and delivery appointments
- Truck size, dock rules, crate size, and forklift needs
- Material-handling and empty-crate storage charges
- Installer numbers, working hours, overtime, and required tools
- Whether official or union labor is required
- Who can complete electrical, overhead hanging, lifting, and other work above the booth
Do not order a hanging banner until the organizer confirms the overhead hanging rules, approved suspension points, weight, installer responsibility, and deadlines. For a mobile LED screen, also confirm power, screen weight, pixel pitch (the spacing that affects image detail), playback equipment, transport protection, and local technical support.
Give the installation team one package containing:
- Floor plan, elevations, and assembly drawings
- Part list and crate-by-crate packing lists
- Tool, hardware, cable, and spare-parts lists
- Assembly video and expected labor time
- Repacking and dismantling instructions
- Supplier, freight, exhibitor, venue, and emergency contacts
Before the show opens, check the structure, counterweights, products, screens, shelves, lights, graphics, cables, doors, storage, raised-floor edges, visitor routes, and emergency access.
Plan Dismantling and Reuse
Confirm the dismantling deadline, labor, empty-crate return, waste rules, product-removal order, storage address, and return-shipping documents before the show opens.
During dismantling:
- Follow the reverse installation order.
- Count parts and hardware before closing each crate.
- Photograph damage and missing parts.
- Clean and dry fabric graphics before packing.
- Separate parts that need repair.
- Update the inventory before the next show.
A reusable booth only remains reusable when the parts are labeled, complete, dry, repairable, and packed in the correct crate.
Final Checklist
- Complete brief and venue manual sent to the supplier
- Total installed cost and reserve approved
- Supplier identity, factory ability, and bank details checked
- RFQ, materials, drawings, and responsibilities clearly defined
- Venue, structural, fire, and electrical requirements confirmed
- Production drawings and physical samples approved
- Test assembly and final inspection completed
- Critical and major defects corrected
- Parts, crates, hardware, and spare parts labeled
- Shipping term, importer, customs broker, HS codes, and documents confirmed
- Venue delivery, labor, tools, power, and overhead hanging arranged
- Dismantling, return, repair, or storage plan ready
Conclusion
A successful China-made exhibition booth depends on control, not only price. Start with a complete brief, compare the installed cost, and confirm venue rules before production. Use signed drawings, exact materials, test assembly, and final inspection to catch problems at the factory. Number every part and crate, include spare custom hardware, and confirm the importer, Incoterm, customs documents, delivery window, and local labor before shipping. For a medium custom booth, planning, approval, production, testing, and packing may take about 10 to 20 weeks before sea freight and customs time are added. A clear schedule and responsibility list are the best protection against late delivery and expensive on-site repairs.