A successful custom exhibition booth makes the offer clear from the aisle, gives visitors enough room to see the product and speak with the team, and can be approved, built, shipped, installed, and operated within budget. Global exhibitors must also check local venue rules, power, freight, customs, language, and accessibility before approving the design.
Start with five facts: the main business goal, the target visitor, the exact stand space, the products or demonstrations, and the full budget. These facts should control the layout. Style, screens, furniture, and decorative features come later. A reusable aluminum exhibition booth can be a practical option when the same company attends several shows, but only when the parts, graphics, packing, storage, and future layouts are planned together.
Set One Main Goal
“Increase brand awareness” is too vague to guide a booth design. Use a goal that tells the designer what visitors should do and tells the sales team what result to record.
- Distributor goal: Hold qualified meetings about territory, support, order terms, and next steps.
- Product launch goal: Complete a set number of demonstrations and collect relevant quotation requests.
- Customer goal: Meet named accounts, review current projects, and agree on follow-up actions.
- Market-entry goal: Identify local partners, common buyer questions, required documents, and price expectations.
Choose one primary goal. A booth that gives the same priority to demonstrations, hospitality, media interviews, private meetings, product storage, and lead collection usually becomes crowded. Secondary activities should fit around the main goal instead of competing with it.
Set targets from the event size, expected visitor profile, previous show results, staff capacity, and normal sales cycle. Two hundred badge scans are not automatically better than twenty meetings with buyers who have a real project, authority, and a clear timetable.
Planning example: A three-day event with four sales staff can set a target of six qualified conversations per person per day. The total target is 4 staff × 6 conversations × 3 days = 72 qualified conversations. If 18 of those visitors request a quotation or technical review, the team leaves with 18 named follow-up tasks rather than 72 unclassified scans. This is an internal planning example, not an industry average.
Define the Visitors You Need
Design for the people the company most wants to meet. Engineers, distributors, purchasing managers, end users, consultants, and existing customers often need different information.
- Engineers may ask for specifications, test data, materials, tolerances, installation limits, and technical drawings.
- Purchasing managers may focus on price structure, production capacity, delivery risk, supplier stability, and warranty terms.
- Distributors may ask about territory, margin, minimum order quantity, sales support, lead times, and after-sales service.
- End users may want to see the product working and understand the result in their own application.
Also consider where each visitor is in the buying process. A first-time visitor needs a simple explanation. A buyer comparing suppliers needs proof and clear differences. A technical evaluator needs detailed compatibility information. A visitor preparing a quotation request needs access to the correct salesperson or engineer.
Use CRM records, previous exhibition leads, website inquiries, quotation requests, customer-service questions, distributor feedback, and sales-team interviews to decide which products and messages deserve the best space.
For international events, check which product documents are relevant in the destination market. CE marking applies to products covered by EU rules that require it. In the United States, OSHA’s NRTL program recognizes organizations that certify certain products for workplace use; UL is one recognized NRTL, not the only one.[1][2]
Confirm the Space and Event Rules
Do not design from the floor area alone. A 36-square-meter inline booth is not the same as a corner, peninsula, or island booth of the same size. Open sides, columns, neighboring stands, service points, height limits, and visitor direction change the usable layout.
The following 36 m² layout is only an example. It shows how quickly the usable floor is divided once products, meetings, storage, and circulation are included.
| Function | Example area | Share of total space |
|---|---|---|
| Product display | 10 m² | 27.8% |
| Demonstration area | 8 m² | 22.2% |
| Meeting area | 7 m² | 19.4% |
| Storage | 4 m² | 11.1% |
| Visitor circulation | 7 m² | 19.4% |
| Total | 36 m² | 100% |
A machinery booth may need more demonstration and safety space, while a distributor-focused booth may use more of the floor for meetings. The table is a calculation example, not a fixed design ratio.
Collect the current floor plan, exhibitor manual, service order forms, and installation schedule. Confirm:
- Exact dimensions and open sides
- Maximum wall, sign, and overall height
- Columns, floor boxes, fire equipment, and utility points
- Raised-floor, ramp, ceiling, and rigging rules
- Floor loading, hall doors, lifts, and product delivery routes
- Installation, testing, opening, and dismantling times
- Services that must be ordered through the organizer or official contractor
IAEE publishes display-rule guidance to support more consistent exhibition standards in North America, but it is not a replacement for the current manual and approvals for the specific event.[3]
Study the hall around the booth. Entrances, registration, conference rooms, food areas, escalators, major exhibitors, competitors, and cross-aisles affect the direction from which visitors will first see the stand. Face the main product or message toward the most useful approach route, not simply toward the center of the floor plan.
Choose the Right Booth Configuration
Common configurations include inline, corner, peninsula, and island booths. Some organizers also use terms such as end-cap, split-island, walk-through, perimeter, or double-deck. Use the classification in the event contract because wall and height rules can differ.
- Inline booth: Usually one open side. Keep the front clear and use the back wall for the main message.
- Corner booth: Usually two open sides. Keep both approaches connected and avoid furniture that creates a narrow central entrance.
- Peninsula booth: Usually three open sides and one closed side. It works well for demonstrations, with storage or meetings placed near the closed side.
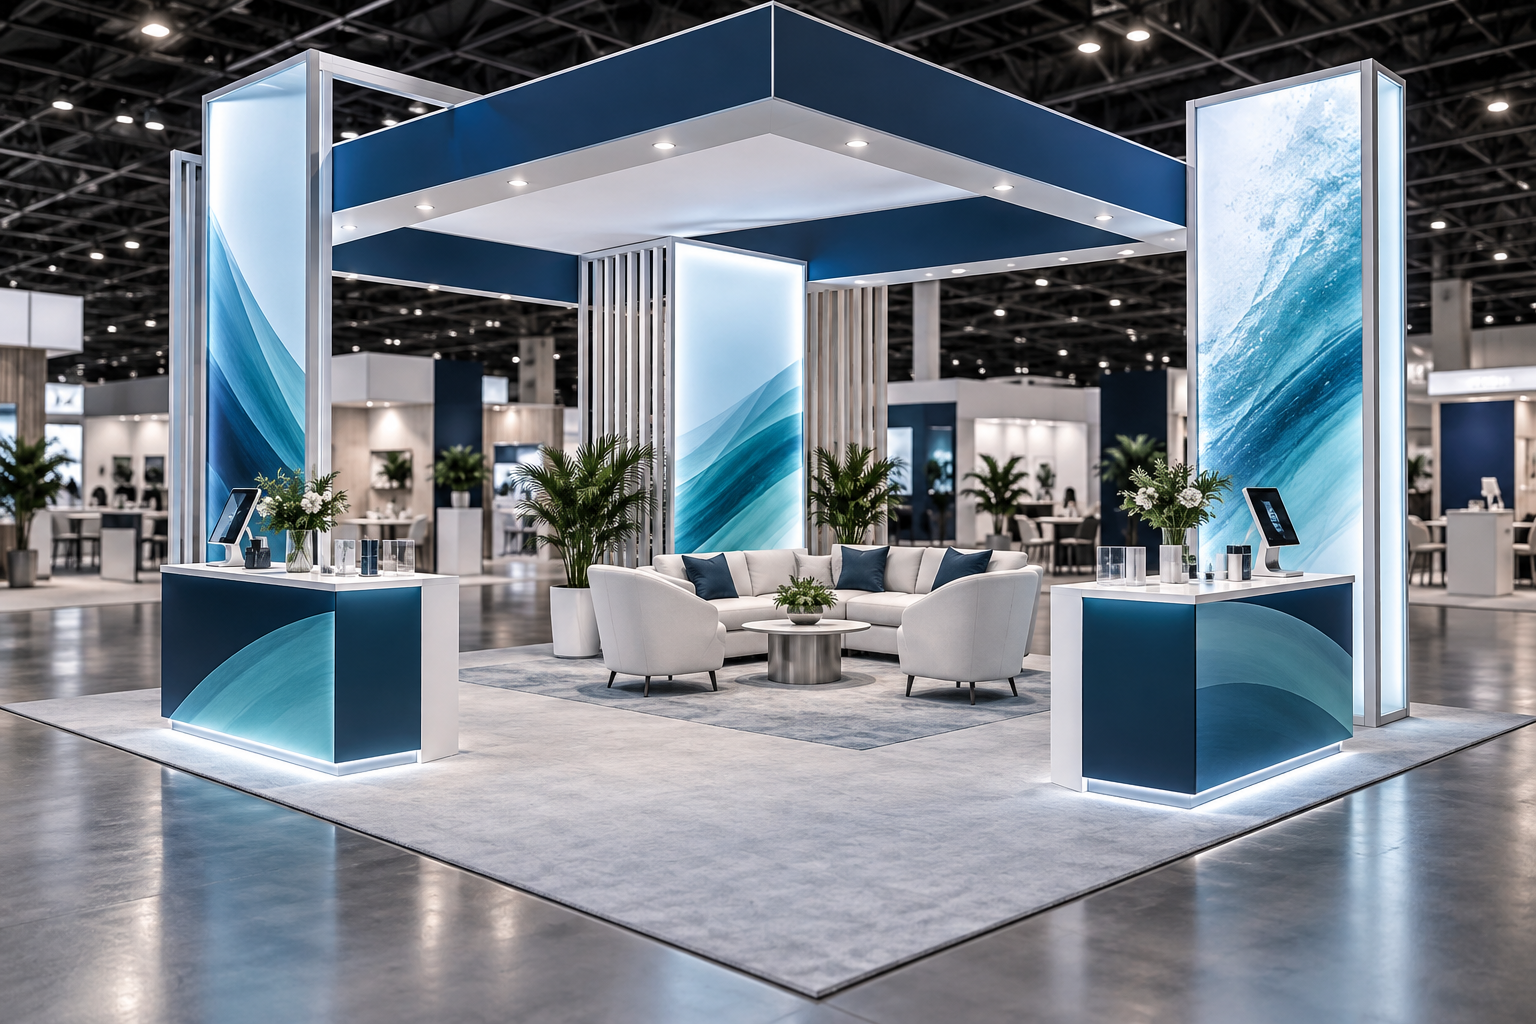
- Island booth: Open on four sides. Every aisle-facing side must be finished, and a central service core must leave enough space around it.
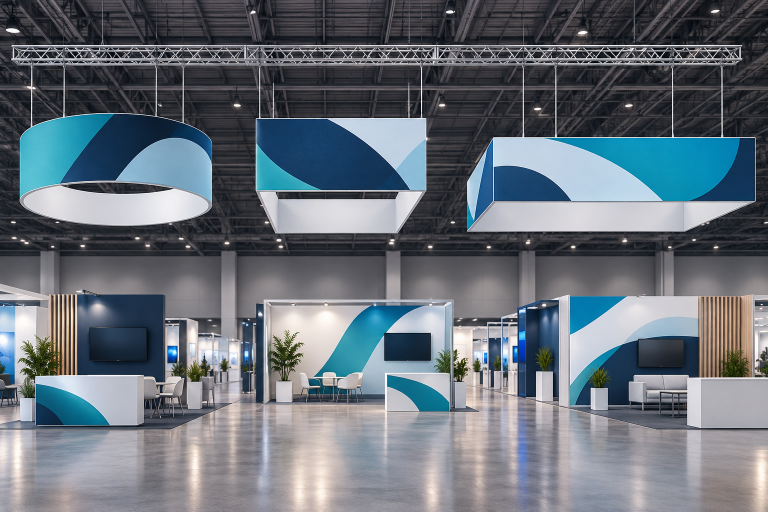
Overhead identity can help visitors find a large island or peninsula booth, but it adds rigging, engineering, labor, and approval costs. A hanging banner should be included only after the venue confirms the permitted position, weight, suspension method, and installation responsibility.
Plan the Layout and Visitor Flow
List what will happen during the show before placing walls and furniture. Include greeting, product viewing, demonstrations, short discussions, private meetings, lead capture, sample restocking, charging, cleaning, and waste handling. Any activity without a planned place will end up in a walkway or customer area.
Keep the front open enough for visitors to pause without blocking the aisle. Place the main product or message where it can be seen before a visitor enters. A small counter can hold a scanner and basic supplies, but a large reception desk often acts as a barrier.
Group products by application, customer need, or buying decision. Give the main product the best position and lighting. Supporting products can use samples, shelves, graphics, or digital content. For repeatable product layouts, an aluminum product display system can combine shelving, branding, and lighting without rebuilding the full stand.
A demonstration area needs more room than the equipment footprint. Allow space for the presenter, audience, controls, loading, cables, waste, and safe movement. For moving equipment, heat, cutting tools, compressed air, liquids, chemicals, or heavy loads, mark the operating zone and emergency controls and confirm the event rules before the design is frozen. Prepare a video, sample, or smaller working unit in case the full demonstration cannot run.
Space calculation example: A machine measuring 2 m × 1.5 m occupies 3 m² on the plan. If a simple layout adds 0.8 m of working space around all four sides, the required rectangle becomes 3.6 m × 3.1 m, or 11.16 m². The real clearance may be smaller or larger depending on doors, moving parts, audience position, loading, and the venue’s safety rules.
Match the meeting area to the conversation. Standing counters suit quick qualification, open tables suit product review, semi-private areas suit distributor or quotation discussions, and closed rooms should be reserved for sensitive work. Avoid oversized lounge furniture in small booths.
Calculate storage from the items that must fit inside, including boxes, samples, tools, coats, bags, cleaning supplies, water, spare graphics, cables, and packaging. Add shelves and charging points. Keep liquids and cleaning products away from electrical equipment. Check the door swing, ventilation, and clear opening.
Review four routes: visitors, staff, replenishment, and emergency exit. Test the layout with realistic visitor groups, a running demonstration, an open storage door, and a wheelchair user entering and turning. Move furniture or products wherever people would collide, wait in the aisle, or block the main message. Check the layout at eye level as well as from above.
Write a Message Visitors Understand Quickly
Trade show visitors scan booths while walking. Use one main message that tells them what the company provides, who it is for, or what problem it solves.
“Innovation for a Better Future” could describe almost any company. “Reusable Aluminum Exhibition Booths for Global Events” gives a product, a use, and a target market.
Use three information levels:
- From a distance: Brand name and product category.
- From the aisle: Main benefit, application, or proof point.
- Inside the booth: Specifications, comparisons, certifications, case evidence, and next action.
Do not give the logo, slogan, certifications, product names, company history, discount, and video the same visual weight. Test the main view with people who were not involved in the project. After a few seconds, they should be able to say what the company sells and why a relevant buyer should stop.
A practical starting point for the main graphic is one headline of about 6–10 words, one short supporting sentence, and no more than three proof points. This is not a venue rule. It is a simple editing limit that helps the main wall stay readable. Detailed specifications can sit on a product panel, handout, QR page, or sales tablet.
Replace broad claims such as “high quality,” “green,” or “industry leading” with facts that can be checked, such as a test result, service area, warranty term, documented reuse, production capacity, or relevant certification. The FTC’s Green Guides advise marketers not to use broad, unqualified environmental claims that may mislead customers.[4]
Use Graphics, Lighting, and Screens for a Clear Purpose
Give each graphic surface one job: identify the brand, explain a product, show an application, present a result, support a demonstration, or direct visitors. Do not copy a website page onto a wall. Use fewer words, larger type, and more space.
Keep important text away from panel joins, doors, monitor positions, furniture, and low areas hidden by visitors. Prepare artwork at the correct output size with suitable resolution, bleed, safe areas, fonts, color settings, and cutting paths. Backlit graphics need material and print settings made for illumination.
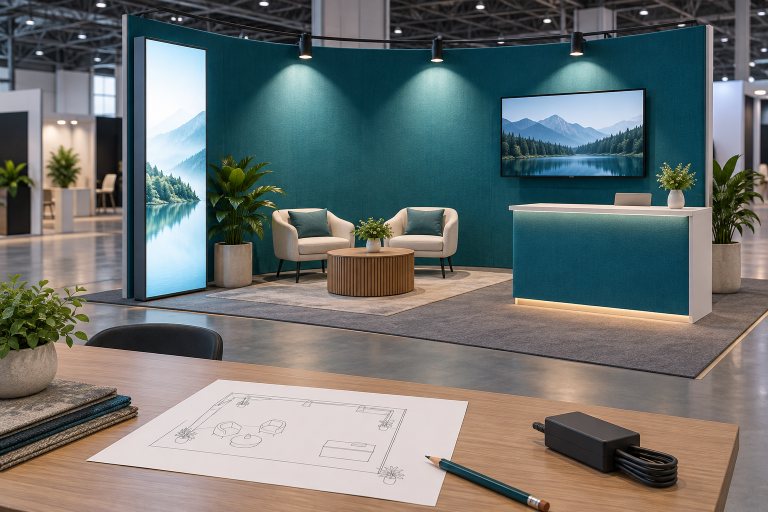
A tension fabric backdrop booth can provide a large, continuous graphic area without heavy rigid walls. When campaigns or languages change often, interchangeable SEG graphics allow the frame and printed fabric to be replaced separately.
Use lighting to show visitors where to look. General lighting supports movement, product lighting reveals details, and accent lighting highlights selected features. Test dark, glossy, transparent, and reflective products under the planned fixtures. Check glare on screens, uneven lightboxes, mixed color temperatures, and access to drivers or connectors.
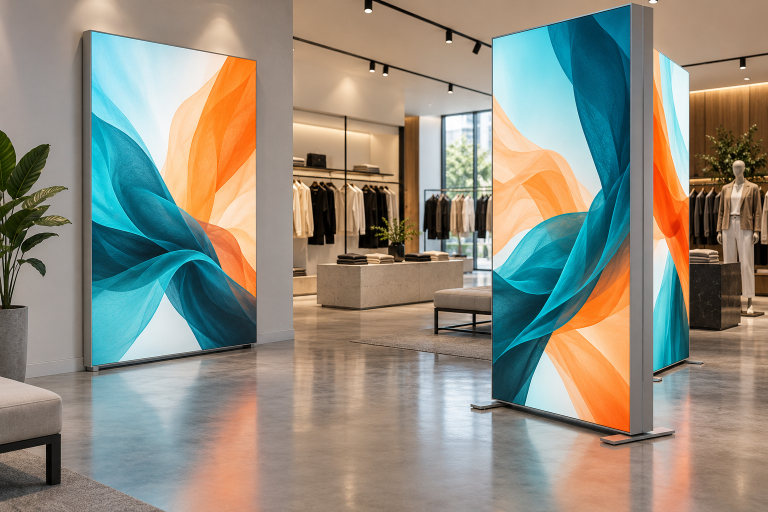
A SEG lightbox exhibition booth is useful when the illuminated graphic carries an important message. It should not be added only because it looks expensive in a rendering.
Use a screen when movement, internal structure, installation, data, or a customer result is easier to understand on video. Start with useful content, add captions, store files locally, and keep backups. A large LED screen may suit a group presentation, while a small monitor is usually better for a technical discussion. Every screen needs a clear purpose, viewing distance, power supply, cable route, ventilation, and backup plan.
For an aisle-facing screen, a 20–45 second silent loop is a useful starting point. Put the product and result in the first few seconds so the content still makes sense when a visitor starts watching in the middle. Longer technical videos can be opened by staff during a detailed discussion.
Choose Materials and a Reuse Model
Choose materials by more than appearance. Check weight, packed volume, local labor, fire documents, cleaning, repair, surface durability, replacement availability, and expected number of uses.
- Aluminum systems: Useful for modular layouts and replaceable graphics. Check joints, exposed connectors, part labels, spare parts, and packing protection.
- Fabric graphics: Light and compact. Check whether the material is for front lighting or backlighting, as well as opacity, stretch, edge tension, cleaning, and storage.
- Wood-based construction: Useful for smooth custom shapes and local one-time builds, but often heavier and more labor-intensive to ship and reuse.
- Acrylic and glass: Suitable for clean product displays, but check scratches, glare, fingerprints, safety requirements, access, and replacement options.
- Flooring: Check load, wheel movement, slip resistance, cleaning, joints, edges, and step-free access.
Rental is often practical when the company is testing a market, booth sizes change, events are spread across regions, or local production lowers freight and installation risk. Purchase is more suitable when the company attends several events with similar layouts and can manage storage, inventory, repair, and transport.
A hybrid system may give better control. The company can own branded lightboxes, fabric graphics, product holders, demonstration controls, or custom counters while renting flooring, furniture, large screens, standard walls, and local electrical equipment.
Compare total cost across several events. Include design changes, cases, freight, storage, missing parts, repairs, new graphics, installation, damage charges, and disposal. A portable SEG lightbox can be useful when the company needs an illuminated branded feature that can move between events without shipping a complete custom structure.
A booth is not reusable only because the frame survives. Reuse also requires labeled parts, suitable cases, an inventory, repair records, replacement graphics, storage space, and layouts for future stand sizes.
Plan Power and Venue Services Early
Create an equipment list before finalizing the floor. Record the quantity, rated power, voltage, frequency, plug type, location, operating time, and starting current where relevant for lights, screens, laptops, chargers, refrigerators, coffee machines, routers, sound systems, and demonstration equipment.
| Equipment | Quantity | Example load |
|---|---|---|
| LED spotlights | 8 | 240 W |
| SEG lightboxes | 2 | 300 W |
| 55-inch display | 1 | 180 W |
| Laptops | 2 | 180 W |
| Chargers and router | — | 100 W |
| Demonstration unit | 1 | 1,200 W |
| Example connected load | — | 2,200 W |
The 2,200 W total is only the sum of the example rated loads. It does not decide the final circuit size. Starting current, operating pattern, voltage, phase, grounding, protection, and venue rules still need to be checked by qualified personnel.
A plug adapter does not change voltage, frequency, grounding, phase, protection, or product approval. Motors, compressors, and pumps may draw more current when starting than during normal operation. Use qualified personnel to check the final electrical plan and make the required venue connections.
Separate high-load equipment from critical lighting or demonstrations where practical. Confirm the venue supply point before designing the raised floor and cable routes. Keep cables away from walking areas or use approved protection.
Check which services must be ordered through the event, venue, or official contractor. Common items include electricity, internet, water, drainage, compressed air, rigging, material handling, empty-case storage, cleaning, waste, security, and late working. Test the booth at full load before opening.
Design for Accessibility
Plan a step-free route, clear entrance, stable flooring, turning space, a usable discussion position, and seating for visitors who cannot stand for long. Keep ramps free from counters, brochure stands, boxes, and staff.
Place screens, samples, controls, and printed information where they can be reached and read. Add captions to video. Do not rely only on color to explain categories or status; use text, symbols, or patterns as well. A quieter discussion position can help visitors who have difficulty hearing in a busy hall.
Requirements differ by country and venue. In the United States, the Access Board states that an accessible route generally needs a continuous clear width of 36 inches, with limited reductions in specified situations. Verify the rules that apply to the actual event rather than treating one country’s measurement as a global standard.[5]
Build the Full Budget
Do not compare suppliers only by the workshop build price. The full cost may include design, project management, engineering, structure, graphics, flooring, lighting, furniture, screens, freight, customs, local transport, material handling, installation, dismantling, power, rigging, internet, cleaning, waste, insurance, storage, repair, and taxes.
Ask for an itemized quotation with quantities, dimensions, materials, finishes, included services, and exclusions. A single line such as “custom booth construction: $30,000” does not show whether freight, installation, venue services, or dismantling are included.
Keep a contingency for late artwork, replacement prints, damaged parts, extra labor, venue changes, and local replacement production. Check advance-order deadlines because venue services often cost more when ordered late.
| Cost item | Example amount |
|---|---|
| Booth production or rental | $24,000 |
| Graphics and content | $4,000 |
| Freight and local handling | $6,000 |
| Venue services | $5,000 |
| Installation and dismantling | $7,000 |
| Working contingency | $3,000 |
| Example total | $49,000 |
In this example, the workshop or rental line is less than half of the $49,000 project total. A company may choose a working contingency of roughly 5%–10% for planning, with a higher amount for complex machinery, new venues, short schedules, or cross-border shipping. This is a budgeting choice, not a universal industry rule.
When the budget must be reduced, protect safety, approvals, the main product, readable graphics, useful lighting, required storage, reliable demonstrations, and lead capture. Remove shapes, screens, furniture, or hospitality areas that do not help visitors understand the offer or move the sale forward.
Choose the Supplier and Write a Complete Brief
Do not choose a supplier from renderings alone. Ask for photographs of completed booths and examine joints, doors, graphic alignment, storage, exposed backs, cables, lighting, and finish quality.
Confirm the production location, subcontractors, named project manager, on-site contact, technical drawing ability, material certificates, quality-control process, pre-build plan, change-order process, emergency response, exclusions, ownership, and storage responsibility.
Give all shortlisted suppliers the same brief:
- Event, city, venue, booth number, dates, and installation times
- Floor plan, open sides, manual, and service information
- Budget range and required quotation format
- Main goal, target visitors, message, and visitor journey
- Products, sizes, weights, operating clearance, and delivery cases
- Power, heat, noise, utilities, moving parts, and safety needs
- Demonstration, meeting, storage, graphics, screen, and accessibility needs
- Shipping, reuse, packing, ownership, and storage plans
Separate the brief into must-have, should-have, and optional items. Also state what should not be included, such as a closed front, large reception desk, dark ceiling, unnecessary screens, or fixed features that prevent reuse.
Approve in Stages and Set Deadlines
Do not approve the booth from one attractive image. Review the project in this order:
- Layout: Entrances, product sizes, demonstrations, meetings, storage, accessibility, and routes.
- Structure: Finished dimensions, supports, doors, counters, fixing points, exposed backs, and packing sections.
- Services: Power, lighting, screens, internet, water, drainage, and cable routes.
- Materials: Physical samples, color, texture, cleaning, durability, and required documents.
- Graphics: Text, translations, claims, image rights, final sizes, joins, doors, screens, and furniture.
- Technical approval: Drawings, calculations, certificates, risk documents, organizer comments, and final acceptance.
- Pre-build: Stability, graphic fit, doors, product fit, lights, screens, cables, storage, finish, assembly, and packing.
Use one named person for final artwork approval and remove old files from the production folder. Record every change with its owner, cost effect, schedule effect, deadline, and status.
Set fixed dates for the design brief, layout approval, technical submission, service order, material approval, artwork freeze, pre-build, freight collection, venue delivery, installation, and full-load test. Add time around customs, public holidays, local production, and organizer review. A small local rental booth may move quickly; a large international booth with machinery, rigging, approvals, and sea freight needs much more time.
| Time before opening | Main work |
|---|---|
| 12 weeks | Confirm the goal, booth space, products, budget, and supplier brief. |
| 10 weeks | Approve the layout, product positions, meeting capacity, and storage plan. |
| 8 weeks | Submit technical documents and order key venue services. |
| 6 weeks | Approve materials, lighting, screens, power points, and final structure. |
| 4 weeks | Freeze graphics, translations, product claims, and digital content. |
| 2 weeks | Complete the pre-build, testing, packing, and dispatch. |
| Show week | Install, inspect, run a full-load test, clean, and brief the team. |
The 12-week table suits a moderate project used as a planning example. Large machinery, custom engineering, sea freight, complex rigging, visas, or slow organizer approval may require a much earlier start.
Do not start critical production before the required technical approval. Changing a tall wall, suspended sign, machine position, or power route during installation is usually more expensive than correcting it on the drawing.
Manage Shipping, Customs, and Installation
Create a packing list with item description, quantity, package number, dimensions, weight, value, country of origin, serial number, and temporary or permanent import status. Use the same descriptions, quantities, and values on invoices, labels, customs records, and insurance documents.
Separate goods that will return from consumables, giveaways, locally discarded material, and items that will remain in the destination country. An ATA Carnet can simplify temporary entry for eligible goods intended for re-export, but it does not cover consumable or disposable items and is not suitable when goods are intended for sale abroad.[6]
Confirm the importer of record, customs broker, freight forwarder, venue delivery booking, unloading, material handling, empty-case storage, return shipment, and insurance. Do not assume a normal carrier can deliver directly to the booth.
Label cases so installers can match them to the packing list and assembly order. Photograph the contents and packing layers before closing each case. Keep backups for critical graphics, digital files, adapters, controls, and special connectors. When possible, identify items that can be printed, rented, or replaced locally.
Inspect the Booth Before Opening
Inspect while the installation team is still on site. Test the booth under normal operating conditions, with products, content, lights, screens, chargers, internet, and demonstrations running together.
- Check structure, overhead parts, exposed edges, floor edges, ramps, and fire-equipment access.
- Check spelling, language, product names, graphic alignment, and logo position.
- Check lights, screens, sockets, internet, controls, and full-load power.
- Check demonstrations, safety zones, doors, locks, storage, cables, and furniture.
- Check cleaning, staff supplies, lead devices, and backup content.
Record problems with a photograph, location, priority, owner, deadline, and completion status. Safety problems must be fixed before visitors enter. Inspect again before each show day and before dismantling so missing or damaged parts are recorded before responsibility becomes unclear.
Train Staff and Capture Useful Leads
Every team member should know the main goal, target visitor, opening questions, key products, demonstration schedule, meeting plan, lead categories, storage rules, and emergency contacts.
Assign roles for greeting, qualification, demonstrations, technical questions, commercial discussions, and lead recording. Avoid lining up staff across the entrance. Keep food, coats, bags, and open laptops away from customer-facing counters.
A badge scan is not a complete lead. Record the visitor’s company, role, country, application, product interest, project stage, likely timing, main concern, next action, owner, and deadline. A useful note explains the project and next step; “interested in product” does not.
Collect only the data the company needs and follow the privacy and marketing rules that apply to the visitor. Under EU data-protection guidance, people can object to the use of their personal data for direct marketing at any time, and organizations must stop that processing when an objection applies.[7]
Prepare an offline method in case the scanner or internet fails. Move leads into the CRM quickly, remove duplicates, connect them to existing accounts, and assign follow-up by lead type rather than sending the same email to everyone.
A simple internal follow-up rule can be:
- Immediate sales opportunity: Personal contact within 1 business day.
- Requested quotation or technical file: Send the agreed material within 3 business days.
- Distributor inquiry: Assign a qualification call and owner within 3 business days.
- General contact: Review, classify, and either follow up or close within 5 business days.
These deadlines are operating targets, not legal or industry requirements. Their purpose is to stop useful conversations from becoming unowned records in the CRM.
Measure Results and Improve the Next Booth
Measure the booth against the original goal, not against crowd size alone.
- Activity: Conversations, demonstrations, meetings, scans, and samples.
- Quality: Qualified-lead rate, target roles, target markets, and high-value meetings.
- Efficiency: Cost per qualified lead, cost per meeting, follow-up completion, and opportunities per demonstration.
- Commercial result: Quotations, pipeline, partner agreements, orders, revenue, and customer retention.
Review results after the event and again at points that match the normal sales cycle. Record whether the show created a new opportunity, moved an existing project forward, supported a customer, or introduced a partner.
| Measure | Calculation | Example result |
|---|---|---|
| Cost per qualified lead | Total exhibition cost ÷ qualified leads | $50,000 ÷ 100 = $500 |
| Meeting conversion rate | Completed meetings ÷ qualified leads × 100% | 30 ÷ 100 × 100% = 30% |
| Follow-up completion rate | Leads completed by deadline ÷ leads requiring follow-up × 100% | 80 ÷ 100 × 100% = 80% |
| Opportunity creation rate | New opportunities ÷ qualified leads × 100% | 25 ÷ 100 × 100% = 25% |
The example percentages do not represent market benchmarks. Use the same formulas from event to event so the company can compare its own shows, booth formats, teams, and follow-up performance.
Also review the physical booth. Note which message visitors understood, which products created useful questions, where people blocked the route, whether storage was enough, which materials were damaged, and which parts should be reused or removed.
Final Checklist
- The main goal, target visitor, and next action are clear.
- The official floor plan, manual, service rules, and deadlines have been checked.
- The main message can be understood from the aisle.
- Products, demonstrations, meetings, storage, and routes fit the real space.
- Power, lighting, screens, internet, utilities, and cables are confirmed.
- Accessibility and applicable local requirements have been reviewed.
- Technical submissions and organizer approvals are complete.
- Materials, graphics, products, and digital content have final approval.
- The budget includes venue services, freight, customs, installation, and dismantling.
- Packing lists, labels, insurance, return shipping, and backups are ready.
- The booth has been pre-built or reviewed through a structured remote inspection.
- Staff roles, lead fields, owners, and follow-up deadlines are set.
- Reusable parts have an inventory, repair, packing, and storage plan.
Conclusion
A custom booth works when visitors understand the offer, staff can use the space, and the project stays within approved cost and time limits. A 36 m² stand can lose more than half its floor to products, demonstrations, meetings, and storage before circulation is added. A $24,000 build can become a $49,000 project after graphics, freight, venue services, and labor. Set clear targets, freeze the layout and artwork on time, test the full 2,200 W example load, and give every qualified lead an owner and deadline. After the show, compare cost per lead, meeting conversion, damage, and reusable inventory before planning the next booth.