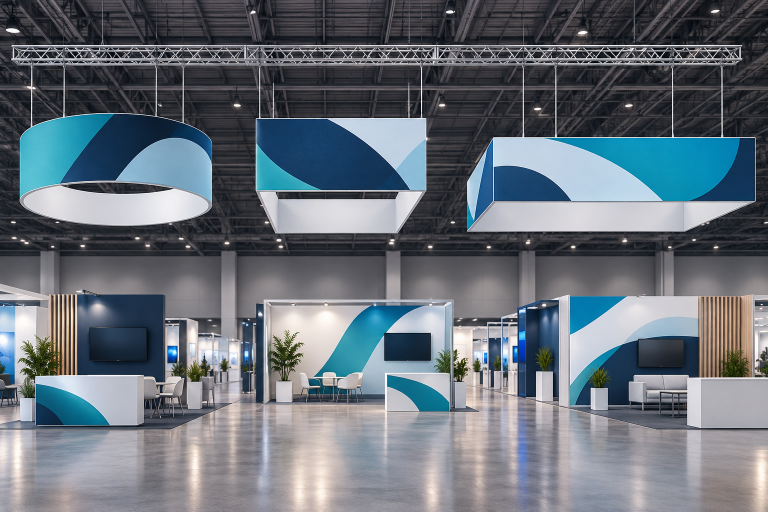
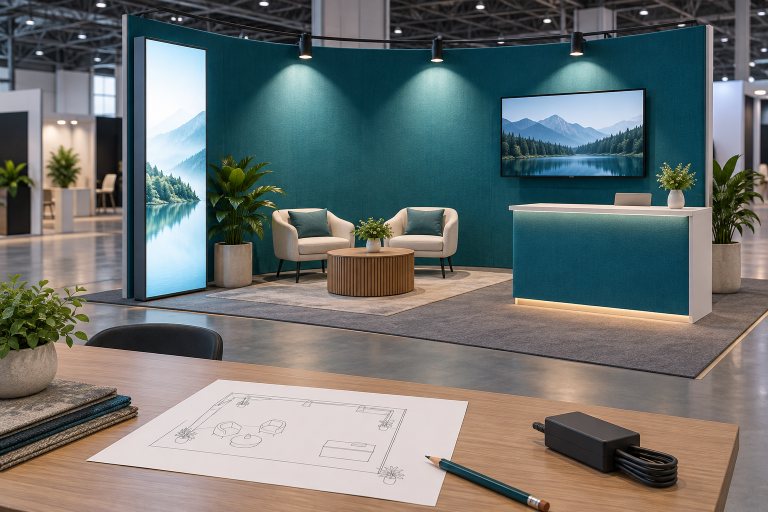
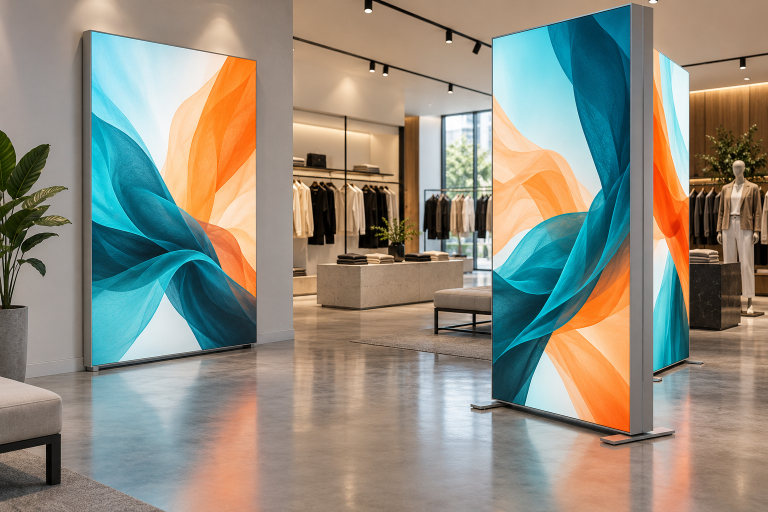
An aluminum frame exhibition stand is usually the better choice for several similar events. It is easier to pack, faster to assemble and simpler to update with new graphics. A traditional exhibition booth is usually better for a one-off event that needs unusual shapes, real building materials or a complete room-like setting.
Do not compare the frame price alone. Compare two booths with the same wall area, lighting, storage, flooring, screens, counters, meeting space and product displays. Then add freight, venue handling, installation, dismantling, storage, repairs and disposal.
In this article, an aluminum exhibition booth means a reusable system made from aluminum profiles, connectors, fabric graphics and display accessories. A traditional booth means a custom structure made mainly from timber, MDF, plywood, steel, paint, laminate, acrylic or plasterboard.
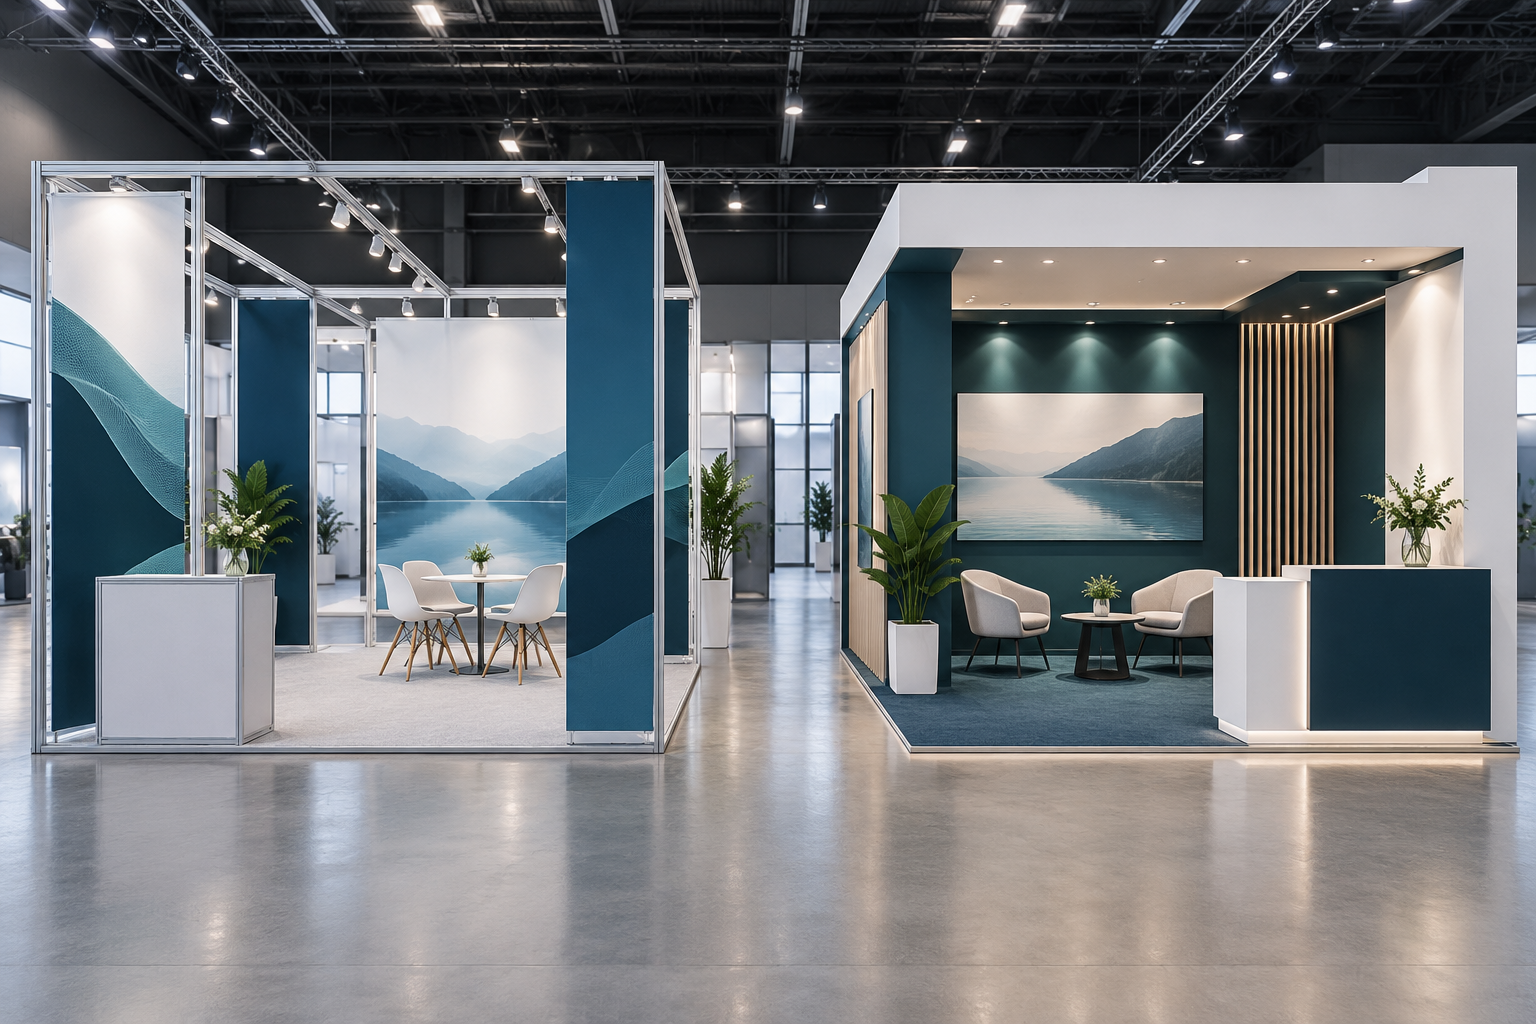
Quick Comparison
| Area | Aluminum Frame Stand | Traditional Booth |
|---|---|---|
| Structure | Reusable profiles and connectors | Timber, board, steel and finished surfaces |
| Design freedom | Good, but limited by profile sizes and connection points | Very high for custom shapes and finishes |
| Packed weight | Usually lower for booths with the same basic functions | Usually higher when finished wall sections are shipped |
| Installation | Standard parts and repeatable steps | More cutting, fixing, sanding, painting and finishing |
| Graphics | Usually easy to remove and replace | Often fixed to painted or laminated surfaces |
| Layout changes | Profiles can be moved, removed or added | Changes often require rebuilding |
| Reuse | Good when parts are stored and managed correctly | Usually limited to selected parts |
| Repairs | Individual profiles, locks or graphics can be replaced | May require filling, sanding, repainting or rebuilding |
| Best use | Several events with similar booth needs | One-off events with a highly custom design |
These are general differences, not fixed rules. An aluminum booth can still be heavy if it includes glass, large screens, thick flooring, steel supports or heavy furniture. A traditional booth can also reuse counters, lights, screens, furniture and selected wall sections.
Example Planning Figures
The figures below show a simple 3 × 3 meter booth with one main wall, basic lighting, one counter and printed graphics. They are early planning ranges, not fixed industry standards. Raised flooring, glass, large screens, storage rooms and heavy products can increase every figure.
| Planning Item | Aluminum Frame Booth | Prefabricated Traditional Booth |
|---|---|---|
| Booth size | 3 × 3 meters | 3 × 3 meters |
| Example packed weight | About 180–350 kg | About 400–800 kg |
| Example packed volume | About 1.5–3 m³ | About 4–8 m³ |
| Basic installation labor | About 6–12 crew hours | About 24–40 crew hours |
| Replacing one main graphic | About 10–20 minutes for an SEG fabric graphic | About 1–3 hours for vinyl or a rigid panel |
| Example storage floor area | About 2–4 m² | About 5–10 m² |
The figures are useful for comparing two early designs, but the supplier’s final packing list and labor plan should replace them before an order is placed.
Structure and Design
An aluminum booth is built from standard profiles, beams, feet, connectors, wall channels and mounting parts. The same parts can often be rearranged for different floor plans.
For example, one set of parts may create:
- A 3 × 3 meter inline booth
- A 3 × 6 meter corner booth
- A back wall with product towers
- Two smaller display areas
- A larger booth after extra profiles are added
Do not accept a supplier’s claim that a system is flexible without seeing future layouts. Ask for drawings of at least three likely booth sizes. Each drawing should show:
- Parts reused without changes
- Parts moved to new positions
- New parts that must be purchased
- Graphics that remain usable
- Expensive parts left in storage
Traditional booths are built more like temporary rooms. Timber frames may be covered with MDF or plywood. The surfaces are then painted, laminated or covered with graphics. Steel supports may be added for screens, signs, ceilings, machinery or heavy products.
This method is useful when the booth needs:
- Curved or sculptural walls
- A realistic kitchen, bedroom, shop or office
- Stone, timber, tiles or other real materials
- Large product platforms
- Built-in hospitality areas
- Unusual ceilings or entrances
The main limitation is that most parts are made for one floor plan. A six-meter wall may not fit a four-meter booth. A ceiling made for one venue may not meet the height rules at the next venue.
Modern exhibition display systems can combine aluminum frames with fabric walls, lightboxes, screens, counters, arches and overhead signs. The finished booth does not have to look like an exposed metal frame.
Whichever system you choose, check the usable area. Thick walls, oversized counters and badly placed storage can leave little space for products, visitors or sales conversations.
For U.S. projects, an accessible route generally needs a continuous clear width of at least 36 inches. Doorways, turns and passing spaces have additional requirements.[1]
Packing and Freight
A complete aluminum booth is often lighter than a traditional booth with timber frames and finished MDF walls. Hollow profiles and fabric graphics replace many solid boards and large finished panels.
However, the frame is only part of the shipment. Ask for the packed details of the complete booth, including:
- Profiles and connectors
- Graphics
- Counters and furniture
- Lighting
- Screens and brackets
- Flooring
- Product supports
- Cases and protective material
A useful packing list should show:
- Net weight: booth parts without cases
- Gross weight: booth parts, cases and protection together
- Packed volume: the total space used by all cases
- Case count: the number of shipment units
- Largest case: its size and weight
- Stackability: whether other cases can be placed on top
A light shipment can still be expensive if it uses long or non-stackable cases. A compact shipment may still require a forklift if one case is too heavy to move by hand.
As a basic planning guide, a 3 × 3 meter aluminum booth may fit into two to four long cases plus several accessory boxes. A traditional booth with finished walls and a custom counter may require four to eight larger crates or panels. The final number depends on how the booth is divided and packed.
Venue Material Handling
Transport and venue material handling are separate charges.
Transport moves the booth between the factory, warehouse, city and venue. Venue material handling covers work such as unloading freight, moving it to the booth, storing empty cases and loading the outbound shipment after the show.
Handling charges may increase when:
- Cases cannot be stacked
- Items arrive loose or poorly packed
- One shipment is split across several deliveries
- The truck misses its delivery time
- The shipment arrives after the deadline
- A forklift needs extra time
- Weights or labels are incorrect
A reusable booth should have numbered cases, fixed spaces for each part, separate boxes for small connectors and a clear packing diagram.
Stored materials should remain stable, secure and clear of aisles and work areas. OSHA requires stored items to be protected against sliding or collapse and requires clear passage for mechanical handling equipment.[2]
Traditional booth freight depends on the production method. A booth made in a workshop and shipped as finished sections may need large wooden crates. A booth built by a local contractor may avoid this freight but will require local materials, supervision, construction labor and waste removal.
Installation and Labor
Aluminum stands are normally faster to assemble because the profiles and connection points are prepared before shipping. Installers follow drawings, join the frame, fit graphics and add lights, counters, shelves and screens.
A simple 3 × 3 meter aluminum booth may require two installers for three to six hours, or about 6–12 crew hours. A traditional booth with painted walls and a site-built counter may require three to five workers for a full working day, or roughly 24–40 crew hours.
A traditional booth may require:
- Building timber frames
- Cutting wall panels
- Filling and sanding joints
- Painting or applying laminate
- Building counters
- Repairing damaged finishes
- Removing construction waste
These steps create delays. Electricians may wait for walls to be completed. Graphics may not be installed until paint is dry. Product teams may wait for platforms or supports.
Compare installation by crew hours, not only by days. A supplier saying that a booth takes one day to build should also state the number of workers.
A tool-free or single-tool booth does not always mean the exhibitor is allowed to install it. The event may control unloading, electrical work, rigging, carpet installation, lift operation or work outside normal hours.
Ask each supplier to state:
- Number of installers
- Planned setup hours
- Planned dismantling hours
- Normal-time and overtime assumptions
- Tools and lifting equipment required
- Tasks handled by venue contractors
Event organizers and contractors should clearly divide responsibilities and coordinate work during setup, the event and dismantling.[3]
Test Build Before Shipping
A full test build can find missing parts, incorrect graphics, weak shelves, screen-mounting problems and poor cable routes before the booth reaches an expensive event site.
The test should check:
- Profile lengths and connector positions
- Frame stability and leveling
- Graphic sizes and direction
- Doors and storage access
- Screen brackets and reinforcement
- Shelf positions and product weight
- Lighting and cable routes
- Counter and furniture fit
- Packing order and case labels
Photograph the completed booth and update the drawings after every change. If parts are moved to different cases after the test, update the packing list at the same time.
A Milin SEG booth assembly case study describes a three-meter lightbox booth assembled by two users with video guidance. The customer reported finishing about two hours earlier than its own planned setup time. This is a single project result, not a standard installation guarantee, but it shows why product-specific instructions can reduce delays.
Graphics and Lighting
Replaceable graphics are one of the main advantages of aluminum frame systems.
Many systems use silicone-edge graphics, also called SEG. A silicone strip is sewn around the fabric and inserted into a channel in the frame. This creates a smooth surface without visible screws or large panel joints.
The same frame can use new graphics for:
- Different countries or languages
- New products
- Regional distributors
- Seasonal campaigns
- Updated technical information
Two trained workers may replace one three-meter SEG wall graphic in about 10–20 minutes after the frame has been checked. Replacing vinyl or a rigid graphic on a finished wall may take one to three hours when removal, cleaning, alignment and small surface repairs are included.
A SEG LED lightbox booth adds lighting behind the fabric. The graphic must be printed for backlighting, and the LEDs must be spaced correctly to avoid dark areas, bright spots and visible frame shadows.
The guide to interchangeable SEG fabric displays explains how the reusable frame can be separated from the replaceable printed graphic.
Traditional booths can use paint, vinyl, wallpaper, acrylic letters and printed boards. These finishes can look good, but changing the message may require removing vinyl, repairing the surface, repainting the wall or replacing a complete panel.
Every reusable graphic should be labeled with its size, direction, language, event, revision date and matching frame. Do not assume every fabric can be tightly folded. Some graphics should be rolled to prevent permanent creases.
Electrical Planning
Both booth types need an electrical plan showing:
- Total power demand
- Outlet positions
- Light and screen locations
- Cable routes
- Switch locations
- Access to transformers and power supplies
- Ventilation around electrical equipment
As an early estimate, a small booth with six LED spotlights, one lightbox, one screen and two laptop outlets may need roughly 1.5–3 kW. A booth with several large screens, multiple lightboxes, demonstration equipment or cooking equipment may need much more.
The final power order must use the rated power of the actual equipment. It should not be based only on booth size.
Flexible cords should not be run through walls, floors, doors or similar openings unless the installation is specifically permitted. Temporary wiring and equipment must follow the applicable electrical rules.[4]
Do not seal transformers, LED drivers or media equipment inside a wall without ventilation and service access. Technicians should be able to replace a failed part without dismantling a large section of the booth.
Reuse, Storage and Repairs
An aluminum booth is reusable only when its parts are managed properly. Without an inventory, labeled cases and a named person responsible for the system, connectors are lost, graphics are mixed and damaged parts remain unnoticed until the next event.
Reuse should be checked at three levels:
- Frame reuse: profiles, connectors, supports and cases remain usable
- Layout reuse: the parts can fit another booth size or entrance position
- Graphic reuse: the current message still suits the next event
A supplier may call a booth reusable even when only the frame survives. Ask which graphics, counters, shelves, lights and product mounts can also be reused.
For early budgeting, test at least three use levels:
- Three uses: a cautious plan for an uncertain event schedule
- Six uses: a realistic medium-term plan for several similar shows
- Ten uses: a longer plan that requires strong storage and maintenance
If the system is not financially useful after three confirmed events, rental may be safer. If the same frame can support six to ten planned events with mainly new graphics and small repairs, ownership becomes easier to justify.
After each event:
- Count the parts during dismantling.
- Photograph damage before packing.
- Record missing items.
- Clean graphics and reusable surfaces.
- Test lights, cables and locks.
- Approve repairs before storage.
- Update the inventory and packing list.
For a basic 3 × 3 meter booth, packed aluminum components may use about 2–4 m² of warehouse floor space when the cases are stored correctly. Finished timber walls and irregular custom counters may need about 5–10 m².
A practical maintenance budget may reserve 2%–5% of the owned booth value each year for missing connectors, case repairs, replacement lights, damaged graphics and small hardware.
For example, a reusable booth worth $20,000 may need an annual maintenance allowance of about $400–$1,000. A system that travels often or is handled by several contractors may need a higher allowance.
Spare Parts and Supplier Support
Aluminum systems are usually easier to repair in sections. A bent profile, damaged lock, broken bracket or incorrect graphic can often be replaced without rebuilding the complete booth.
This depends on future spare-part support. Before buying, ask for:
- Part numbers
- Spare-part prices
- Expected delivery times
- Warranty terms
- Compatibility with future profile versions
- Availability in the countries where you exhibit
- Whether another trained installer can use the system
Traditional booths can also reuse screens, furniture, lights, counters, product mounts and selected wall sections. Painted joints, fitted floors and large custom ceilings are less likely to survive repeated transport without repair.
International Events
For an international show, decide what should be shipped and what can be sourced locally.
Items worth shipping may include:
- Branded aluminum frames
- Printed graphics
- Special product mounts
- Programmed screens or media equipment
- Custom illuminated signs
Items that may be easier to rent locally include:
- Carpet
- Standard chairs and tables
- Plants
- Simple platforms
- Common lighting equipment
An ATA Carnet can simplify the temporary import of certain exhibition goods into participating countries. It normally covers goods that will be exported again, not consumable products or giveaways.[5]
Before shipping, check whether the destination accepts the Carnet, whether the goods qualify and whether serial numbers, quantities and values match the documents.
Safety and Venue Rules
Neither booth type is automatically safe. The final design must be checked with all screens, shelves, products, doors, lights and graphics installed.
Important checks include:
- Wall stability
- Base plates and supports
- Screen mounting
- Shelf load limits
- Product weight
- Glass protection
- Door movement
- Cable routes
- Floor edges and trip hazards
- Emergency access
- Accessible routes
A frame designed to hold fabric may not safely hold a large screen or a shelf filled with heavy samples. Use the final equipment weight and mounting position when checking the structure.
Overhead signs need special attention. A hanging banner display may require drawings, approved attachment points and installation by the venue’s rigging contractor.
Fire rules vary by country, city, venue and event. Organizers should assess the actual materials, electrical equipment, storage, ignition sources and escape routes used in the booth.[6]
Fire documents should match the material used in production. Check the product name, manufacturer, test method, material thickness and any limits stated in the document. A certificate for one fabric does not automatically cover a different fabric.
Total Cost
The first quotation is not the total booth cost. Use the same cost sheet for every supplier.
Total booth cost = initial cost + event costs + annual ownership costs + venue services + risk allowance
| Cost Group | Items to Include |
|---|---|
| Initial cost | Design, engineering, structure, first graphics, cases, drawings and test build |
| Event cost | Freight, handling, setup, dismantling, flooring, electrical work, cleaning and local rentals |
| Annual cost | Storage, insurance, inspection, inventory management and maintenance |
| Venue services | Power, internet, rigging, waste removal, approvals and required contractors |
| Risk allowance | Overtime, late freight, damage, missing parts, customs delays and emergency changes |
Before all supplier and venue prices are confirmed, a 5%–10% risk allowance is often useful for early budgeting. International shipping, a first-time venue, complex rigging or late design changes may require a larger allowance.
For a reusable booth, calculate:
Cost per event = total expected cost ÷ number of confirmed uses
Do not divide the purchase cost by ten events if only three events are confirmed.
Example Cost Comparison
The example below compares a basic 3 × 3 meter booth used at six events over two years. The numbers are hypothetical and are included to show the calculation method. They are not market prices.
| Cost Item | Aluminum Frame Booth | Repeated Traditional Booths |
|---|---|---|
| Initial structure, design, cases and first graphics | $12,000 | Included in each new build |
| Per-event freight, handling, labor and graphic changes | $2,500 × 6 = $15,000 | Included below |
| Storage and maintenance | $1,500 × 2 years = $3,000 | Not required |
| New booth for each event | Not required | $6,000 × 6 = $36,000 |
| Two-year total | $30,000 | $36,000 |
| Average cost per event | $5,000 | $6,000 |
In this example, the traditional booth is cheaper for the first few events because the aluminum system carries an upfront purchase cost. The aluminum option becomes more competitive around the fifth event.
The answer changes when storage is expensive, layouts change completely, the booth travels internationally or a local contractor can build traditional booths at a low price.
When comparing quotations, mark each item as:
- Included
- Excluded
- Estimated
- Unknown
An unknown cost is not a saving. It is a cost that has not yet been confirmed.
Sustainability
An aluminum booth is not automatically more sustainable than every traditional booth.
The result depends on:
- How many times the structure is actually reused
- How far it travels
- How much packaging is required
- How often graphics are replaced
- How it is stored and repaired
- What happens to the materials at the end of use
A locally built traditional booth may avoid long-distance freight. A reusable aluminum booth may reduce repeated wall construction. The better choice depends on the complete event plan, not one material.
The U.S. Environmental Protection Agency places waste prevention and reuse above recycling and disposal in its materials management hierarchy.[7]
ISO 20121:2024 provides a management system for considering the environmental, social and economic effects of events.[8]
A useful environmental record should state:
- Number of completed uses
- Parts reused or repaired
- New graphics produced
- Items rented locally
- Shipping routes
- Materials recycled or discarded
Best Use Cases
| Choose an Aluminum Frame Stand When | Choose a Traditional Booth When |
|---|---|
| You have several confirmed events | You have one major event |
| Booth sizes change between events | The booth is made for one exact floor plan |
| Graphics change by market or language | The booth needs real building materials |
| Setup time is limited | The design needs unusual curves or shapes |
| The same system is shared by several teams | Heavy products need custom foundations |
| You need predictable packing and assembly | The booth must look like a real room or shop |
| Storage and inventory can be managed | A reliable contractor can build near the venue |
For a smaller event, a tension fabric backdrop booth may provide enough branded wall space without the cost and storage needs of a complete exhibition booth.
Hybrid Booths
A hybrid booth uses reusable aluminum parts for the main walls, graphics, storage and lighting, while custom or rented parts are added for each event.
A practical hybrid booth may include:
- Reusable aluminum walls
- Replaceable SEG graphics
- Reusable screens and lights
- A custom product counter
- Local rental furniture
- Locally supplied carpet and plants
This approach can reduce the amount shipped while keeping the main branding consistent. The drawings must clearly show how local parts connect to the reusable frame.
Supplier Checklist
Ask every supplier for the same information:
- A complete quotation with inclusions and exclusions
- Technical and installation drawings
- A list of owned and rented items
- Gross packed weight and volume
- Case sizes, weights and stackability
- Planned setup and dismantling hours
- A full test-build plan
- Drawings for future booth layouts
- Load limits for shelves, screens and signs
- Fire documents for the actual materials
- Spare-part prices and delivery times
- Storage, inspection and repair responsibilities
A rendering only shows how the booth may look. It does not prove that the booth can be packed, shipped, approved, assembled and reused. Make the final decision from drawings, packing data, labor hours, material documents and complete costs.
Conclusion
Start with five numbers: gross packed weight, packed volume, setup crew hours, yearly storage cost and confirmed event count. For a basic 3 × 3 meter booth, an aluminum system may weigh about 180–350 kg and need 6–12 crew hours, while a prefabricated traditional booth may weigh 400–800 kg and need 24–40 crew hours. These are planning ranges, not fixed rules. Aluminum usually makes more sense after several similar events. Traditional construction is stronger for one-off rooms, curved structures and heavy product settings. A hybrid booth is often the best option when reusable branding must be combined with local custom work.