A portable changing room follows a model-specific frame and entrance layout. Pipe-and-drape requires you to position bases, set spans, hang curtains and form the entrance on site. The main differences are assembly work, layout flexibility and privacy checks—not a guaranteed one-person versus two-person setup.
| Setup task | Portable changing room | Pipe-and-drape |
|---|---|---|
| Frame assembly | Open a folding frame or connect the supplied sections. | Position bases, fit uprights and connect compatible crossbars. |
| Room dimensions | Follow the selected model’s drawing. | Set each span within the hardware’s adjustment range. |
| Entrance | Fit and check the specified curtain or closure. | Plan the opening, curtain overlap and approach. |
| Crew and equipment | Check the manual, longest component and lifting requirements. | Check base weights, working height and stabilization requirements. |
Assembly and Crew
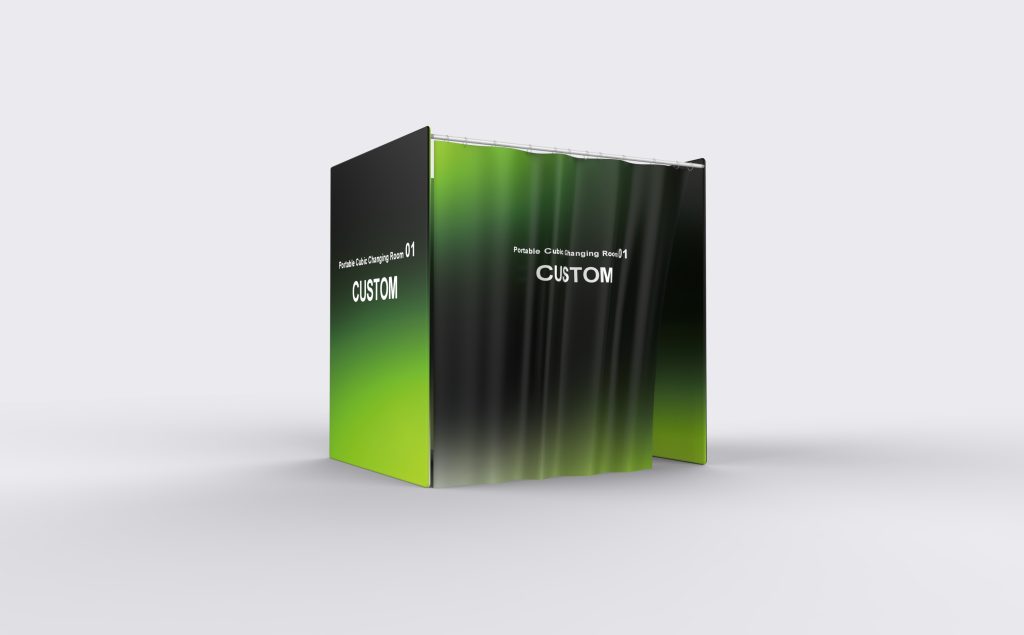
“Portable” does not mean “pop-open.” Some portable changing rooms use folding frames. Others require the crew to connect tubes, fit fabric covers and install an entrance rail. A curtain entrance is not a lockable door unless the specification says so.
For telescopic pipe-and-drape, assemble and dress the system at its lower position where the manufacturer’s instructions allow. Check connections and curtain placement before raising it. Many systems use tool-free connections, so a ladder or toolbox is not automatically required.
Floor Space and Layout
Compare usable interior space, not just external dimensions. A 2 × 2 m room has a 4 m² footprint; a 3 × 3 m room has 9 m². Base plates, frame members, furniture and entrance movement can reduce the space available for changing.
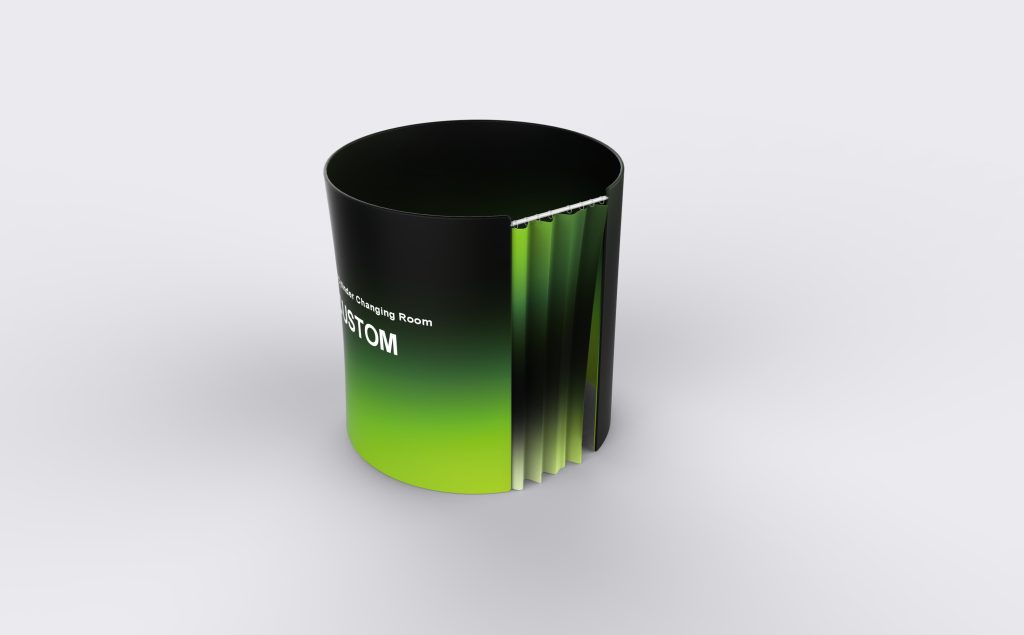
Milin’s cylinder changing room lists reference diameters of 210 cm and 240 cm, both 240 cm high. A 210 cm diameter enclosure will not fit within a 200 cm-wide space. Its round shape does not remove the need for entrance clearance.
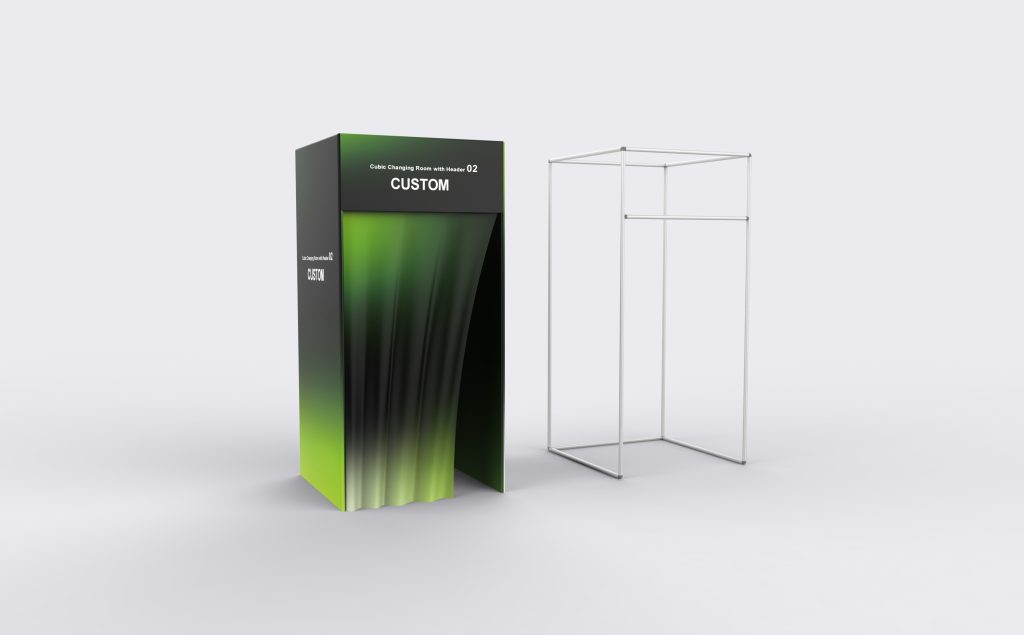
The cubic changing room with header includes a 120 × 120 × 250 cm reference configuration. Other versions are listed, so confirm the selected drawing rather than assuming every image represents the same size.
Setup Time and Handling
Ask for an assembly demonstration of the exact model. A quoted “10-minute setup” means little unless it includes the crew size, starting condition and finished configuration.
For a trial, start timing with the packed components at the installation spot. Stop after the frame, fabric, entrance and privacy checks are complete. Record unpacking, assembly and adjustments separately. Time pack-down as a separate task.
Compare labor as well as elapsed time. In a calculation example, one person working for 20 minutes uses 20 person-minutes; two people working for 15 minutes use 30. These figures illustrate the calculation, not measured installation speeds.
For transport, request the package count, longest packed dimension, heaviest package and total shipping weight. Match these to the vehicle opening and load space. Cubic volume alone does not prove that a long frame bag will fit.
Privacy Checks
Test either enclosure under the lighting it will actually use. Printed fabric can hide a view in one light and reveal a silhouette in another. Curtain entrances also need checking after someone has walked through them.
- Check sightlines. Look toward the entrance and seams from the aisle, at standing and seated eye levels.
- Check backlighting. With a fully clothed person inside, switch on the planned lights and inspect for visible detail or silhouettes.
- Check closure. Have the person enter, close the curtain and move normally. Confirm that the entrance stays covered without being held shut.
If the room fails, adjust the overlap, specify an opaque lining or change the entrance arrangement. A roof is not an automatic fix. Assess overhead views separately, and obtain approval before adding any top covering.
Loads, Fire Safety and Access
Match the crossbar’s rated load to its actual extension and the complete hanging load. For example, a 3 m-wide, 2.4 m-high curtain with a 1.5 fullness factor uses approximately 10.8 m² of fabric. At an assumed 250 g/m², that is 2.7 kg before hems and accessories. This calculation is not a crossbar load rating.
Ask the venue which fabric documents it requires. NFPA 701 addresses flame propagation testing of textiles and films under specified test conditions; it does not mean a fabric is fireproof.[1]
If a stepladder is needed, inspect it, secure its spreader or locking device, and use it on a stable, level surface. These points are covered by OSHA’s ladder requirements for applicable U.S. workplaces.[2]
Where U.S. ADA requirements apply, an accessible fitting room needs more than a wide entrance. Section 803 addresses turning space, door swing, a bench and reachable hooks or shelves. Its advisory also calls for equivalent privacy.[3]
For either system, keep bases and cables out of required access routes. Do not attach lights, rails or mirrors unless the frame is approved for them. Outdoor use needs the manufacturer’s approval, anchoring instructions and operating limits—not a generic sandbag weight.
Cost Comparison
Request both quotes for the same room count, usable dimensions, rental period and privacy specification. Include delivery, assembly, dismantling, approved stabilization, cleaning and return transport. Staff setup time is still a cost even when no outside installer is hired.
Shared partitions can change a pipe-and-drape estimate. As a layout example, three adjoining 2 × 2 m booths need a 6 m back, four 2 m depth partitions and a 6 m front curtain line: 20 linear meters before overlaps and curtain fullness. Three separate fully enclosed booths total 24 linear meters. Shared construction requires compatible hardware and an approved arrangement.
Pack-Down and Reuse
Follow the fabric’s care label rather than assuming every cover is machine washable. Dry it before storage. Label frame sections and pack curtains by room or span so the next crew can identify them without opening every bag.
Keep one packing list with component counts, replacement part references and the confirmed layout. After the trial installation, add the actual crew size, setup time and any adjustments needed. That gives the next event a useful record rather than another untested estimate.