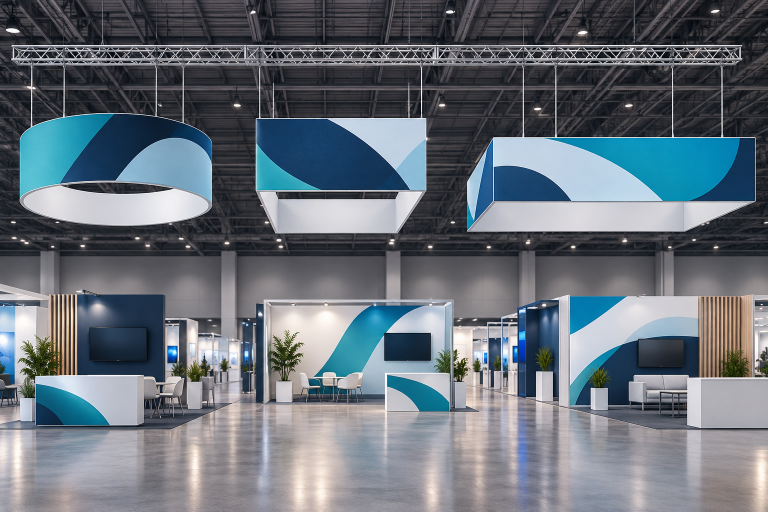
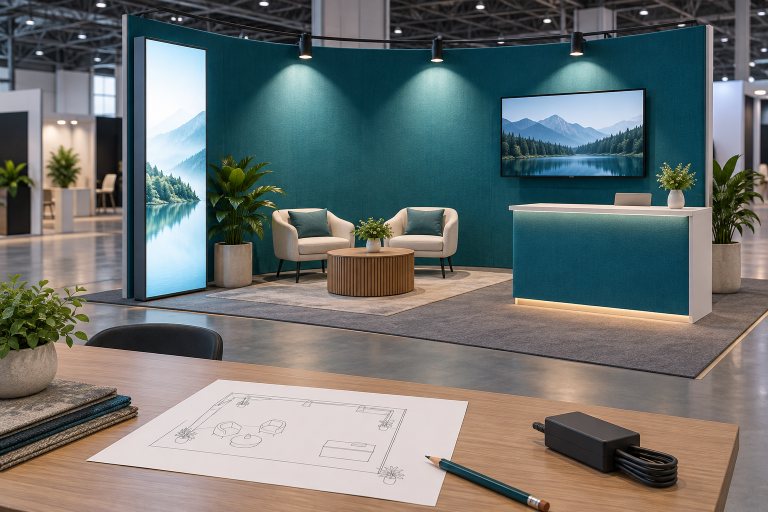
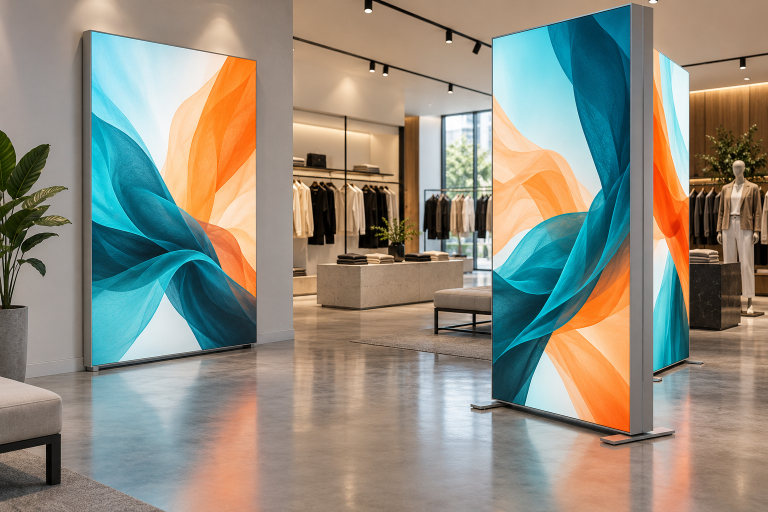
A tool-free exhibition booth is a pre-made display system whose main frame can be joined mostly by hand. It reduces onsite construction work and makes the booth easier to pack, move and reuse. However, screens, shelves, lights, power connections and large structures may still need tools or trained workers.
The right booth should fit the booked space, carry the planned equipment and arrive in cases that the installation team can handle. It should also be possible to rebuild it without guessing where each part belongs. Buyers can compare different formats through Milin’s exhibition display solutions.
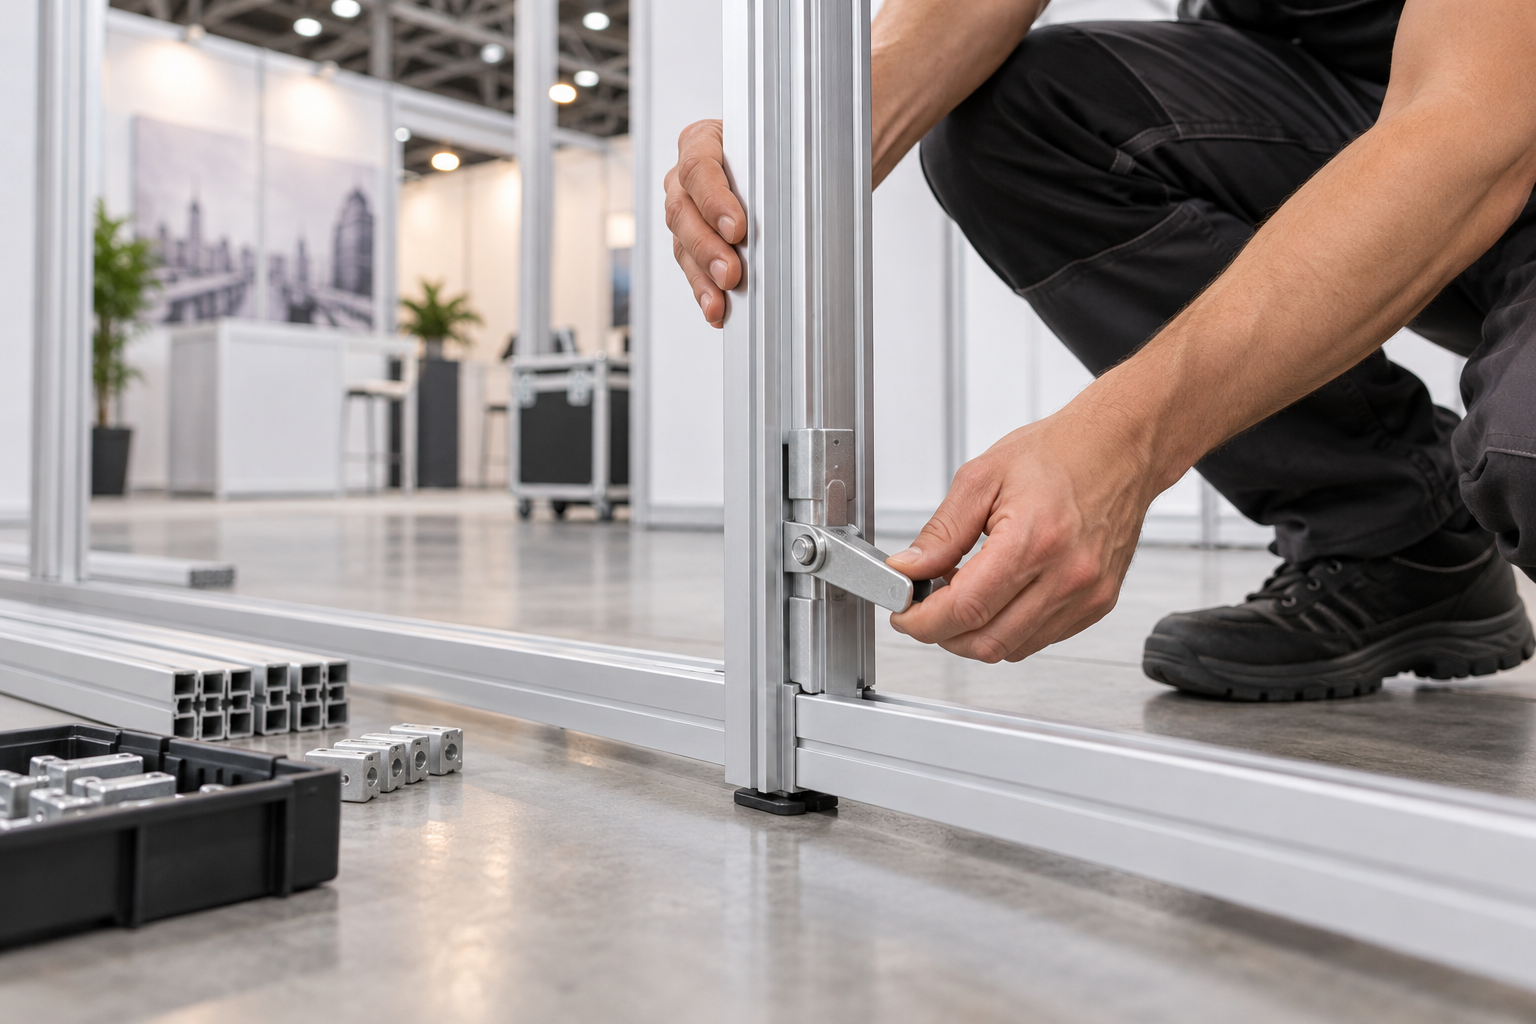
What a Tool-Free Booth Is
Traditional custom stands may require timber cutting, drilling, painting and onsite finishing. A tool-free system arrives with finished frames, connectors, feet and printed graphics. The team follows a fixed assembly order instead of building the stand from raw materials.
The term “tool-free” normally applies to the main frame. A screen bracket may still need an Allen key. A tall wall may require two people. Electrical work, overhead signs and engineered structures may require approved contractors.
IAEE publishes display guidelines to help North American organizers set rules for booth types, wall heights, line of sight and hanging signs. These are general guidelines rather than automatic approval for every event. The current exhibitor manual and written organizer approval remain the final rules for the show.[1]
Four common terms describe different features:
- Tool-free: the main parts connect mainly by hand.
- Portable: the booth can be packed and moved without large construction crates.
- Modular: the same parts can create more than one layout.
- Custom-built: the stand is designed for a particular space or project.
A small pop-up can be portable and tool-free but offer few layout choices. A larger modular aluminum booth can create several layouts but may use one small tool for some connections.
Common Booth Sizes
Booth size affects the number of walls, cases, workers and accessories required. The table below shows common floor areas.
| Booth size | Floor area | Approximate converted area |
|---|---|---|
| 10 × 10 ft | 100 sq ft | 9.3 m² |
| 10 × 20 ft | 200 sq ft | 18.6 m² |
| 20 × 20 ft | 400 sq ft | 37.2 m² |
| 3 × 3 m | 9 m² | 96.9 sq ft |
| 3 × 6 m | 18 m² | 193.8 sq ft |
| 6 × 6 m | 36 m² | 387.5 sq ft |
A 10 × 10 ft or 3 × 3 m booth usually has room for a backwall, one counter and a small product area. A 20 × 20 ft or 6 × 6 m booth may include several walls, storage, screens, meeting furniture and product zones. The exact capacity depends on the entrance width, support feet and equipment size.
When It Works Best
Buying a reusable system usually makes sense when the company attends several shows, uses similar booth sizes and keeps a consistent brand look.
| Buying is usually more practical when | Renting is usually more practical when |
|---|---|
| You attend several events each year. | You need the booth for one event. |
| Your booth sizes remain similar. | The size changes greatly between shows. |
| You have dry and secure storage. | You do not want to manage stored cases. |
| You normally replace only the graphics. | You want a completely different design each time. |
| You can train staff or regular installers. | You need local installation support at every event. |
A mixed model can also work. The company may own the graphics, counters and branded items while renting a frame near the event. Compatibility must be checked before shipping. Two frames with the same outside dimensions may use different graphic channels, silicone edges or mounting points.
Before ordering, map at least the next three events. Record the floor size, open sides, required walls, products, screens, storage and meeting space. This simple exercise shows whether one frame system can solve a repeated need.
Main Parts
A fast-assembly booth is a group of parts. Buyers should check the complete system instead of judging only the frame.
Frames: Many reusable booths use aluminum because it provides a practical balance between weight and strength. Formats include folding frames, straight profiles, curved sections and lightbox frames.
Milin’s aluminum exhibition booth is an example of a modular system that uses SEG graphics. Its product information states that one wrench is used for assembly, so it should be described as a single-tool system rather than completely tool-free.
Connectors: Common connector types include push buttons, twist locks, lever clamps, hand knobs and captive screws. A connector should clearly show when it reaches the correct final position.
Replace a connector when it has cracked plastic, damaged threads, excess movement or a lock that no longer closes properly. Do not repair a structural connection with tape or an unapproved screw.
Feet and supports: Base plates and rear supports keep the wall upright. The required support changes with the wall height, shape and attached equipment. A wall that stands safely when empty may become unstable after adding a screen, shelf, door or projecting sign.
Graphics: Common options include silicone-edge fabric, fabric sleeves, magnetic panels and rigid boards. Silicone-edge graphics fit into a narrow frame channel. Sleeves pull over the frame. Rigid panels stay flat but usually need more shipping space.
For a closer look at fabric channels, LED placement and illuminated graphics, see Milin’s SEG lightbox guide.
Lighting: A SEG LED lightbox booth can be used when the main graphic needs backlighting. During inspection, look for dark edges, bright spots, loose fabric and visible cables. Confirm whether the LEDs, power drivers and cables can be replaced separately.
Backwalls: A non-lit tension fabric backdrop booth may be simpler when lighting is not needed. Check the packed length and graphic width before deciding whether one person can carry and install it.
Screens and shelves: Use the complete mounted weight, including the screen, bracket, media player, cables and security device. A shelf rating should cover the real product and its packaging.
For large moving images, compare a normal television with a purpose-built LED screen display. Include power demand, control equipment, packed weight and installation labor in the comparison.
Assembly Time
Supplier setup claims often measure only the empty frame. A useful timing test starts when the cases reach the booth and ends when the complete display is clean and ready for visitors.
The following is a planning example, not an industry average:
| Setup stage | Example time |
|---|---|
| Move, open and check cases | 10 minutes |
| Build the frame and install supports | 25 minutes |
| Fit the graphics | 15 minutes |
| Install screens, shelves and lights | 20 minutes |
| Route cables, clean and inspect | 10 minutes |
| Total visitor-ready time | 80 minutes |
In this example, the frame itself takes 25 minutes, but the full booth takes 80 minutes. Planning labor from the 25-minute figure would underestimate the work by 55 minutes.
Complete at least three trial builds before relying on a setup time. A sample training record could look like this:
| Trial | Complete setup time | Main result |
|---|---|---|
| First build | 95 minutes | Found unclear labels and two missed steps. |
| Second build | 78 minutes | Team followed the corrected manual. |
| Third build | 72 minutes | Stable result with no missing parts. |
The third trial is 23 minutes faster than the first, a reduction of about 24%. This does not prove that every booth will improve by the same amount. It shows why real trial records are more useful than a general “fast setup” claim.
Use workers who did not design the booth. Any point where they need verbal help should be added to the manual. Labels should stay on the parts, not only on disposable packaging.
Milin’s DRYPAX assembly case shows how a product-specific video was used to prepare a two-person customer team before setup. The result belongs to that project and should not be treated as a guaranteed time saving for every display.
Team Size
Some small displays can be assembled by one person, but two people are usually more practical for long frames, wide graphics and screen mounting.
Do not choose the team size from total booth weight alone. Record:
- The longest packed component
- The heaviest single component
- The heaviest complete case
- The wall height
- The size of the largest graphic
- The screen and bracket weight
- Whether a ladder or lifting aid is needed
The Revised NIOSH Lifting Equation is used to assess two-handed lifting tasks. It considers factors such as the load position, lifting height, travel distance, twisting, task frequency and grip quality rather than looking only at weight.[2]
This matters because a long 15 kg frame can be harder to control than a compact 15 kg box. The supplier should state the minimum and recommended crew size for every approved layout.
Packing Data
Poor packing can cancel the time saved by a quick frame. Every case should have a contents list, part numbers and a packing diagram.
The following packing table is an example of how to record the shipment. It is not a standard weight for all booths.
| Case | Contents | Example packed weight |
|---|---|---|
| Case 1 | Main wall frames | 28 kg |
| Case 2 | Feet, supports and connectors | 22 kg |
| Case 3 | Printed graphics | 15 kg |
| Case 4 | Counter and shelves | 30 kg |
| Case 5 | Lights, cables and spare parts | 18 kg |
| Total | 5 cases | 113 kg |
In this example, the total shipment is 113 kg, but the most important handling figure is the heaviest case at 30 kg. The real freight quote should also include each case’s outside length, width and height because large lightweight cases may be charged by volume.
Photograph every correctly packed case before closing it. Keep fabric away from dirty wheels, sharp brackets and loose screws. After the event, count the parts before return shipping.
Real Cost
The booth price is only one part of the budget. A proper comparison must include the same costs for buying and renting.
Fixed costs may include the frame, first set of graphics, cases, design, training, storage and insurance. Per-event costs may include freight, venue handling, labor, electrical service, cleaning, replacement graphics and repairs.
The following three-year example is for calculation only. It is not a market price guide.
| Fixed cost | Example amount |
|---|---|
| Frame, first graphics, cases and design | $24,000 |
| Three-year storage and insurance | $9,000 |
| Total fixed cost | $33,000 |
| Cost per event | Example amount |
|---|---|
| Outbound and return freight | $1,200 |
| Venue handling | $700 |
| Installation and dismantling labor | $650 |
| Repair and replacement-graphic reserve | $450 |
| Total variable cost per event | $3,000 |
Using these assumptions, the number of events changes the result:
| Number of events | Ownership cost | Average cost per event | Rental at $7,500 per event |
|---|---|---|---|
| 4 | $45,000 | $11,250 | $30,000 |
| 8 | $57,000 | $7,125 | $60,000 |
| 12 | $69,000 | $5,750 | $90,000 |
In this example, buying becomes less expensive than a comparable $7,500 full rental package at the eighth event. If the booth is used only four times, renting costs less.
Replace every example number with real quotations. The rental quote must include the same graphics, freight, labor and service scope as the ownership calculation. Otherwise, the comparison is misleading.
Booth Layout
A quick booth can still perform badly if visitors cannot understand it. From the aisle, people should be able to identify the company, the product type and one reason to stop.
- Use one main message on the largest visible wall.
- Keep detailed specifications near the product.
- Place the counter to one side unless it is used for a demonstration.
- Keep the main product demonstration inside the booth.
- Provide closed storage for bags, coats and packaging.
- Keep support feet and cables out of visitor routes.
Test the drawing with real equipment. Put the real screen on the mount, place the real product on the shelf and open every storage door. Computer images do not show all handling and access problems.
Where a U.S. accessible route is required, the 2010 ADA Standards generally set a minimum clear width of 36 inches, or 915 mm, for walking surfaces, subject to specific exceptions and wider requirements at some turns.[3]
A 36-inch route uses 30% of the width of a 10 ft booth. Counters, feet and product displays must therefore be planned carefully rather than added after the frame is approved.
An arch display stand can mark an entrance or product zone, but its complete frame and feet must stay inside the booked area and must not narrow a required route.
Venue Rules
Use the latest floor plan and exhibitor manual. Check the exact width, depth, open sides, columns, floor sockets, fire equipment and neighboring walls.
Measure the complete installed height, including:
- Feet and base plates
- Frame profiles
- Top caps
- Lights
- Header signs
- Suspended parts
A frame sold as 8 ft high can exceed an 8 ft limit after adding a top light or sign. Submit the complete drawing when organizer approval is required.
Fire and Stability
Fabric, curtains and decorative materials may need flame-test documents. NFPA 701 contains test methods for measuring flame propagation in textiles and films.[4]
A test report should identify the material, manufacturer, test method, product reference, test date and result. It must match the material that is actually shipped. Printing, coatings and later treatments may affect whether an older report still applies.
Do not call a material “fireproof” unless that exact claim is supported. “Flame resistant” or “flame retardant” is usually more accurate. Ask the organizer whether the document will be accepted before shipping.
After assembly, compare the booth with the approved drawing. Check for missing feet, reversed supports, loose locks, bent sections, uneven floor contact and equipment fitted in the wrong position.
Do not invent a push test or load test at the venue. Follow the supplier’s approved inspection method. Remove damaged structural parts from service until they have been checked.
Power and Cables
List every electrical item and record its rated power, plug type and location. Include screens, lights, laptops, chargers and demonstration equipment.
A plug adapter changes the shape of the connection but does not change voltage. Ask the venue or a qualified electrician to confirm the final power supply and connection method.
In U.S. workplaces, OSHA requires walking-working surfaces to be kept clean, orderly and free from hazards such as sharp or protruding objects.[5]
OSHA also requires temporary cords to be protected from accidental damage caused by sharp corners, projections, doorways and other pinch points.[6]
Plan cable routes before approving the layout. Do not wait until setup day to decide how a cable will cross an entrance.
Reuse and Maintenance
A reusable booth saves money only when it is used enough times and maintained properly.
After every event, inspect:
- Frame straightness
- Connector movement
- Feet and supports
- Missing hardware
- Graphic stains and damaged edges
- Zippers and silicone strips
- Lights, drivers and cables
- Case wheels, handles and locks
Record the part number, problem, date and action taken. Keep damaged parts out of the normal case so they are not used by mistake at the next show.
Never pack damp fabric. Moisture can cause odor, staining and mold during storage.
Reuse is not automatically the greener option. The result depends on the number of uses, transport distance, replacement graphics, repairability and end-of-life treatment. The U.S. EPA recommends looking at materials across their full life cycle, including production, use, reuse, maintenance and waste management.[7]
International Shows
For an overseas event, compare three options:
- Ship the complete owned booth.
- Rent the frame locally and ship the graphics.
- Produce the frame and graphics near the event.
Compare total delivered cost, customs work, transit time, local labor, print quality, spare parts and the backup plan if freight is late.
The packing list should include a clear item description, quantity, value, country of origin, serial number where needed, case number and temporary or permanent import status. “Exhibition materials” alone may be too vague.
An ATA Carnet can simplify temporary movement of eligible goods used at exhibitions and fairs. U.S. Customs and Border Protection states that an ATA Carnet is normally valid for one year from the issue date and that the listed goods must follow the required customs and re-export process.[8]
Consumable samples and goods that will be given away may not qualify. Confirm the destination, goods and documents with a customs or freight specialist before shipping.
Supplier Checks
Do not approve a booth from computer renderings alone. Ask for information that matches the exact layout you plan to buy.
- At least three clear photos of a real completed installation
- One full assembly and dismantling video
- A complete parts list with part numbers
- Case count, outside dimensions and packed weights
- The longest component and heaviest case
- Approved feet and support positions
- Screen and shelf load information
- Graphic sizes, visible areas and edge details
- Matching fire documents
- Spare-part prices and lead times
- Warranty coverage and exclusions
- Assembly and repacking instructions
Complete a full trial build before final approval. The test should include the real graphics, screens, shelves, lights, products and cables.
The booth should pass only when the team can identify every part, close every connector, match the drawing and repack the full inventory without unexplained missing items.
Final Checklist
- The layout matches the booked space.
- The complete height is allowed.
- The graphics have been checked for text, color and direction.
- Every case has a contents list and return label.
- Supplier-approved spare parts are packed.
- Screens and shelves were tested on the real frame.
- Power, internet, labor and rigging are ordered where required.
- Fire and customs documents are ready.
- The installation team has offline instructions.
- A backup layout is available if one case is delayed.
- One person is responsible for the final onsite check.
Conclusion
A useful tool-free booth should be measured as a complete display, not an empty frame. Map at least three future events, complete three trial builds and record the time from unopened cases to visitor-ready setup. Request the weight and dimensions of every case, then compare buying and renting with the same freight, labor, storage and repair costs. In the example above, ownership falls from $11,250 per event at four uses to $5,750 at twelve uses, with break-even at eight events. Confirm the current floor plan, height, support positions, electrical service and fire documents before every shipment.