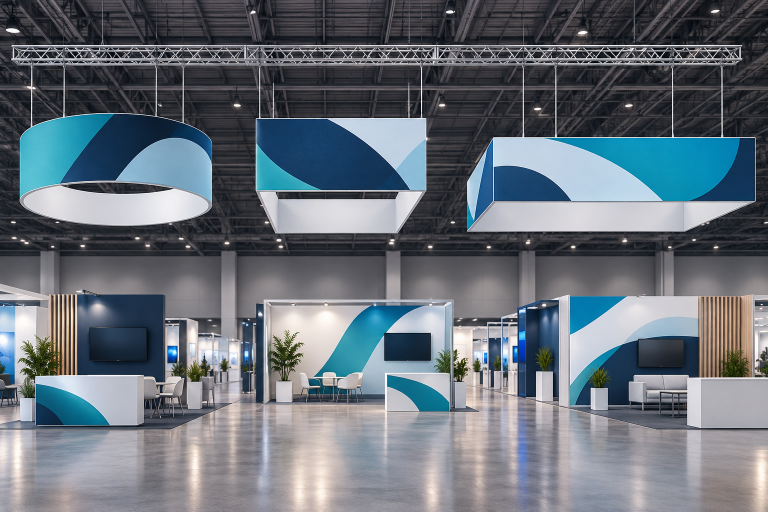
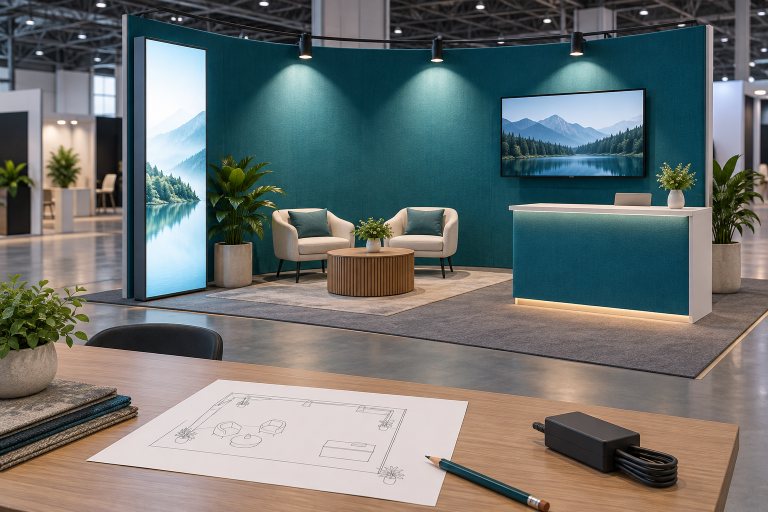
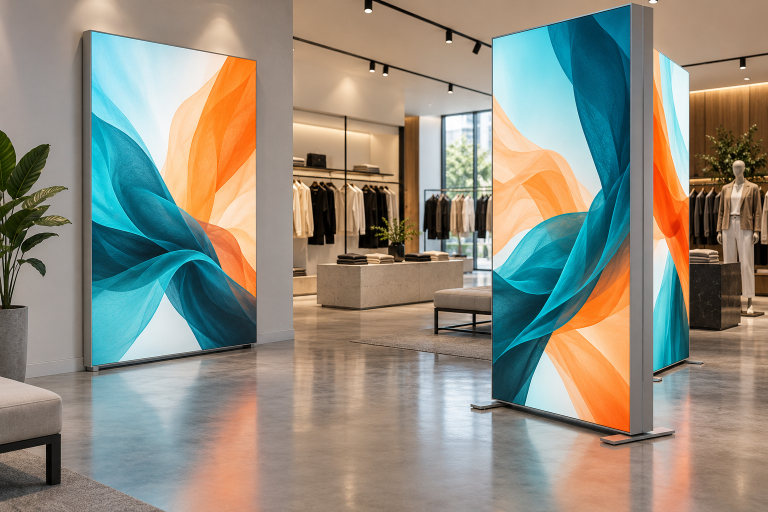
An SEG lightbox is one type of fabric lightbox. The main difference is how the printed fabric attaches to the frame. An SEG graphic has a silicone strip sewn around its edge, while other fabric lightboxes may use a zipper, sleeve, clips, hook-and-loop tape, or tension bars.
SEG is usually better for flat displays that need a clean front and regular graphic changes. Zippered and sleeve-style systems are often better for curved, wrapped, or three-dimensional displays.
Fabric lightboxes are available in many sizes. For example, Milin offers customizable SEG LED lightbox systems from about 3 to 33 ft wide, equal to roughly 0.9 to 10.1 m, with larger custom sizes also available. The right system depends on the display shape, viewing direction, graphic change frequency, packed size, lighting quality, and repair access.
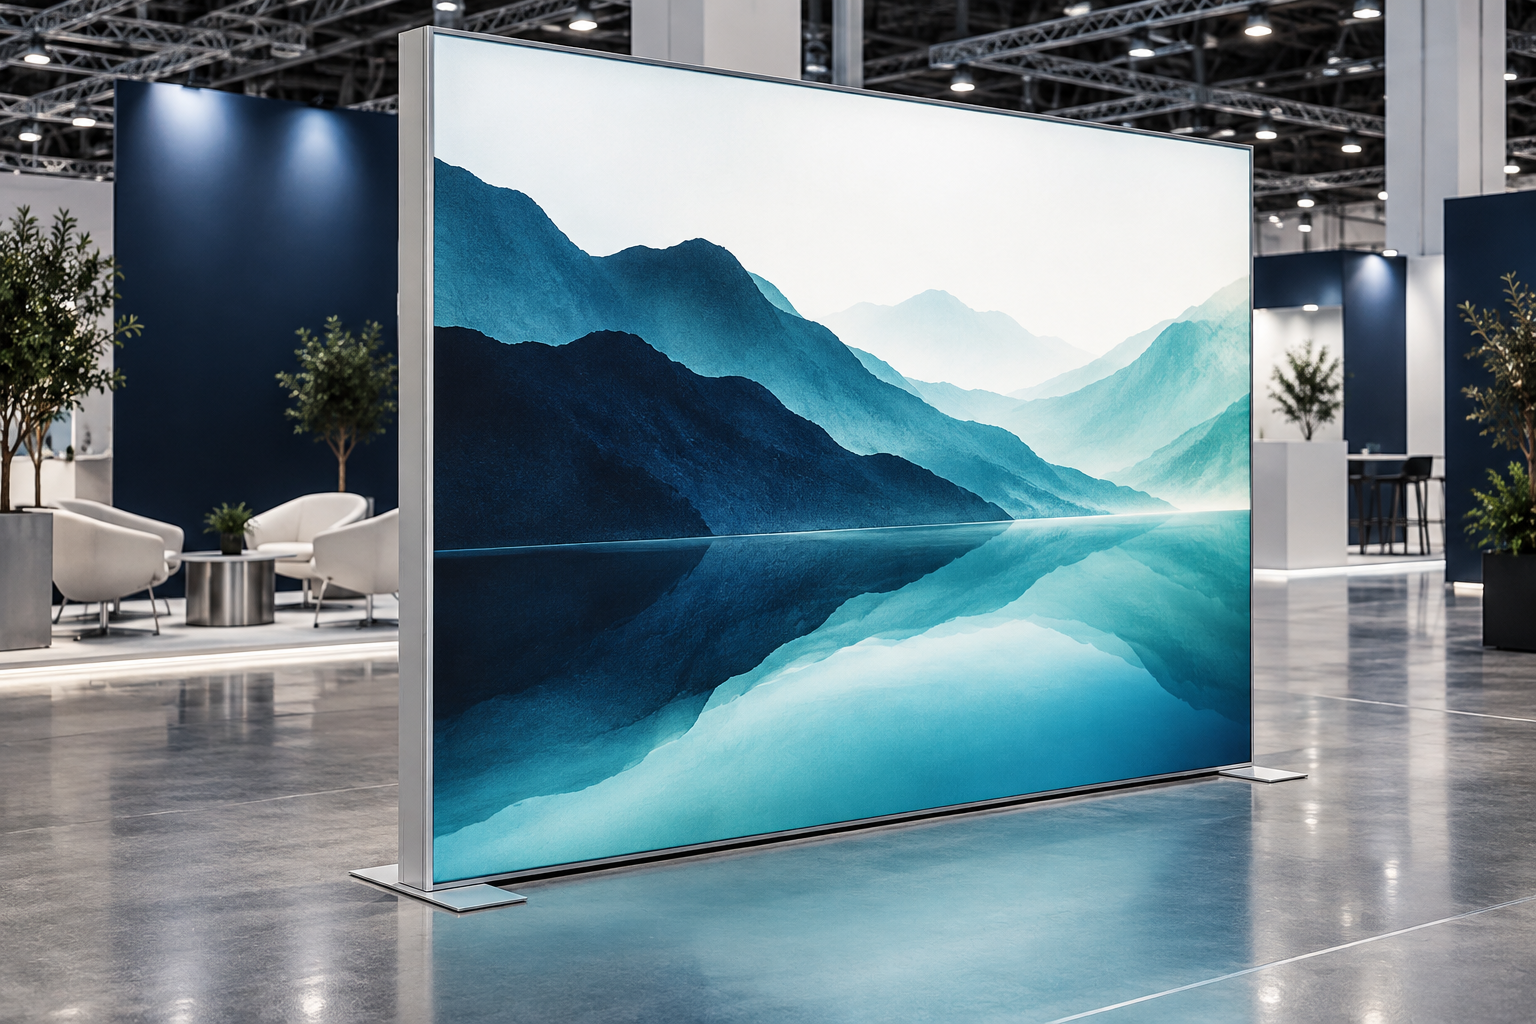
Quick Comparison
| Feature | Other Fabric Lightboxes | SEG Lightboxes |
|---|---|---|
| Graphic attachment | Zipper, sleeve, clips, tape, or tension bars | Silicone edge inserted into a frame channel |
| Front appearance | Depends on the attachment method | Usually flat with hidden fixing parts |
| Graphic replacement | May require side or rear access | Usually changed from the front |
| Best shapes | Curved, round, wrapped, or three-dimensional | Flat, segmented, and some gentle curves |
| Side coverage | One fabric cover can wrap several sides | Usually uses a separate graphic on each face |
| Graphic fit | Must match the frame shape and seam pattern | Must match the exact frame channel and finished size |
| Installation | Depends on the frame and cover design | Graphic installation is normally tool-free |
| Typical applications | Portable backdrops, towers, arches, counters, and curved booths | Retail walls, exhibition backwalls, showrooms, and advertising displays |
This comparison shows common differences, not fixed rules. A well-made zippered lightbox can have a very smooth front. Some SEG frames are portable, curved, or double-sided. Buyers should compare the complete product rather than assume one attachment method is always better.
What the Two Terms Mean
“Fabric lightbox” is a broad product name. It describes an illuminated display that uses a printed textile graphic.
“SEG” means Silicone Edge Graphic. It describes a specific way of attaching the fabric to the frame. A narrow silicone strip is sewn around the graphic and pushed into a matching aluminum channel.
PRINTING United Alliance defines SEG as printed fabric graphics with silicone beading attached to one or more edges. The beading fits into an extrusion channel and creates a clean display with most of the fixing hardware hidden.[1]
Every SEG lightbox is therefore a fabric lightbox, but not every fabric lightbox uses SEG graphics.
Buyers can compare different illuminated systems in Milin’s LED lightbox range.
How the Graphics Attach
The attachment method affects the front appearance, graphic tension, replacement process, and shapes the frame can create.
SEG graphics use a silicone strip sewn around the fabric. When the size is correct, the fabric stretches evenly across the frame and the fixing edge remains hidden.
Zippered graphics are made like fitted covers. The graphic slides over the frame and closes with a zipper, usually at the bottom, side, or rear.
Sleeve graphics slide over tubular or sectional frames. They are simple to understand, but replacing the graphic may require part of the frame to be taken apart.
Hook-and-loop graphics attach with fabric fastener tape. They are inexpensive and useful for temporary displays, but the tension may be less even after repeated removal.
Clip systems hold the fabric at separate points. They can fit unusual frame shapes, but waves may appear between the clips if the tension is not spread evenly.
A portable tension fabric backdrop booth may be more practical than SEG when the display needs a strong curve, broad fabric cover, or simple portable frame.
Front Appearance
SEG normally gives a clean front surface because the silicone edge and stitching sit inside the frame channel. The viewer mainly sees the printed image and a narrow aluminum border.
A zippered lightbox can also look smooth from the front. However, the zipper, seams, or side panels may remain visible when visitors can walk around the display.
Choose the system based on the viewing direction:
- For a wall display seen mainly from the front, SEG is usually suitable.
- For an island display seen from four sides, a wrapped fabric cover may hide more of the frame.
- For several frames placed together, check the width of the joints between units.
- For close viewing, inspect the corners, seams, borders, and image alignment.
“Frameless” does not mean the product has no frame. It normally means the visible aluminum border is narrow when the display is viewed from the front.
Graphic Measurements
An SEG graphic must be made for a specific frame. A replacement graphic may not fit even when two frames are both described as 1000 × 2000 mm.
One lightbox may have five different measurements:
- Outer frame size: the full external width and height.
- Visible graphic size: the part of the image visible from the front.
- Channel-to-channel size: the distance between opposite SEG channels.
- Finished graphic size: the final fabric dimensions after sewing.
- Cutting size: the fabric size before sewing and finishing.
A supplier may use any of these measurements when listing a product size. Buyers should therefore confirm what the quoted width and height represent.
The finished SEG graphic is normally slightly smaller than the channel-to-channel size so that it stretches after installation. However, there is no single reduction percentage that works for every frame.
The correct finished size depends on:
- Fabric stretch
- Fabric direction
- Print process
- Heat shrinkage
- Frame dimensions
- Channel position
- Silicone width and thickness
- Sewing position
- Corner design
PRINTING United Alliance recommends testing the fabric, ink, stretch, shrinkage, silicone beading, and extrusion together because these parts affect graphic fit and tension.[2]
Signs of a Poor Graphic Fit
| Visible Problem | Possible Cause |
|---|---|
| Waves along one edge | The graphic may be too large or the silicone may be sewn unevenly |
| Loose center area | The graphic may be oversized or the fabric may stretch too much |
| Lines running from one corner | The graphic may be too small or the corner may be fitted incorrectly |
| Diagonal wrinkles | The frame may not be square |
| Distorted text or logos | The graphic may be too small or the artwork may be too close to the edge |
| Hard straight crease | The graphic may have been folded or stored badly |
| Uneven outer edge | The silicone may be twisted or only partly inserted |
A graphic that is too small can also pull the stitching, damage the silicone, or bend lightweight frame sections. Do not force a graphic into the frame when the fit is clearly wrong.
Ordering Replacement Graphics
An artwork file alone is not enough to produce an accurate replacement SEG graphic.
Provide the new supplier with:
- Frame model
- Outer frame dimensions
- Visible graphic dimensions
- Channel-to-channel dimensions
- Finished graphic dimensions
- Fabric type
- Fabric direction
- Silicone specification
- Sewing position
- Clear photos of the channel and corners
Businesses using many lightboxes should keep one production record for each frame model. This prevents size errors when graphics are reordered months or years later.
Milin’s guide to interchangeable SEG fabric displays explains how companies can keep the same frame while replacing campaign graphics.
Installing an SEG Graphic
A common installation method is:
- Assemble the complete frame.
- Check that all connectors are locked.
- Make sure the frame is square.
- Place the graphic in the correct direction.
- Insert all four corners.
- Insert the middle of each side.
- Work from the middle toward the corners.
- Check the full edge and refit any loose section.
Starting with the corners and middle points spreads the remaining fabric more evenly. Starting at one corner and pushing continuously around the frame can collect extra material at the final corner.
A small floor-standing graphic may be installed by one person. For a large wall graphic, two installers are safer. One person supports the fabric while the other inserts the silicone edge.
Milin states that a standard 10 × 20 ft backwall can be assembled by two people in under 30 minutes when using its quick-lock system. Actual setup time will depend on the product model, number of parts, lighting connections, and installer experience.
In another Milin project, the customer’s own marketing team assembled a 10 × 10 ft tool-free booth in under 30 minutes. This is a project example rather than a guaranteed setup time for every fabric lightbox. See the 10 × 10 ft lightbox booth case.
Preventing Installation Damage
Do not use extreme force when inserting the silicone edge. If the graphic is unusually difficult to fit, check:
- Whether the frame is fully assembled
- Whether the frame is square
- Whether the graphic is facing the correct direction
- Whether the finished graphic size is correct
- Whether the silicone matches the channel
- Whether dirt is blocking the channel
- Whether the silicone is twisted
Small packing marks may relax after the graphic remains under tension. Deep creases, damaged coatings, and permanently stretched fabric may not disappear.
Do not use a heat gun unless the graphic supplier approves it. Strong direct heat can damage the print, fabric, stitching, or silicone edge.
Lighting Quality
SEG describes how the fabric attaches to the frame. It does not describe the LED system.
An SEG lightbox can have poor lighting, and a zippered lightbox can have good lighting. Light quality depends on:
- LED spacing
- LED beam angle
- Distance between the LEDs and fabric
- Frame depth
- Internal reflective surfaces
- Fabric diffusion
- Printed ink density
- Driver quality
- Cooling and ventilation
- Position of cables and support bars
A good lightbox should not show:
- Bright LED dots
- Dark corners
- Horizontal or vertical bands
- Cable shadows
- Support-bar shadows
- Flicker
- Different colors between LED sections
How to Check Light Uniformity
Marketing photos can hide lighting problems through high exposure or image editing. A practical inspection should use the same camera exposure or measuring device for every test.
Check at least five positions:
- The center
- The top-left corner
- The top-right corner
- The bottom-left corner
- The bottom-right corner
Use a white test graphic first because it makes dark areas, bright spots, and shadows easier to see. Then test the real artwork because dark ink, light colors, and large solid areas can change the final appearance.
For a wall made from several lightboxes, also compare the brightness and color of each complete section. A single good sample does not prove that several connected frames will match.
Rear-Lit and Edge-Lit Systems
Rear-lit lightboxes place LED modules, strips, bars, or curtains behind the graphic. They are commonly used for large wall displays, trade show booths, freestanding lightboxes, and double-sided systems.
A deeper frame gives the light more distance to mix before reaching the fabric. A shallow frame can still produce even light, but it requires suitable LED spacing, lenses, reflectors, and diffusion material.
Edge-lit lightboxes place LEDs around the edge of a clear light guide panel. They can use a thinner frame and are often used for poster-size displays, menu boards, and smaller wall signs.
The light guide panel adds weight and must match the final display size. A poor design may show bright edges, a dark center, or visible patterns.
Do not select a system only because the frame is thin. Compare light uniformity, total weight, repair access, and replacement-part cost.
LED Life
The U.S. Department of Energy states that good-quality white LED products may provide 30,000 to 50,000 operating hours or longer. LED useful life is usually measured at L70, which is the point when light output has fallen to 70% of its original level, not when the LEDs completely stop working.[3]
| Daily Use | 30,000 Hours | 50,000 Hours |
|---|---|---|
| 8 hours per day | About 10.3 years | About 17.1 years |
| 10 hours per day | About 8.2 years | About 13.7 years |
| 12 hours per day | About 6.8 years | About 11.4 years |
These figures are simple calculations, not guaranteed product lifespans. Heat, driver quality, voltage, ventilation, LED quality, and daily operating conditions can shorten real service life.
Before buying, ask:
- Can individual LED modules be replaced?
- Can the driver be replaced separately?
- Can repairs be made from the front?
- Will replacement LEDs match the original color?
- How long will spare parts remain available?
- Does the warranty cover flicker, color change, and reduced brightness?
Fabric and Printing
The graphic should use fabric designed for backlighting. Ordinary display fabric may block too much light, show the LED structure, stretch too much, or produce weak colors.
A suitable backlit fabric should provide:
- Even light diffusion
- Enough opacity to hide the LED system
- Controlled stretch
- Stable dimensions
- Clean silicone sewing
- Suitable flame performance when required
A heavier fabric is not always better. Thick material may block too much light, while very thin material may reveal the LEDs behind it.
Common print methods include transfer dye-sublimation, direct dye-sublimation, and UV printing. The correct method depends on the fabric, required stretch, color target, and packing method.
Printed colors can change when the lightbox is switched on. Dark printed areas allow less light through, while pale areas may appear much brighter.
For important brand colors, request a sample using:
- The final fabric
- The planned print process
- The final LED system
- Important brand colors
- Dark image areas
- Skin tones
- Small text and logos
Color Management
ICC profiles help translate color information between cameras, screens, and printing devices. They can improve consistency, but they cannot make every material, monitor, and printer produce exactly the same color.[4]
Color Rendering Index, or CRI, also has limits. NIST notes that traditional CRI is based on a small set of low- and medium-saturation color samples and may not show how accurately an LED renders highly saturated colors.[5]
The most useful color check is therefore a physical sample printed on the final fabric and illuminated by the final LED system.
Flat, Curved, and Wrapped Displays
SEG is easiest to use on flat rectangular frames, but it is not limited to flat walls. Properly designed systems can also create gentle curves, counters, kiosks, segmented towers, and multi-sided displays.
Tight curves and complex corners are harder because the silicone must follow the exact frame shape while keeping the fabric evenly stretched.
Zippered or sleeve graphics are often more practical for:
- Circular towers
- Arches
- Columns
- Strong curves
- Fully wrapped counters
- Three-dimensional structures
For a larger structure that combines SEG graphics with shelving, counters, and stronger profiles, buyers can compare a modular aluminum exhibition booth.
Portability and Packing
A fabric graphic packs into a small space, but the complete lightbox may still include long aluminum sections, feet, LED parts, cables, connectors, and transport cases.
Check the following data before ordering:
- Packed length, width, and height
- Gross transport weight
- Longest frame section
- Number of cases
- Number of loose parts
- Protection for LEDs and channels
- Graphic packing method
- Availability of spare connectors
A two-meter frame section may be lightweight but still difficult or expensive to ship. More joints can shorten the packed length, but they may also increase assembly time and reduce frame stiffness.
Milin’s guide to portable SEG lightboxes provides more information about systems designed for repeated event use.
Changing and Storing Graphics
SEG is useful when advertising changes often because the frame and LEDs remain in place while only the printed fabric is replaced.
A store changing its campaign every month needs 12 graphic changes per year. A seasonal campaign changed every three months needs 4 changes per year.
At these frequencies, the following costs may be more important than a small difference in the original frame price:
- Time needed to remove and install each graphic
- Number of staff required
- Access to the front, sides, or rear
- Cost of replacement printing
- Storage space for old graphics
- Shipping cost for new graphics
When removing an SEG graphic, pull the silicone edge or removal tab. Do not repeatedly pull hard on the printed fabric because this can damage the stitching.
Before storage:
- Make sure the graphic is clean and dry.
- Follow the printer’s rolling or folding instructions.
- Avoid sharp creases.
- Do not crush the silicone edge.
- Do not place heavy frame parts on top.
- Label the graphic with its frame model, size, direction, and campaign name.
Cleaning
Cleaning instructions depend on the fabric, ink, coating, and silicone edge. Some graphics can be washed, while others should only be spot-cleaned.
Use these basic steps:
- Turn off and disconnect the lightbox.
- Remove loose dust with a soft cloth.
- Test any cleaner on a hidden area.
- Avoid bleach and strong solvents.
- Do not scrub printed areas aggressively.
- Allow the graphic to dry fully before reinstalling it.
Keep the frame channel clean. Dust, fibers, adhesive, or damaged silicone inside the channel can make installation difficult.
Single-Sided and Double-Sided Lightboxes
A single-sided lightbox has one illuminated graphic. The rear normally uses a reflective panel, fabric backing, metal sheet, or suitable wall surface to direct light toward the front.
For a wall-mounted system, confirm whether the graphic, LEDs, and driver can all be reached from the front. Easy graphic replacement does not automatically mean easy electrical repair.
A double-sided lightbox has graphics on both sides. Rear-lit double-sided systems often need more depth so both faces receive even light. Edge-lit or centrally lit systems may use thinner profiles.
For a double-sided freestanding lightbox, check:
- Whether both graphics can be changed separately
- Whether both sides have similar brightness
- Whether the center structure creates shadows
- Base width and total weight
- Height and center of gravity
- Power cable position
A large fabric lightbox can act like a sail when exposed to strong air-conditioning, open doors, contact, or outdoor wind. A standard indoor model should not be assumed safe outdoors.
Outdoor Use and IP Ratings
Most portable fabric lightboxes are designed for indoor use. Outdoor suitability requires more than water-resistant fabric or a sealed power supply.
The complete product must deal with:
- Rain and drainage
- Wind load
- UV exposure
- Temperature changes
- Corrosion
- Sealed connectors
- Grounding
- Ground fixing or ballast
IEC 60529 defines the IP Code used to classify the protection provided by electrical enclosures against contact, solid objects, and water.[6]
An IP rating for one driver or connector does not prove that the complete lightbox is suitable for outdoor use. The frame joints, cables, power entry, drainage, fabric, and mounting method must also be checked.
Fire and Electrical Safety
Required documents depend on the country, venue, building, and product configuration.
Trade show venues and public spaces may request fabric flame-test documents. NFPA 701 provides test methods for measuring flame propagation in textiles and films.[7]
The report should match the exact fabric supplied. A report for a different textile from the same manufacturer may not be accepted.
For electric signs in the United States, common standards may include UL 48 for electric signs, UL 879 for sign components, and UL 879A for LED sign and sign retrofit kits.[8]
Before ordering, confirm:
- Input voltage
- Plug type
- Driver and power-supply documents
- Grounding method
- Cable quality
- Total electrical load
- Indoor, damp, or wet-location rating
- Access to electrical parts
Safety documents should match the complete supplied system, not only one component.
Cost Comparison
An SEG lightbox is not always more expensive than another fabric system. The initial price depends on:
- Frame size
- Aluminum quantity
- Frame depth
- LED quantity and quality
- Driver specification
- Single-sided or double-sided construction
- Fabric and printing
- Feet or wall hardware
- Transport cases
- Safety documents
A more useful comparison is:
Initial system cost + replacement graphics + installation labor + freight + storage + maintenance + repairs
For a permanent retail wall with 12 graphic changes per year, front access and local graphic production may save more money than choosing the lowest-priced frame.
For a touring exhibition used 10 times per year, packed length, assembly time, connector strength, and transport protection may have a greater effect on total cost.
Milin’s display pricing page can help buyers compare different booth sizes and configurations. Confirm whether each quotation includes the frame, graphic, LEDs, driver, feet, hardware, cases, packaging, and spare parts.
Which One Should You Choose?
Choose an SEG lightbox when you need:
- A flat and clean front surface
- Hidden graphic fixing
- Regular graphic changes
- Front access
- A reusable wall or booth frame
- Matching displays across several locations
Choose another fabric lightbox system when you need:
- A curved or round structure
- A fully wrapped display
- Fabric covering the front, sides, and rear
- An arch, tower, column, or counter
- A simple portable backdrop
- A graphic that may remain on the frame during packing
Different booth structures can be compared in Milin’s exhibition display collection.
Buying Checklist
Before ordering, confirm these 20 points:
- Outer frame dimensions
- Visible graphic dimensions
- Finished graphic dimensions
- Frame depth
- Visible border width
- Longest packed section
- Fabric type
- Print method
- Silicone, zipper, or sleeve specification
- Single-sided or double-sided design
- Rear-lit or edge-lit lighting
- Total power consumption
- LED color temperature
- Five-point light uniformity test
- Required installer count
- Packed dimensions and gross weight
- LED and driver replacement method
- Fire and electrical documents
- Spare-part availability
- Exactly what the quotation includes
Before approving a large order, inspect at least one complete production sample. Check the frame joints, graphic fit, corner tension, five-point lighting result, cable routing, repair access, and packing protection.
Conclusion
An SEG lightbox uses a sewn silicone edge to hold the graphic inside an aluminum channel. It is usually the better option for flat walls, clean front views, and displays that need 4 to 12 graphic changes per year. Zippered and sleeve systems are often easier for arches, towers, curves, and fully wrapped structures. Before ordering, confirm all five graphic measurements, test lighting at the center and four corners, and inspect one complete sample. Also check packed length, installer count, LED access, and replacement-part supply. Good-quality LEDs may reach 30,000 to 50,000 hours, but the warranty should explain brightness loss, flicker, color change, and driver failure.